Render 3D as 2D in Unity 6.3 — AI 3D assets inside 2D games
Use PicoBerry to generate 3D asset candidates, then bring them into a Unity 6.3 2D project where Mesh Renderer or Skinned Mesh Renderer objects can follow 2D sorting, lighting, masking, shader, and render-order rules.
A complete Render 3D as 2D workflow: generate a 3D candidate, place it in a 2D-style Unity scene, then evaluate sorting, masks, lighting, shaders, and game-view readability.
Why 2D teams use 3D inside a 2D game
Render 3D as 2D is not about turning a 2D game into a full 3D project. It is about selectively using 3D where it reduces production cost, improves reuse, or unlocks a visual style that is hard to maintain with sprite sheets alone.
2D readability with 3D depth
Some games should still read like 2D while borrowing 3D depth, rotation, and camera flexibility. The goal is visual consistency, not a visible 3D-tech showcase.
Fewer direction-specific sprites
A 3D character can rotate, change pose, reuse animation, hold different equipment, and appear in cutscenes without redrawing every angle as separate sprite parts.
Bosses and dynamic props
Large bosses, collectible objects, moving props, and animated set pieces can be easier to iterate as 3D candidates than as many high-resolution sprite frames.
What has to work in game
A 3D asset only works in a 2D game when it follows the same rules as the rest of the scene: Sorting Layer, Order in Layer, 2D Light, Sprite Mask, Shader Graph materials, and the final camera view.
Sort 3D as 2D
Unity 6.3 lets a 3D object with Sorting Group participate in 2D-style ordering. Instead of relying only on Z-depth, the object can be controlled by Sorting Layer and Order in Layer.
URP 2D Renderer setup
Mesh Renderer and Skinned Mesh Renderer objects can be evaluated inside a URP 2D Renderer workflow, including 2D Lit or Unlit materials and compatible Shader Graph outputs.
Scene view to game view
A model that looks good in isolation can still fail in a 2D game. The real test is camera framing, scale, layer order, light response, and readability in the game view.
Foreground and lighting fit
This scene checks whether a 3D character can sit inside a hand-painted 2D village without breaking the image. The tree canopy, fence, house, barrels, lantern light, and soft background all test whether the 3D asset respects the scene layers, lighting, and painterly style.
Depth and gameplay readability
This scene tests the asset in a wider play space: the character must remain readable under a large foreground tree while still matching the distant bridge, water, sky, and terrain layers. It is a practical check for scale, silhouette, camera framing, and depth order during gameplay.
Visual checks for a production-style 2D scene
These visual examples turn the workflow into concrete evaluation criteria: scene composition, sorting, mask behavior, and depth readability.
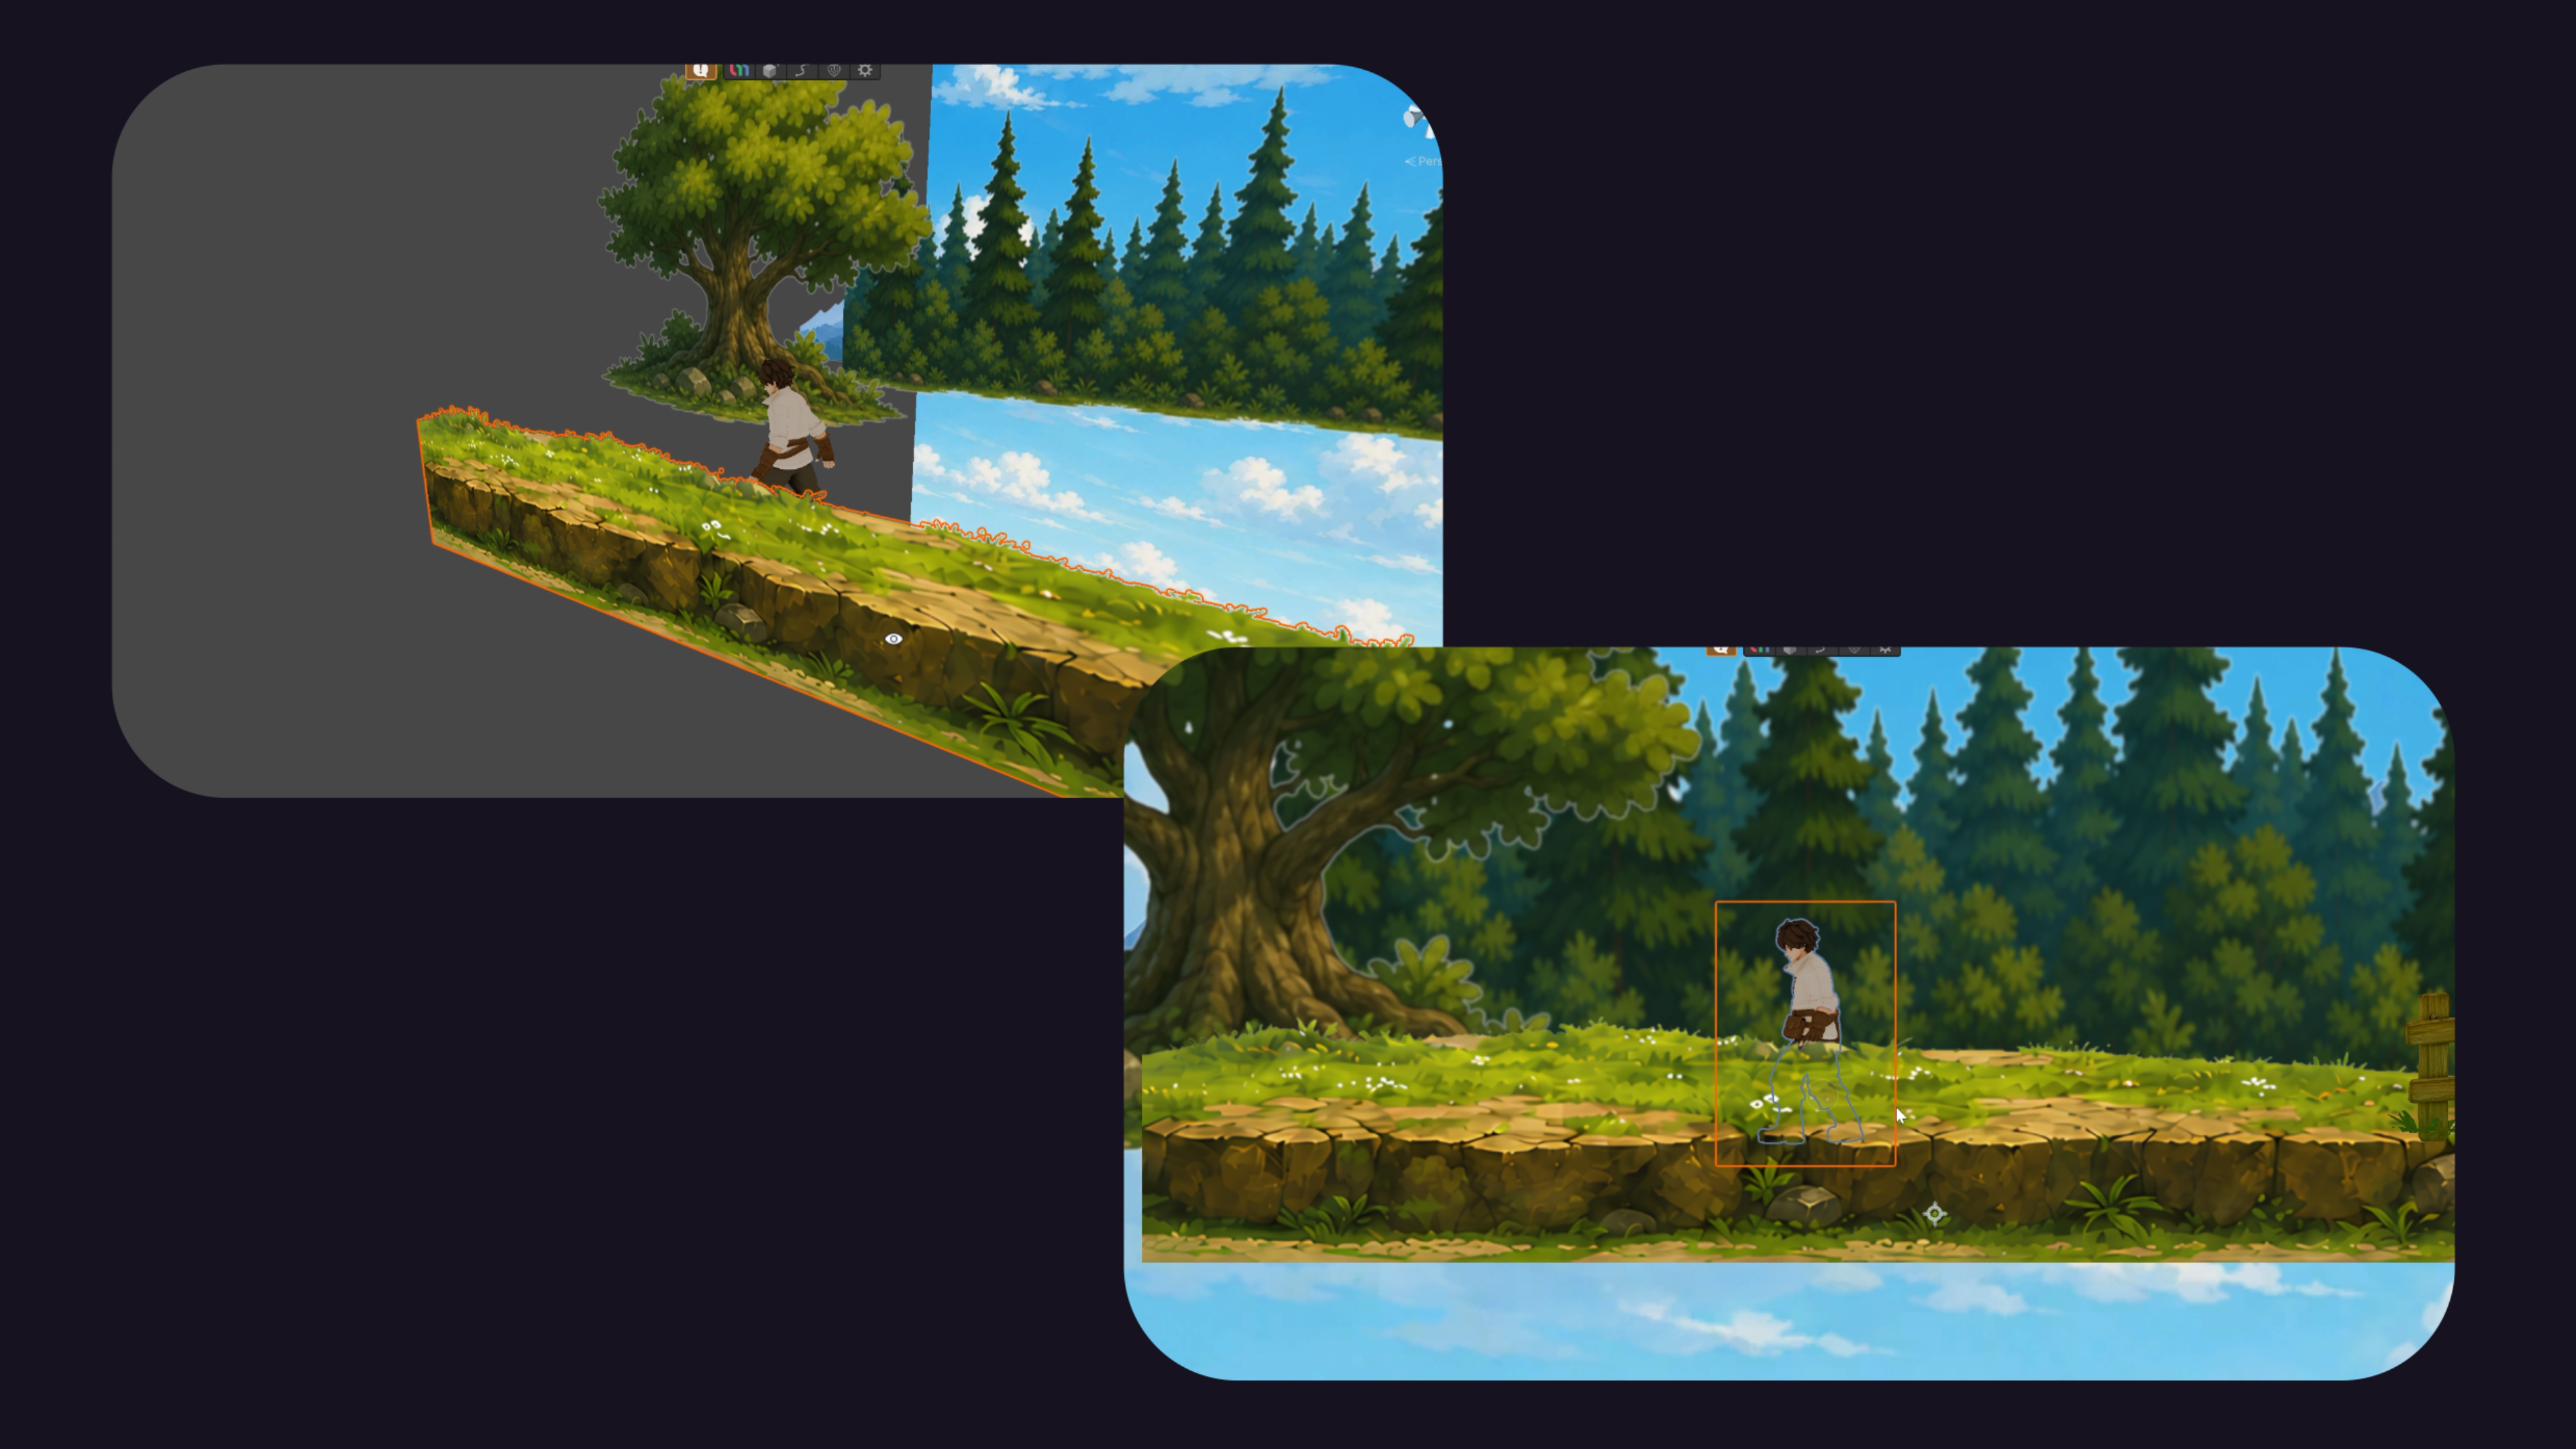
Sorting concept: 3D depth must align with the 2D layer order players actually see.
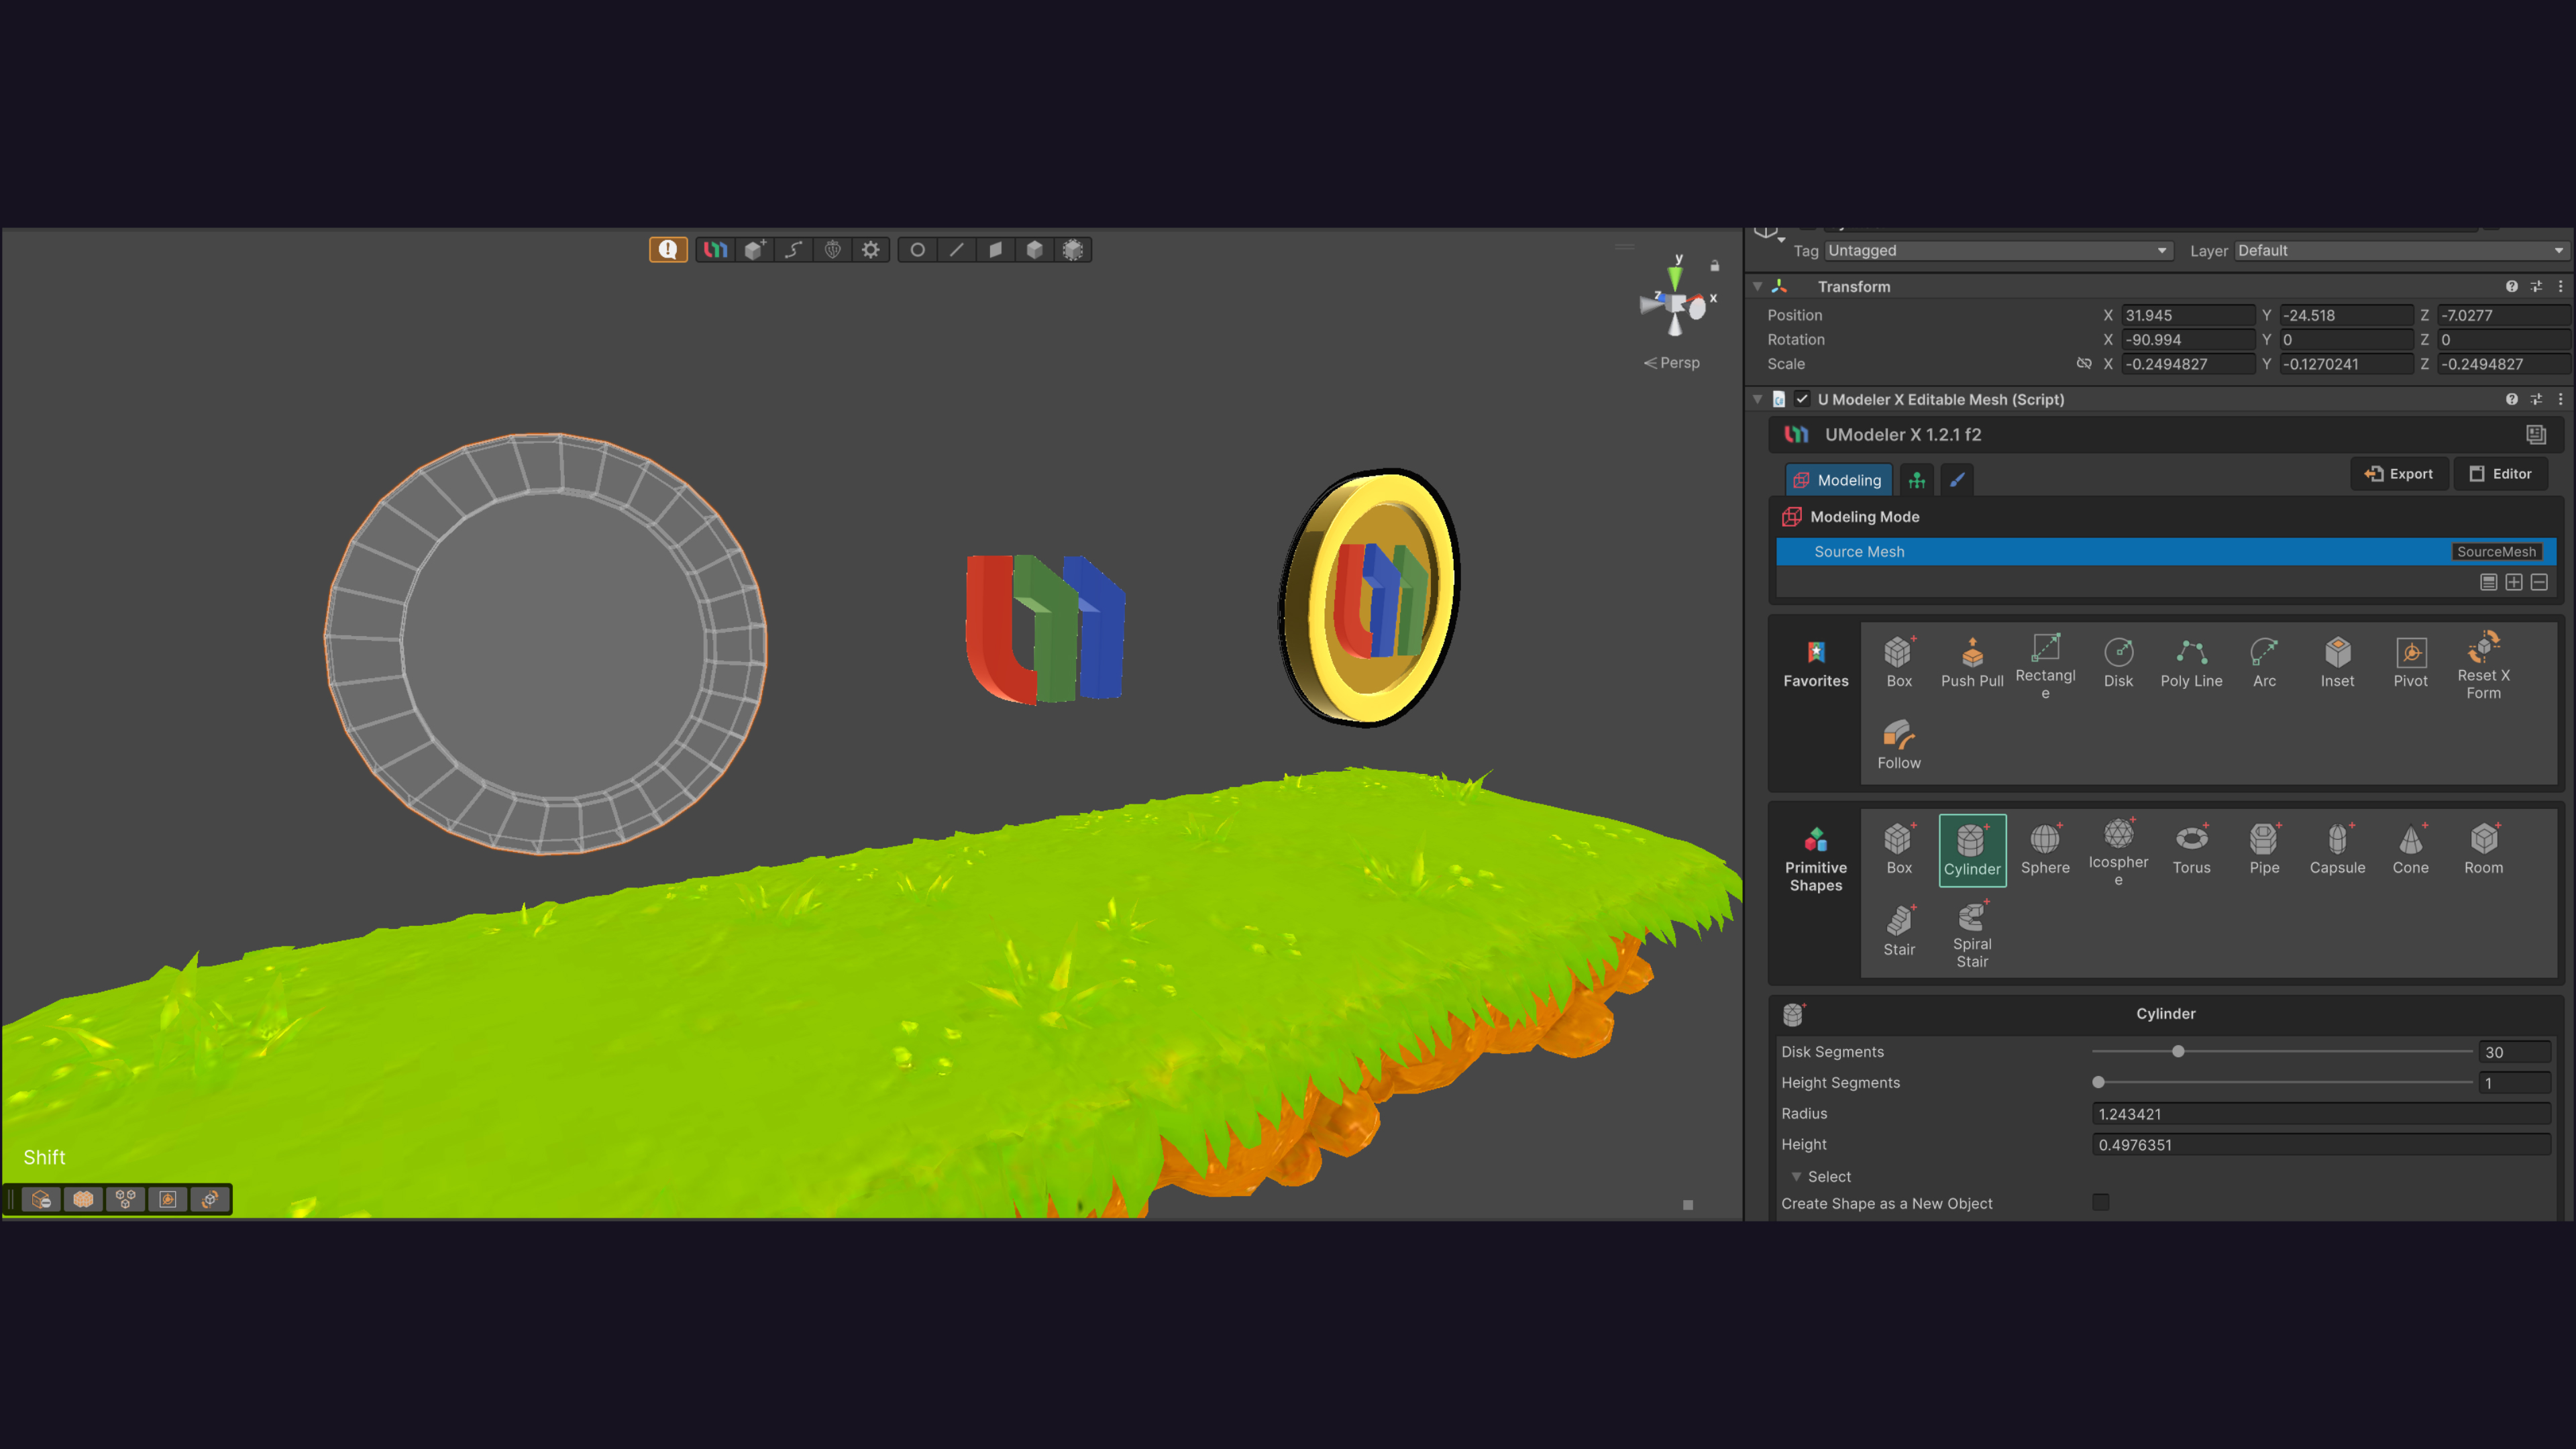
Sprite mask and scene-effect reference for checking whether the 3D candidate can blend into the 2D environment.
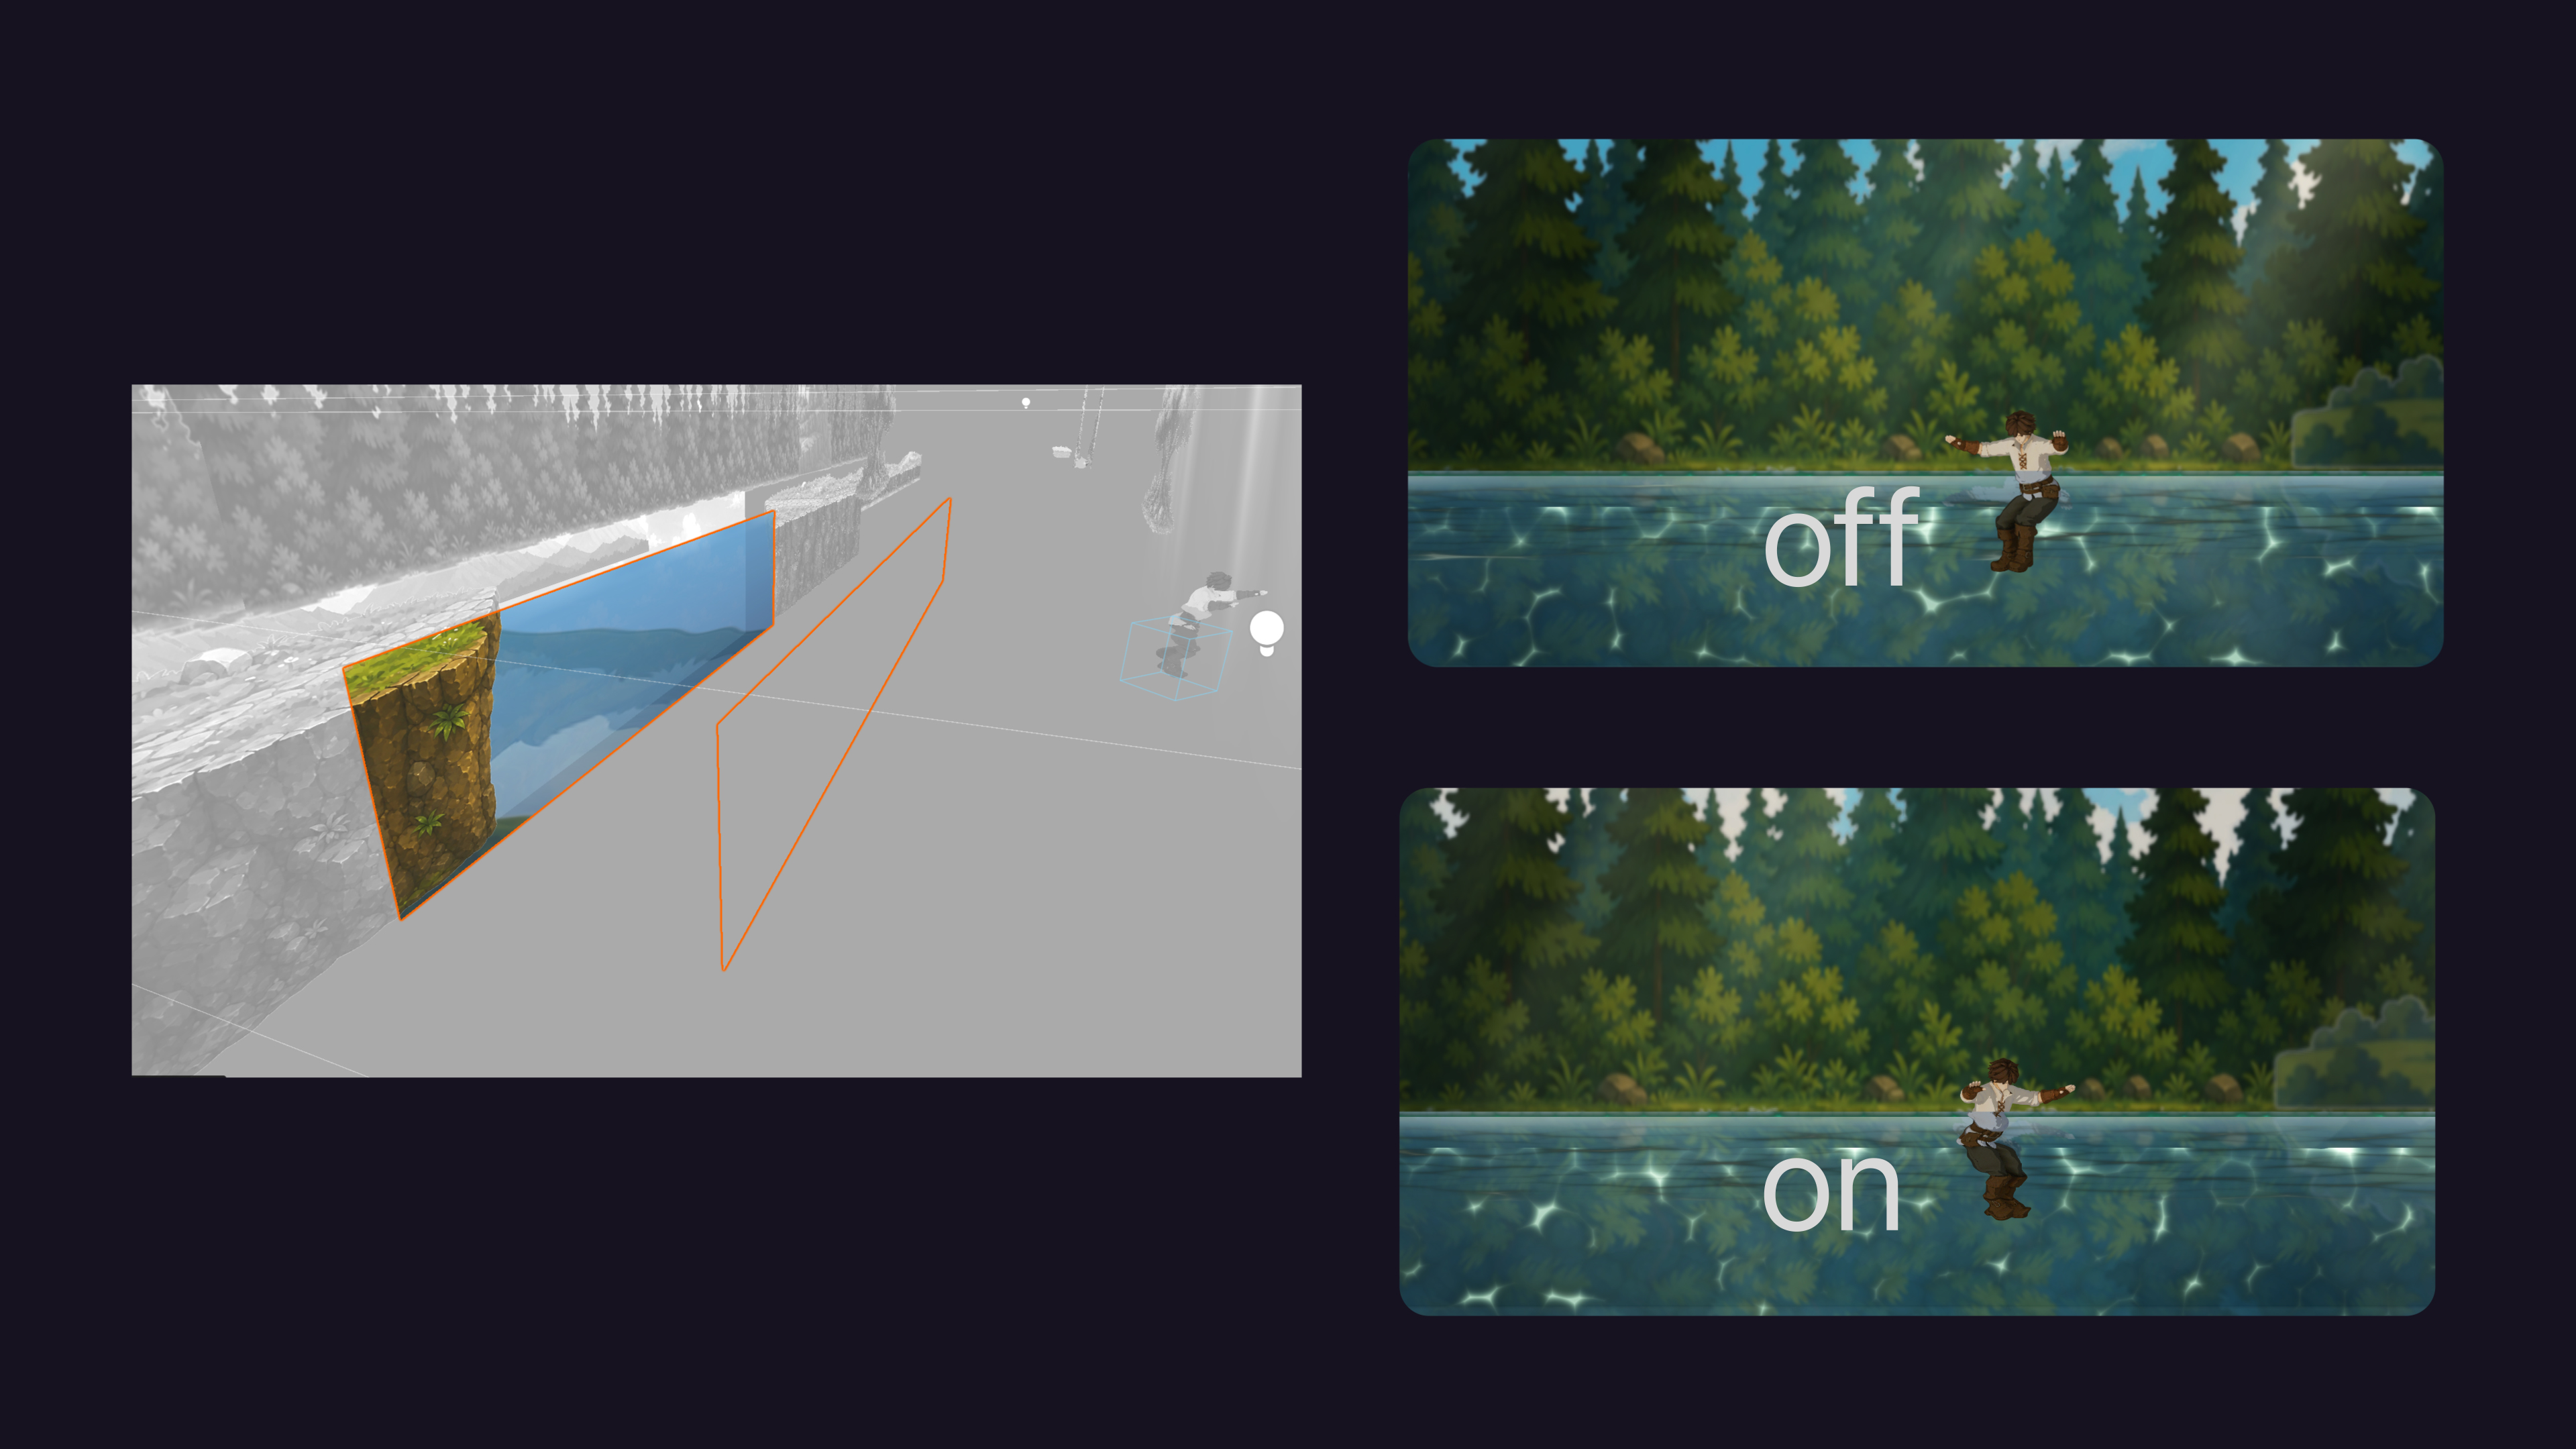
Z-depth versus 2D sorting layer reference for diagnosing visual order problems.
Choose the render-order strategy first
Most Render 3D as 2D problems start when a project mixes two ordering models without a plan. Decide whether the scene is driven by depth or by 2D layer order before adding more assets.
Z-depth composition
Use real Z positions when the scene relies on parallax, perspective-camera depth, depth of field, fog, depth-based blur, or Scene Depth effects. This works well for 2.5D platformers, side-view adventures, and cardboard-theater style scenes where depth is part of the art direction.
3D as a guest in a 2D world
Use Sort 3D as 2D when the project is already built around Sorting Layers, Tilemaps, Sprite Renderers, and Order in Layer. The 3D object should behave like another 2D scene element instead of forcing the whole project into a 3D structure.
Unity systems that make the blend believable
A generated 3D candidate becomes useful when it can cooperate with the same systems that already define the 2D scene.
Sorting Group
Groups the 3D object for Sorting Layer and Order in Layer decisions so it can sit correctly between Tilemap, Sprite, foreground, and background elements.
Mesh 2D Lit / Unlit
Lets Mesh Renderer and Skinned Mesh Renderer objects use materials designed for a URP 2D Renderer workflow, with or without 2D Light response.
Shader Graph compatibility
Custom Sprite Lit, Sprite Unlit, or Sprite Custom Lit shaders should be checked for Sort 3D as 2D compatibility before relying on them in the render order.
Sprite Mask interaction
Mesh and skinned-mesh objects can be evaluated with Sprite Masks for caves, portals, windows, stealth zones, reveal areas, and partial character visibility.
Camera Sorting Layer Texture
A sorting layer can be sampled like a texture, which makes water reflection and other scene-composite effects possible in a 2D/3D hybrid scene.
VFX Graph and depth effects
Z-writing, Scene Depth, depth of field, fog, and GPU-driven effects can add cinematic depth while the game still reads as a 2D scene.
The practical workflow
PicoBerry is the fast ideation layer. Unity 6.3 is where the candidate proves whether it can behave like part of a 2D project instead of sitting on top of one.
Generate candidates
Create characters, bosses, collectibles, and props in PicoBerry, then keep the candidates with a strong silhouette and clear 2D use case.
Choose a render strategy
Use Z-depth when parallax, depth of field, fog, or perspective depth matters. Use Sort 3D as 2D when the world is already built around Sorting Layers.
Integrate with 2D systems
Check Sorting Group, 2D Light target layers, Sprite Mask interaction, Mesh 2D Lit or Unlit materials, and Shader Graph compatibility.
Review performance
Validate draw calls, materials, shader cost, Skinned Mesh cost, mask/depth effects, and target-device performance before treating the candidate as shippable.
Unity 6.3 implementation checklist
Before adding a 3D object to a 2D project, decide which Unity systems must treat it like part of the 2D world.
Renderer and material
Use Mesh Renderer or Skinned Mesh Renderer, then decide between Mesh 2D Lit Default, Mesh 2D Unlit Default, or a Shader Graph output such as Sprite Lit, Sprite Unlit, or Sprite Custom Lit.
Sorting and clipping
Add Sorting Group when the 3D object must follow 2D ordering. Confirm Sorting Layer, Order in Layer, Tilemap interaction, and foreground/background clipping in the actual camera view.
Light, mask, and depth
Check 2D Light response, Sprite Mask interaction, Runtime Mask Interaction behavior, Z-writing for depth effects, and Camera Sorting Layer Texture if reflections or water effects are part of the scene.
Performance and production guardrails
3D can reduce sprite-production cost, but it is not automatically cheaper at runtime. Treat every candidate as something to measure.
Measure render cost
Track draw calls, material count, texture size, shader complexity, Skinned Mesh cost, and batching behavior. A large boss may be cheaper than a massive sprite sequence, but only if the scene validates it.
Keep sorting rules consistent
Avoid mixing Z-depth, Sorting Layer, and 2D Light rules casually. Decide which objects use depth, which use 2D layer order, and which must write to the Depth Buffer.
Test the target device
Mask interaction, depth effects, water reflections, VFX Graph effects, and skinned animation can behave differently across desktop and mobile targets. The page goal is fast evaluation, not skipping validation.
FAQ
Is this a PicoBerry page or a Unity page?
It is a PicoBerry-first use case for Unity workflows. PicoBerry generates the 3D asset candidates; Unity 6.3 features such as URP 2D Renderer, Sort 3D as 2D, 2D Light, Sprite Mask, and Shader Graph decide whether those candidates fit a 2D game.
What does Sort 3D as 2D do?
It lets a 3D object participate in 2D-style render ordering. With Sorting Group and the right Sorting Layer / Order in Layer setup, a Mesh Renderer or Skinned Mesh Renderer can behave more like a 2D object in the scene order.
When should a 2D game use 3D assets?
3D is useful when rotation, animation reuse, large bosses, dynamic props, cutscene reuse, or depth effects matter enough to justify the added setup. It is not required for every asset in a 2D game.
What material setup matters in Unity 6.3?
For 2D Renderer workflows, start with Mesh 2D Lit Default or Mesh 2D Unlit Default. If using Shader Graph, confirm the output and compatibility settings support the desired 2D sorting and lighting behavior.
Can 3D objects work with Sprite Masks and 2D Light?
Yes, when the renderer and project setup support it. Mesh Renderer and Skinned Mesh Renderer objects can be evaluated with 2D Light and Sprite Mask interactions, but the exact behavior should be tested in the target scene and render pipeline.
Can this be used in every 2D game?
No universal guarantee. It depends on art direction, camera setup, sorting strategy, render pipeline, material complexity, mask/depth effects, and performance targets. Treat it as a structured evaluation workflow.
Related PicoBerry workflows
AI 3D Generator for Unity
Generate 3D asset candidates and evaluate them in Unity workflows.
View page →PicoBerry to UModeler X Workflow
Continue promising PicoBerry assets into Unity and finish with UModeler X.
Explore workflow →PicoBerry API
Add AI 3D asset generation to tools, apps, agents, and pipelines.
View API page →Start with PicoBerry, then test in the game
Generate candidate 3D assets first, then use Unity 6.3 to test sorting, 2D lighting, masks, shader compatibility, and game-view readability before deeper production review.