AI 3D Generation API — Multiple Engines, One API
Add AI 3D generation to your product without building a model-switching, queueing, export, and asset-delivery stack yourself. PicoBerry gives your app one async API for text-to-3D, image-to-3D, refinement steps, and downloadable game-asset outputs.
# Generate a 3D model from an image
curl -X POST https://api.picoberry.ai/v1/models/from-image \
  -H "Authorization: Bearer ***" \
  -H "Content-Type: application/json" \
-d '{"imageUrl":"https://.../ref.png","engine":"tripo"}'How do you add AI 3D generation to your own app?
Create an API key in your PicoBerry dashboard and keep it server-side, then POST a prompt or image URL with your engine choice and output preferences to a /v1 endpoint. Your app gets a task identifier back — poll it, or register a webhook so your backend is notified when the job lands. When it finishes, download the finished model and hand it to your own product.
Ship 3D Generation Without Building the Pipeline
A model endpoint alone rarely gets you there. A real integration needs all of this:
- Upload handling
- Engine selection
- Async job tracking
- Result storage
- Export formats
- Usage control
- Asset delivery
PicoBerry wraps that whole pipeline behind one API.
# prompt/image → 3D
POST /v1/models/from-image
{ "imageUrl": "ref.png", "engine": "tripo" }
Text & Image to 3D
Accept either a text prompt or a reference image, generate a 3D candidate, then continue with follow-up operations such as remesh, retexture, rigging, and export without moving the asset between vendors.
# same request, switch engines
{ ..., "engine": "tripo" }
{ ..., "engine": "meshy" }
{ ..., "engine": "hunyuan3d" }
Multiple Engines, One Contract
Route each request to the engine that fits the job. Try Tripo for one prompt, Meshy for another, and Hunyuan3D for another while keeping the same auth, job, asset, and export pattern in your code.
# submit → get a task id
{ "taskId": "job_a1b2", "status": "queued" }
# poll/webhook until succeeded
Async by Design
3D generation is not instant, so the API is designed around production queue behavior: submit work, store the task ID, poll or receive a webhook, then let your app continue when the result is ready.
Build the pipeline yourself, or make one API call
Either way, the finished 3D asset is the same. What changes is how much of the queueing, engine plumbing, storage, and delivery you own versus call.
From API Key to Downloaded Asset
A typical integration starts small: create an API key, submit a generation job, track status, then attach the finished asset to your own user flow, workspace, inventory, editor, or pipeline.
Get an API key
Create a key in your PicoBerry dashboard, name it after the integration that uses it, and keep it server-side. Use separate keys for environments or tools, so you can revoke one without touching the others.
Submit a job
Send a prompt, image URL, engine choice, and output preferences to a /v1 endpoint. Your app receives a task or asset identifier immediately instead of blocking the user interface.
Poll or get a webhook
Track the job by task ID, or register a webhook so your backend can update the user, refresh a workspace, or trigger the next step in an automated content pipeline.
Download the asset
Fetch the finished model and hand it to your own product: show it in a web viewer, attach it to a project, send it to a game-engine workflow, or store it for later editing.
Developer-First Features
This is for products and teams that need repeatable asset generation — not a one-off demo, but something that keeps running in places like these.
OpenAPI Spec & Typed Clients
Use the OpenAPI spec as the source of truth for requests and responses. Import it into Postman during exploration, then generate typed clients for your backend language when the integration moves into production.
Webhook Delivery
Use signed callbacks to move from polling to event-driven workflows. When a generation finishes, your service can update project state, notify a user, enqueue review, or trigger export handling.
MCP Server for AI Agents
Connect generation to AI coding tools and agent workflows through the PicoBerry MCP server. Agents can request asset candidates as part of a larger app, game, or tool-building flow.
Credit Usage & Key Controls
See your credit balance and usage history in the dashboard. Each API key is managed on its own — revoke one without affecting the others — and a per-key daily safety limit (20,000 credits) pauses a key once it hits that amount in a day, so a leaked key can’t keep running unchecked.
Add 3D generation with one API call
Create a server-side key, submit your first job, and let a webhook tell your backend when the model is ready to download.
Server-side API key · usage tracked in your dashboard
A Real Game-Asset Workflow in Motion
The embedded demo shows why the API matters beyond a single generation result: assets need to move from creation into an actual scene, work with the engine workflow, and be judged in play context.
Demo video: generated and edited 3D assets moving through a Unity scene, showing the handoff from asset creation to in-game validation.
Generate candidates fast
Use the API to create props, items, characters, or environment pieces from a prompt or reference image, then keep the selected result as a trackable asset record.
Fit assets into the game scene
The demo shows the practical next step: place generated 3D assets into a Unity workflow where scale, silhouette, lighting, masking, and scene composition decide whether the asset works.
Close the loop with play-testing
The goal is not a standalone model preview. It is a faster generate → integrate → test loop so developers can evaluate assets inside the actual game experience.
What can one developer ship with this API in 12 hours?
The Legend of Deller is a playable isometric action RPG built by a single developer who wired the PicoBerry API into a coding agent. Every 3D asset in it — village buildings, dungeon architecture, props, NPCs, the boss guardian — was generated through the API. Idea to playable build took about twelve hours.
The developer walks through how it was made — describing the mood to the agent, generating the assets through the API, then tuning placement and motion by hand. English narration and subtitles.
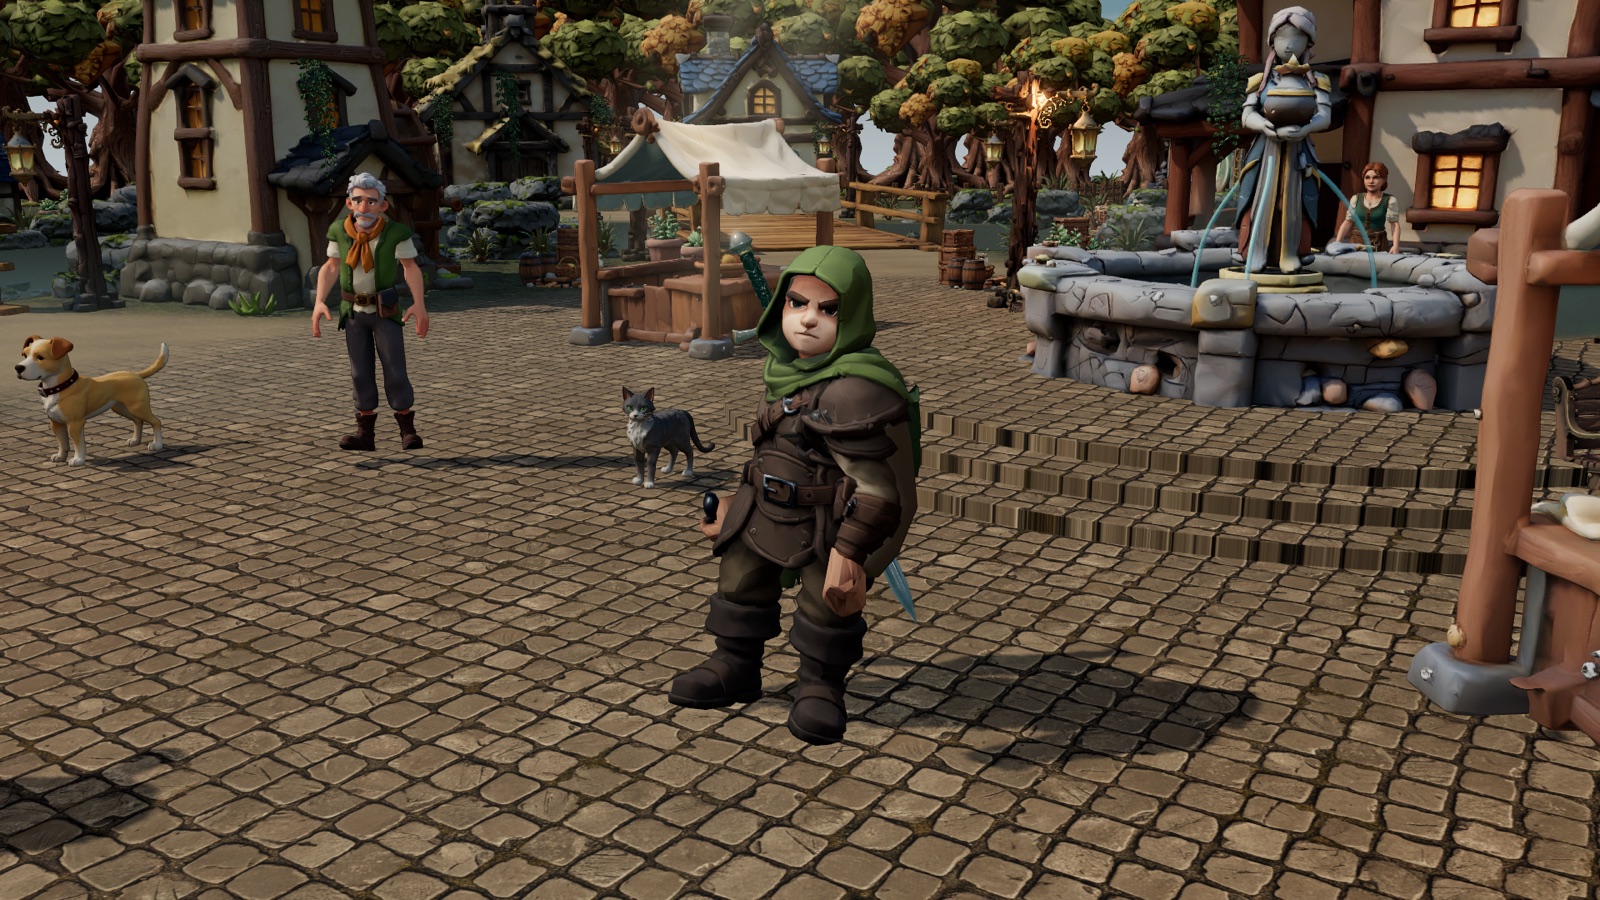
Rainmist Haven, the village hub. Buildings, props, NPCs, and animals are all API-generated assets placed in a three.js scene.
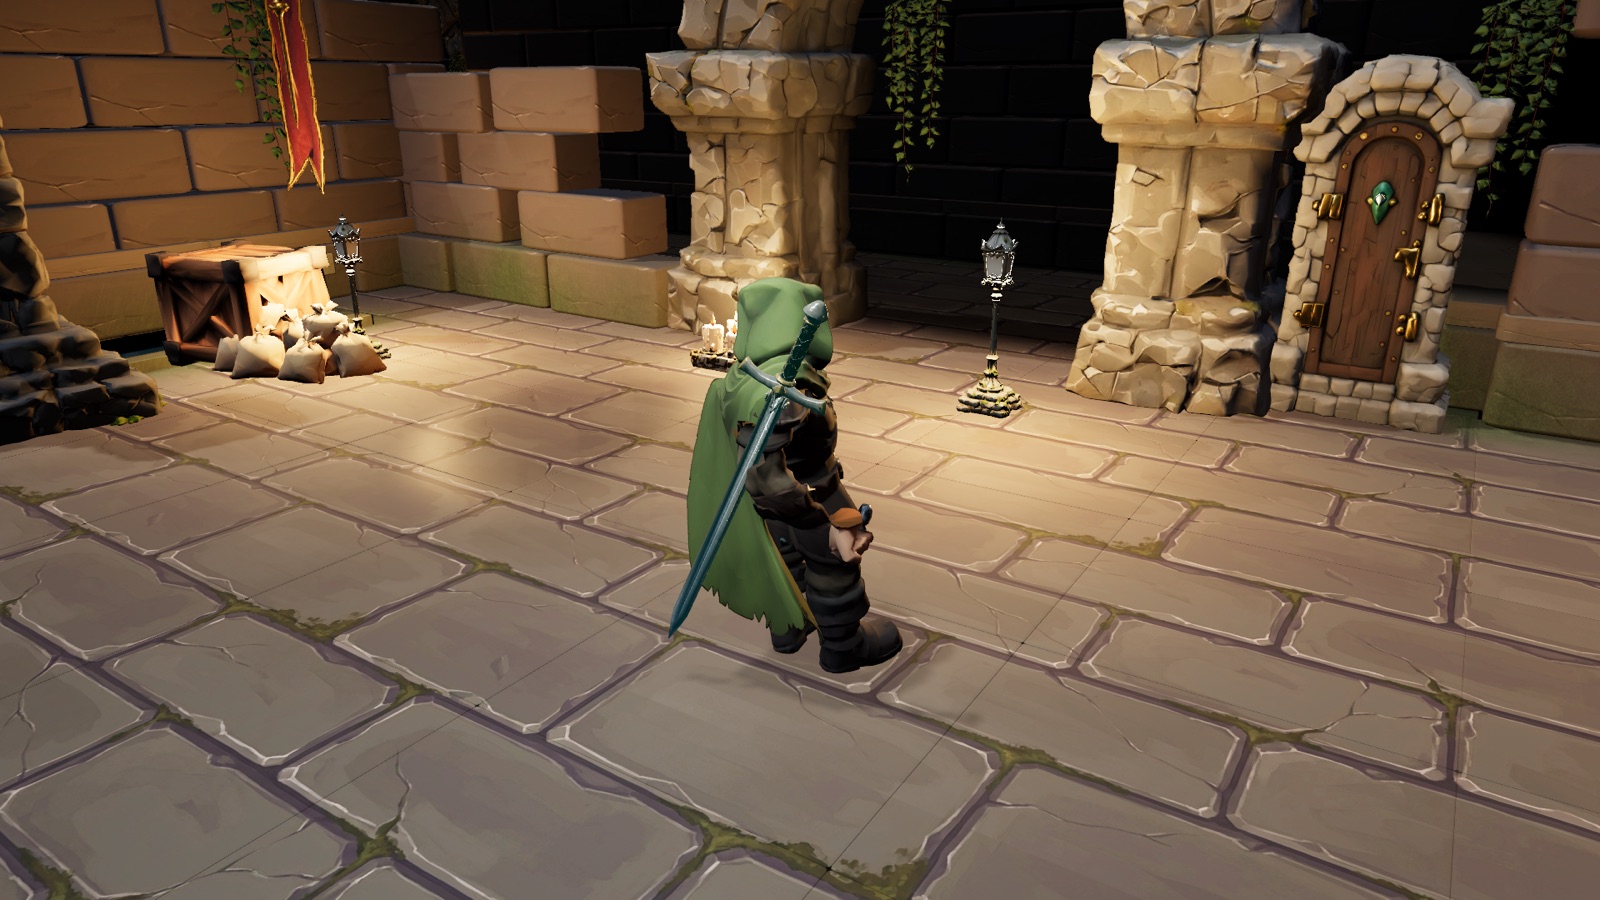
The dungeon sanctuary. Arches, banners, urns, and lanterns come from the same API contract as the village.
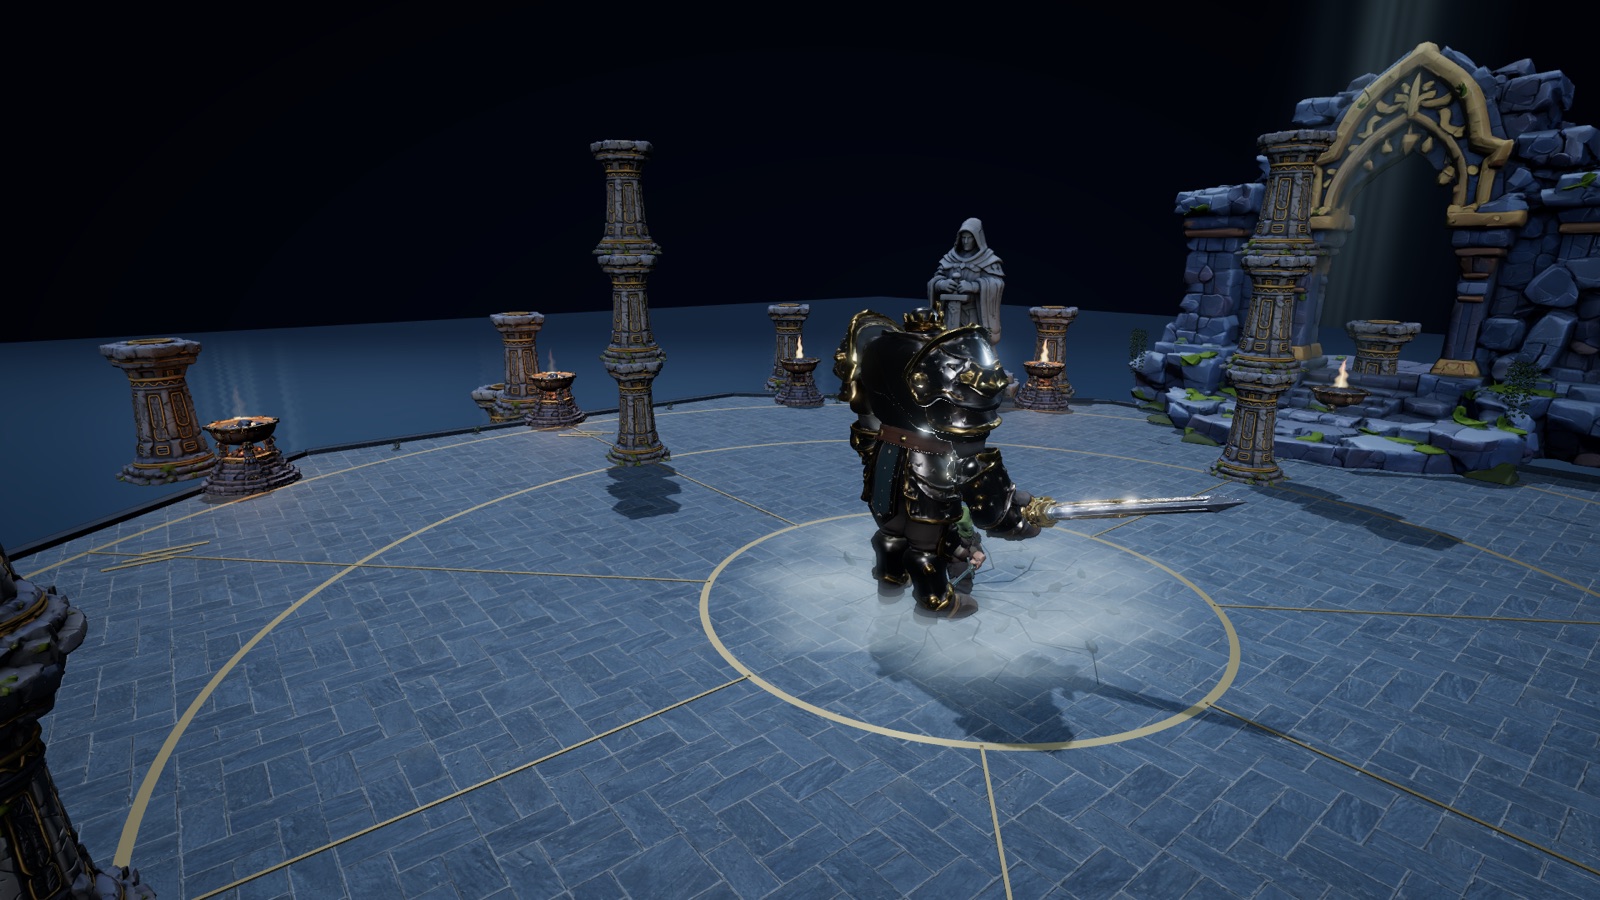
The rain guardian in its arena — character, greatsword, and arena pieces, generated and then animated.
Concept before assets
Three spaces were fixed first — village, dungeon, boss sanctuary — and a look was generated for each, so every asset afterwards had a target to match.
API wired into the coding agent
The PicoBerry API was connected to the agent. Where no reference image existed, the agent wrote the generation prompt from a description of the intended mood and object.
Placement stayed manual
The agent handled 3D coordinates well enough to assemble scenes, but position, rotation, and scale still needed a person — so the agent was asked to build a placement editor, and the village was tuned by eye.
Animation without a DCC round-trip
Base motion was generated through PicoBerry animation and checked on screen, then taken into three.js where bone positions and keyframes were adjusted directly, with no Blender rigging pass in between.
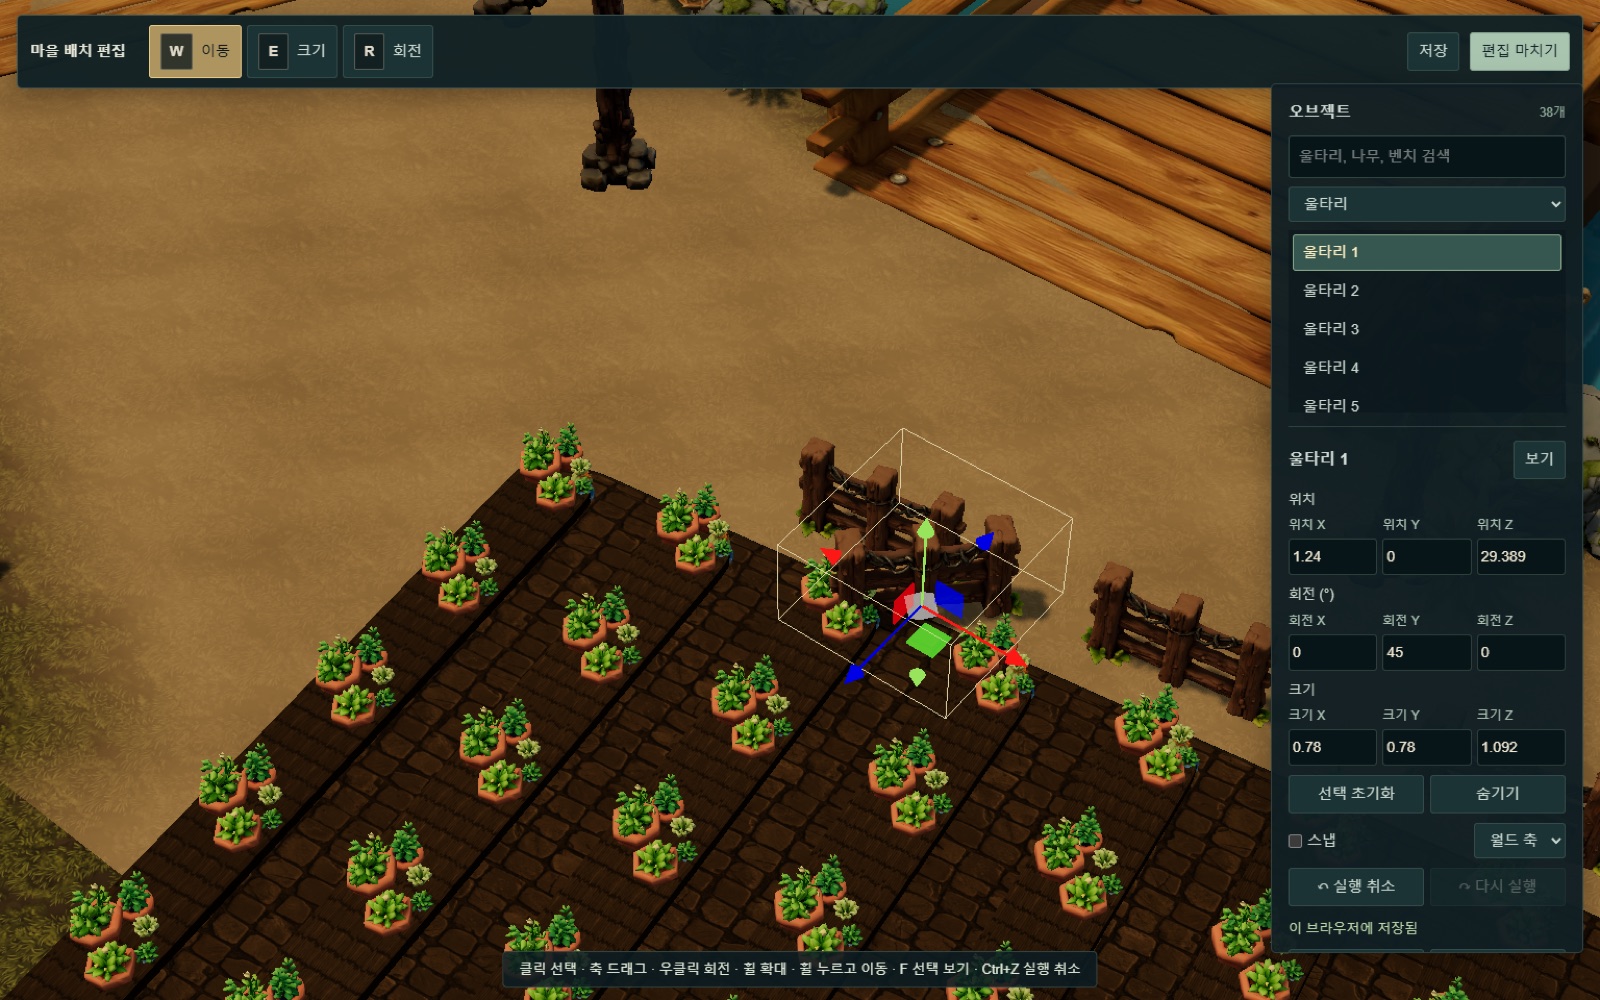
The placement editor the agent built
Position, rotation, and scale for every object in the scene, with snapping and undo. This is the part the API does not do for you — and it was solved by having the agent build the tool instead of round-tripping through a DCC package.
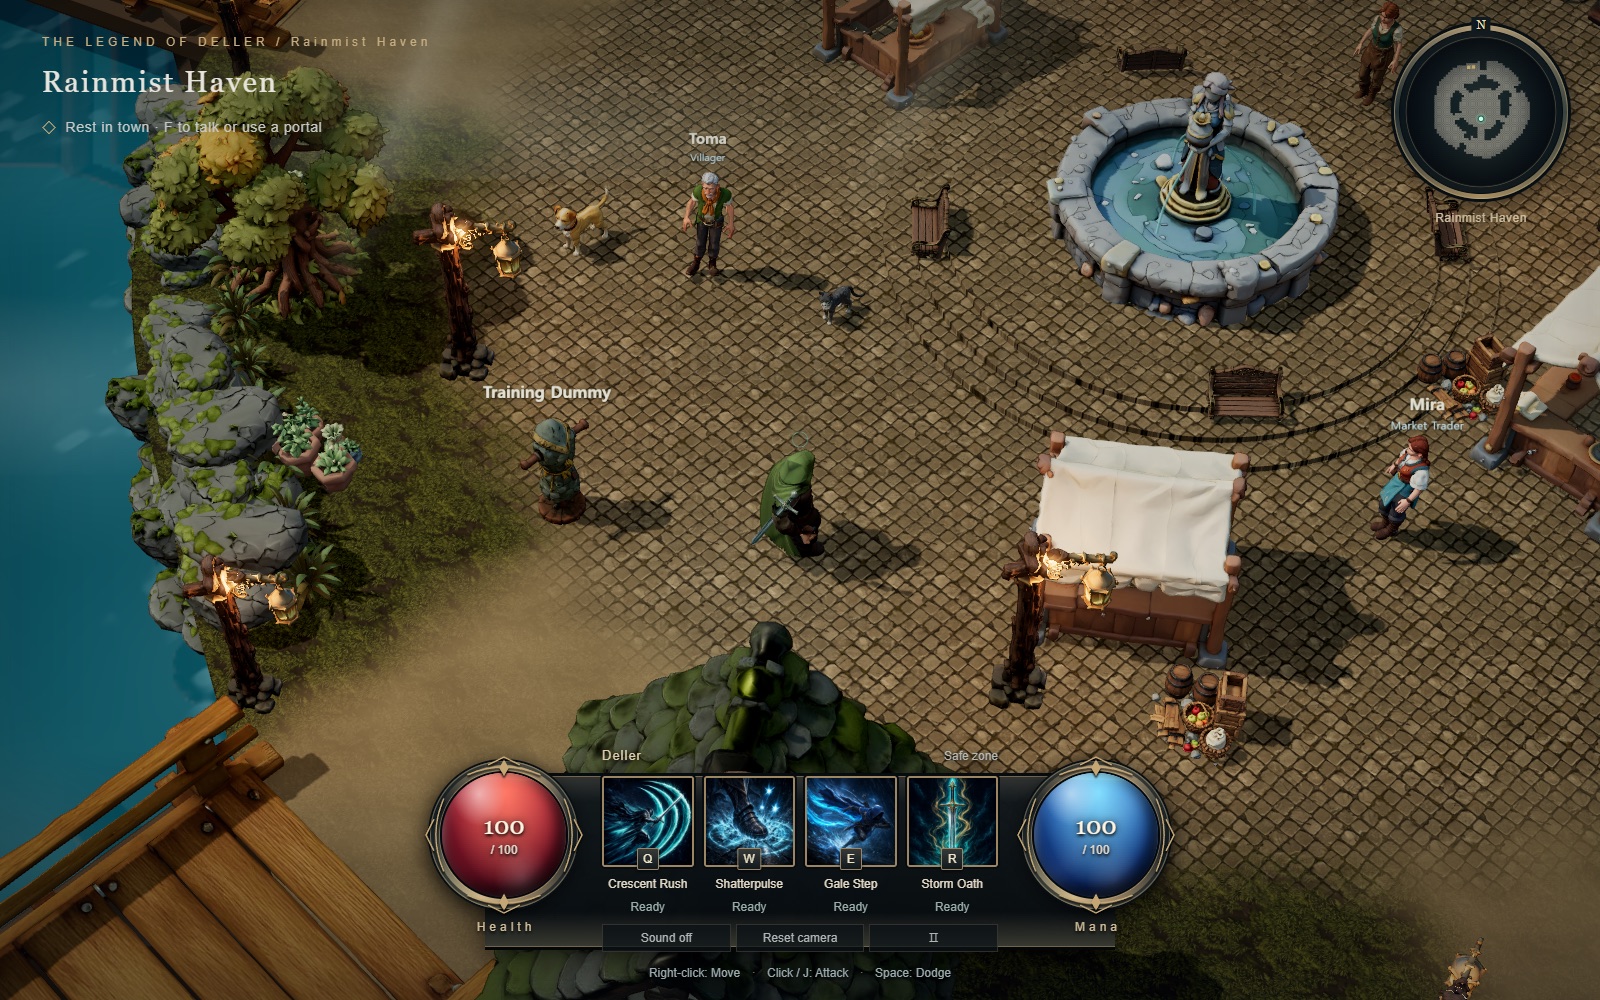
Running in the browser
The finished village in play: NPC dialogue, skill bar, and minimap, with the generated assets carrying actual gameplay rather than sitting in a model viewer.
Cutting the hours I would have spent on rigging and weighting, and spending them on how the motion actually reads in-game, is what made this fast.
The developer who built it
He is equally clear that it is not finished: the animation still needs detail work, and the assets are a starting point rather than a final pass. What changed is not that the work disappeared — it is where the twelve hours went.
See It Working
The API should be judged by what it lets your product do: create a candidate, compare results, keep the asset record, and deliver a usable file into the next step of your workflow.
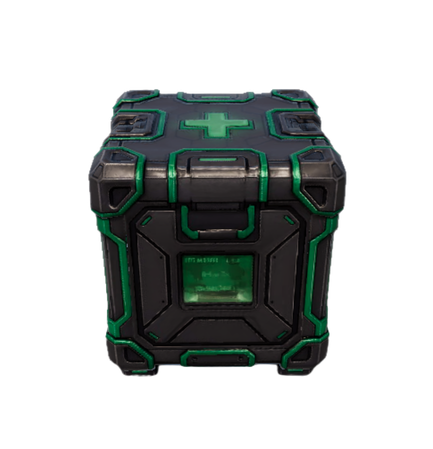

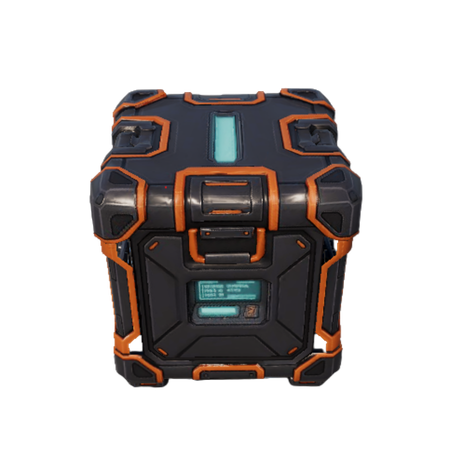
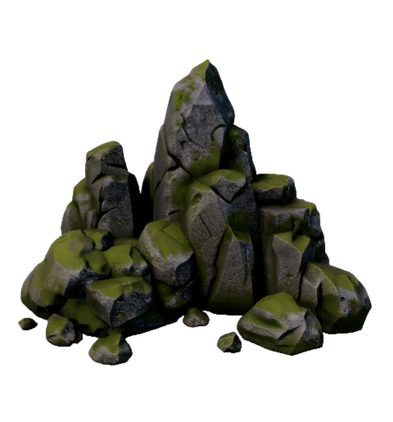
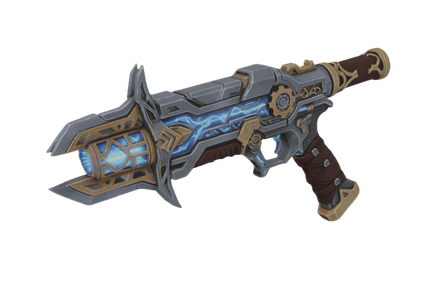
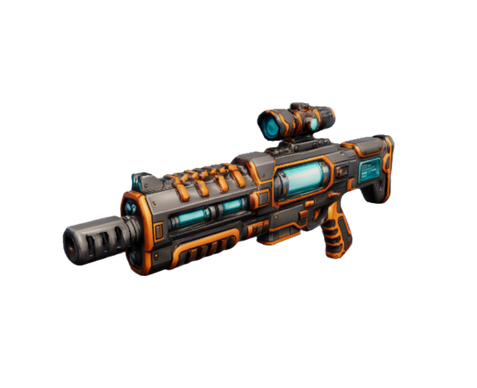
A range of generated 3D candidates your product can present for review, selection, refinement, or downstream export.
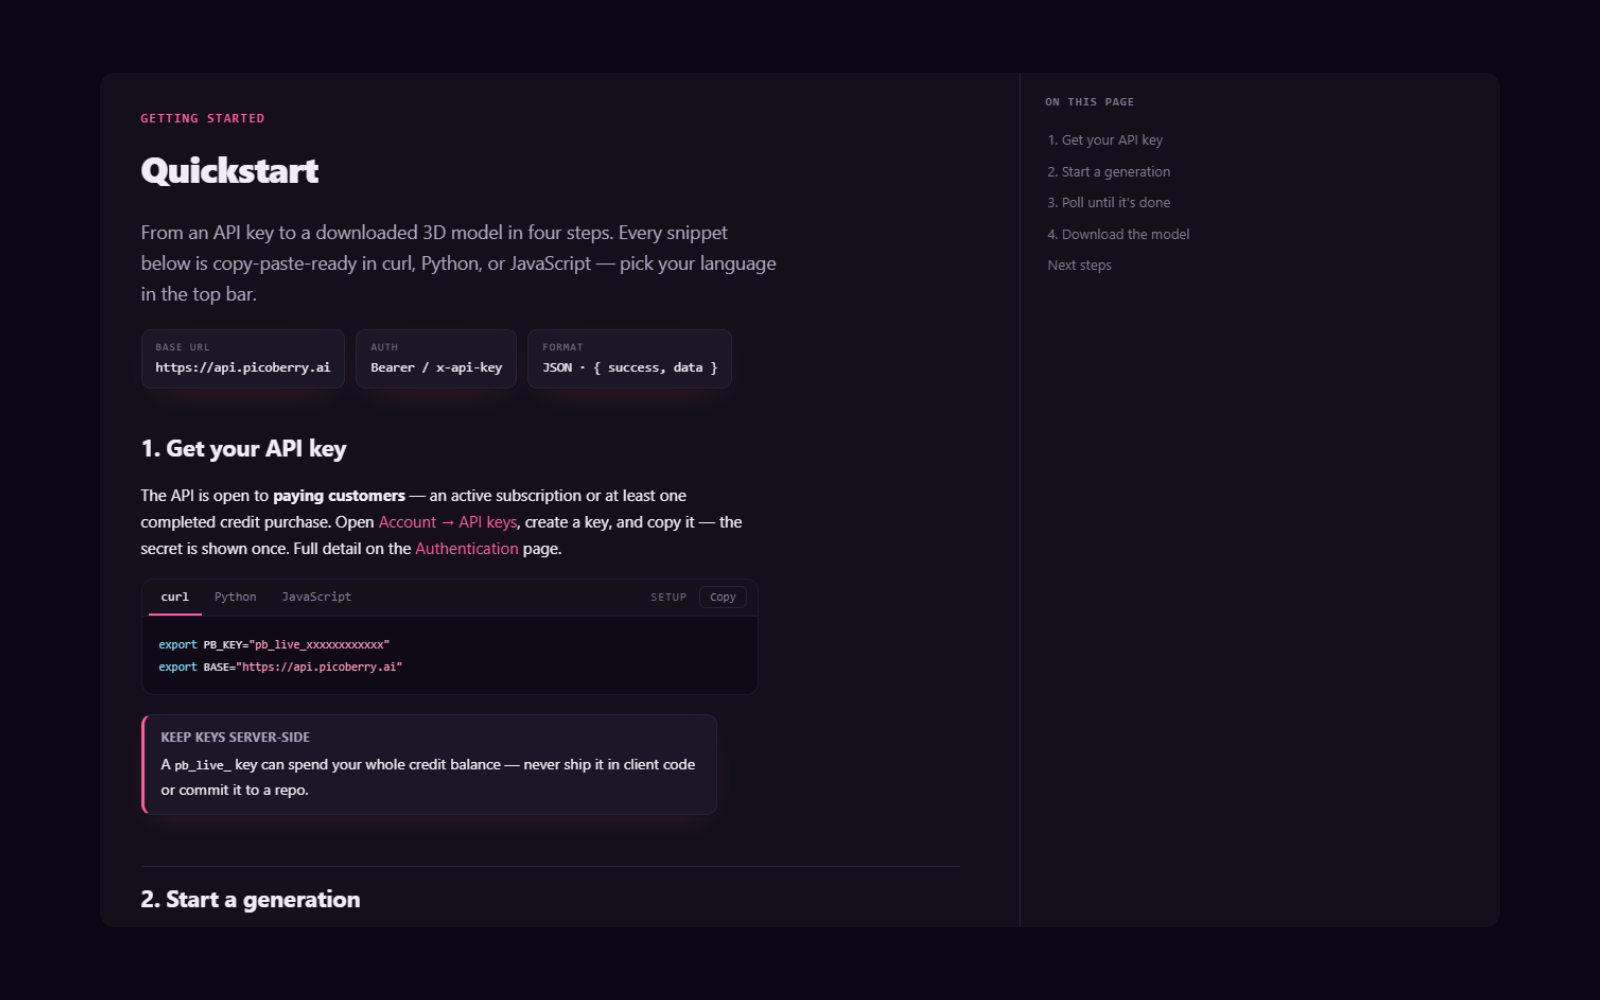
The Quickstart path: authenticate, submit the first request, inspect the response, and connect generation to your own backend flow.
{ "success": true, "data": {
  "id": "019f3a39-0db2-…",
  "taskStatus": 0,
  "type": "model_3d"
} }

# later
{ "modelUrls": { "glb": ".../model.glb" } }
Example async flow: submit a job, persist the returned identifier, poll or receive completion, then fetch the generated model URL.
Frequently Asked Questions
What is the PicoBerry API?
The PicoBerry API is an async REST API for AI 3D generation. It lets your backend submit generation jobs, track status, receive completion events, and fetch generated model files for product or pipeline use.
Can I use multiple generation engines through one API?
Yes. PicoBerry is designed to let teams route work across multiple generation engines through one product-side contract. Keep the same auth, job tracking, asset records, and export flow while selecting the engine that fits the request.
Is the API only for games?
No. The page focuses on game tools and 3D asset pipelines because that is PicoBerry’s core workflow. The same API pattern can support creator tools, marketplaces, internal automation, AI agents, education tools, and other 3D-enabled products.
Are generated assets immediately production-ready?
Treat generated assets as candidates. They are useful for prototyping, iteration, review, and downstream handoff. Depending on your project, you may still review topology, materials, scale, rigging, collisions, licensing, and engine-specific requirements.
Does PicoBerry support webhooks?
Yes. The API workflow is asynchronous: submit a generation job, keep the returned identifier, then poll or receive a webhook when the job is complete.
How do developers get started?
Create a PicoBerry account on a paid plan — or make any credit-pack purchase — then mint an API key yourself in the dashboard; there is no access request or waitlist. Free accounts see the dashboard but get 403 on /v1 until a payment is on file. Integrate the first call server-side, keep API keys out of client-side code, and use separate keys for environments or products when needed.
Explore More
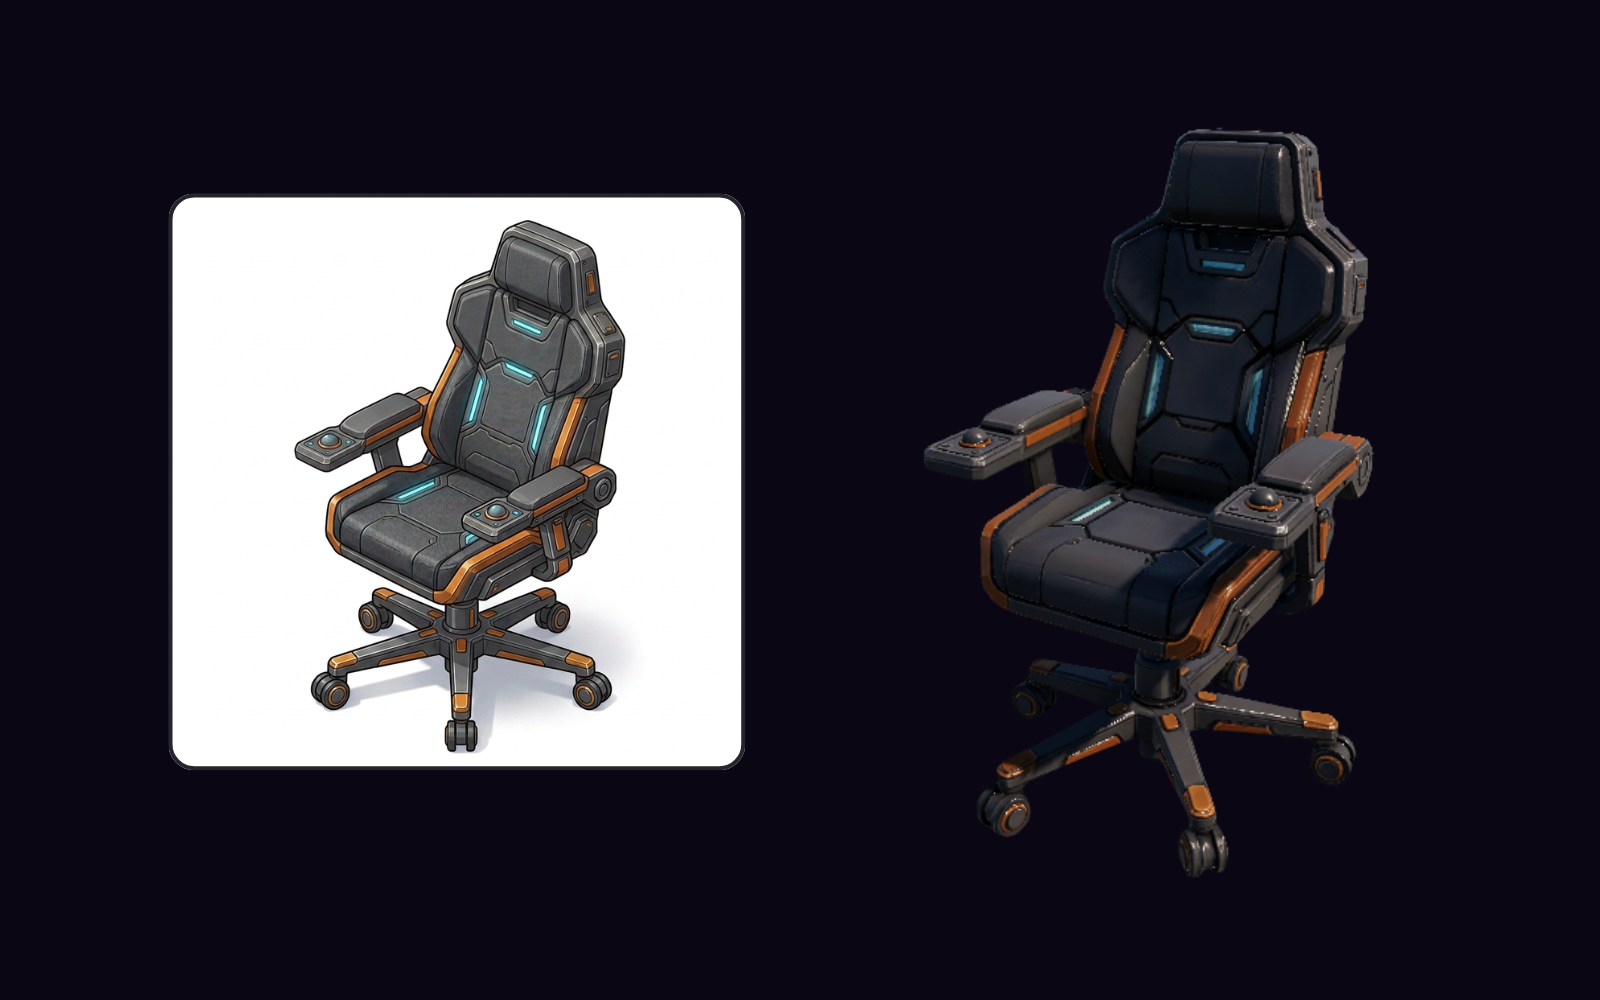
PicoBerry to UModeler X Workflow
Edit, refine, adapt, and finish AI-generated assets inside Unity.
Explore →
AI 3D Generator for Unity
Generate in PicoBerry, continue in Unity, and refine assets with UModeler X.
Explore →
AI 3D Generator Pricing Comparison
Compare PicoBerry, Tripo, Meshy, and more on price, commercial use, API, and workflow value.
Explore →Build the 3D generation layer once. Use it everywhere your product needs assets.
Start with one API call, then connect generation to your app, tool, agent, or game-asset pipeline.
One async API · switch engines without changing your integration