Launch Event50% off annual plans · free Nano Banana imagesSee the offer
New modelsGPT Image 2.5 · Meshy 7Make one
Text to 3D · Game asset workflow
Text to 3D Model for Game Developers — turn asset briefs into 3D directions
Move from written asset ideas to concrete 3D candidates faster. PicoBerry helps game teams explore props, characters, and environment pieces, then compare directions before committing manual modeling time.
Text to 3D in PicoBerry: from a written asset brief to 3D candidates for review.
Built forGame DevelopersUnityUnrealGodotBlenderPicoBerry
How do you turn a written description into a 3D model for a game?
Write the prompt as a compact asset brief — what the asset is, its role in the scene, and the style it should follow — then generate several candidates in PicoBerry and compare silhouette, proportions, and material direction. Pick the one that reads best rather than the one with the most detail, then continue with mesh cleanup, texture work, and import into Unity, Unreal, Godot, Blender, or UModeler X.
Game teams need direction decisions, not just one generated mesh
The useful question is not whether AI can produce a mesh from text. The useful question is whether the result helps a team decide what to keep, what to refine, and what to discard before artists spend manual production time.
Prompt as an asset brief
Write prompts around asset role, scale, silhouette, material, camera readability, and engine use case.
Compare across AI models
Generate the same brief with several leading AI models (Tripo, Meshy, Hunyuan3D) and compare results side by side, so you keep the strongest 3D direction instead of betting on one.
Move into review and refinement
Inspect the selected candidate for topology, UVs, material direction, scale, rigging needs, and project fit.
Where teams use text-to-3D
Use text prompts to explore concrete asset directions before committing manual modeling time.
Prop ideation
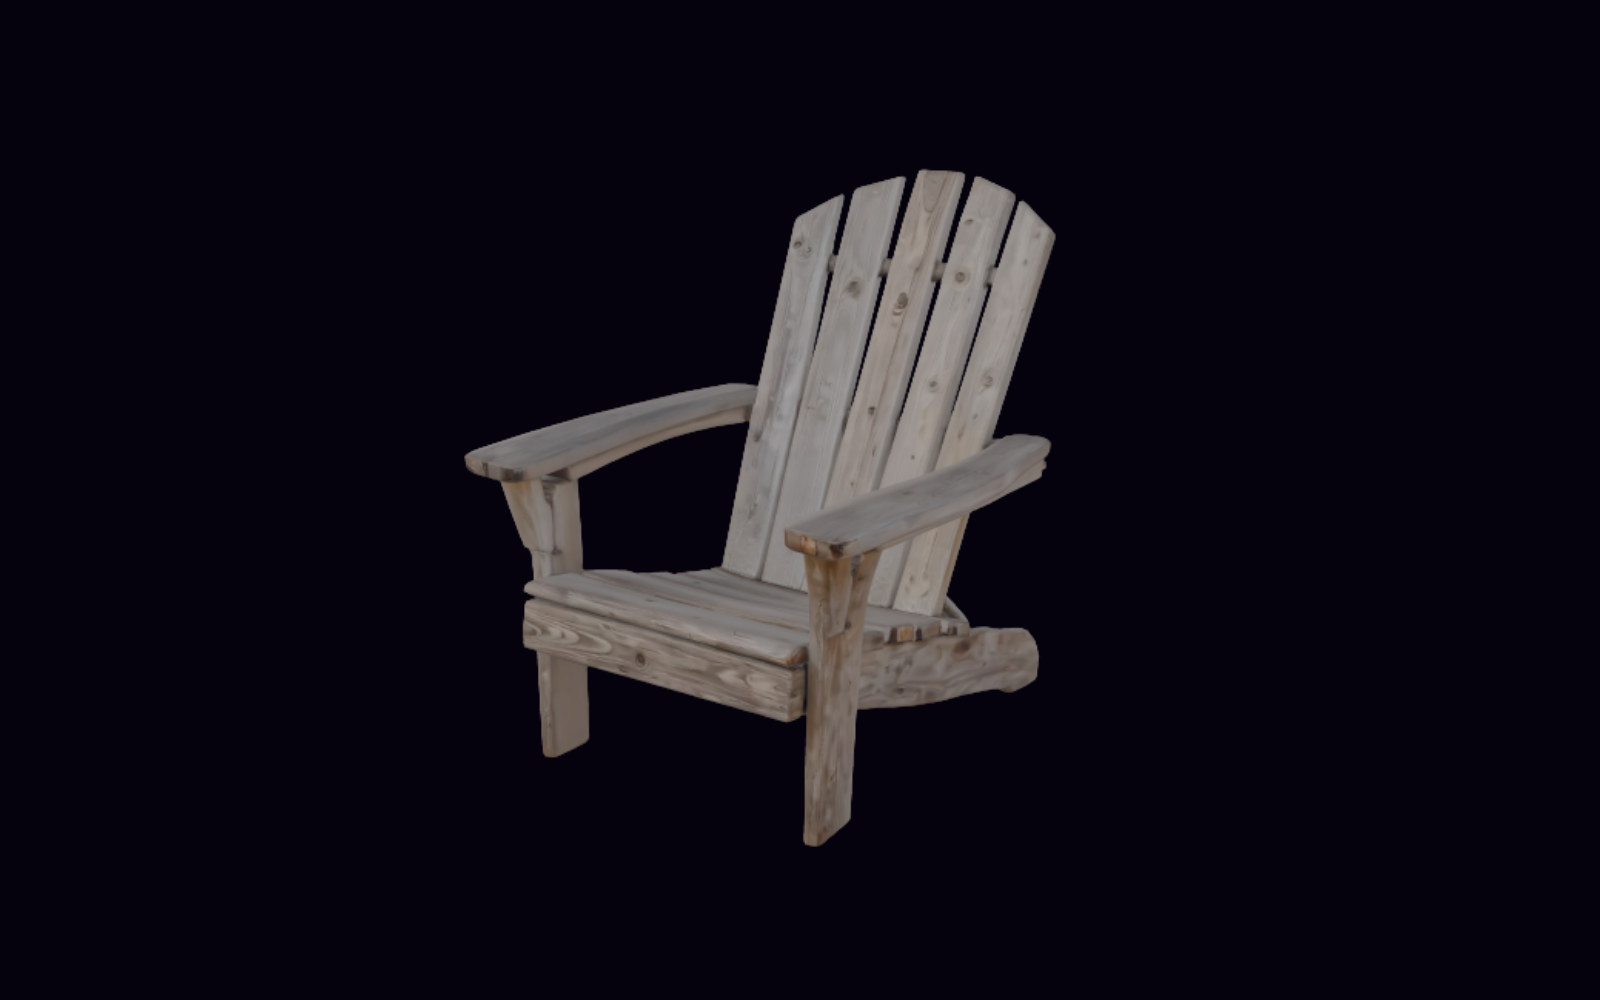
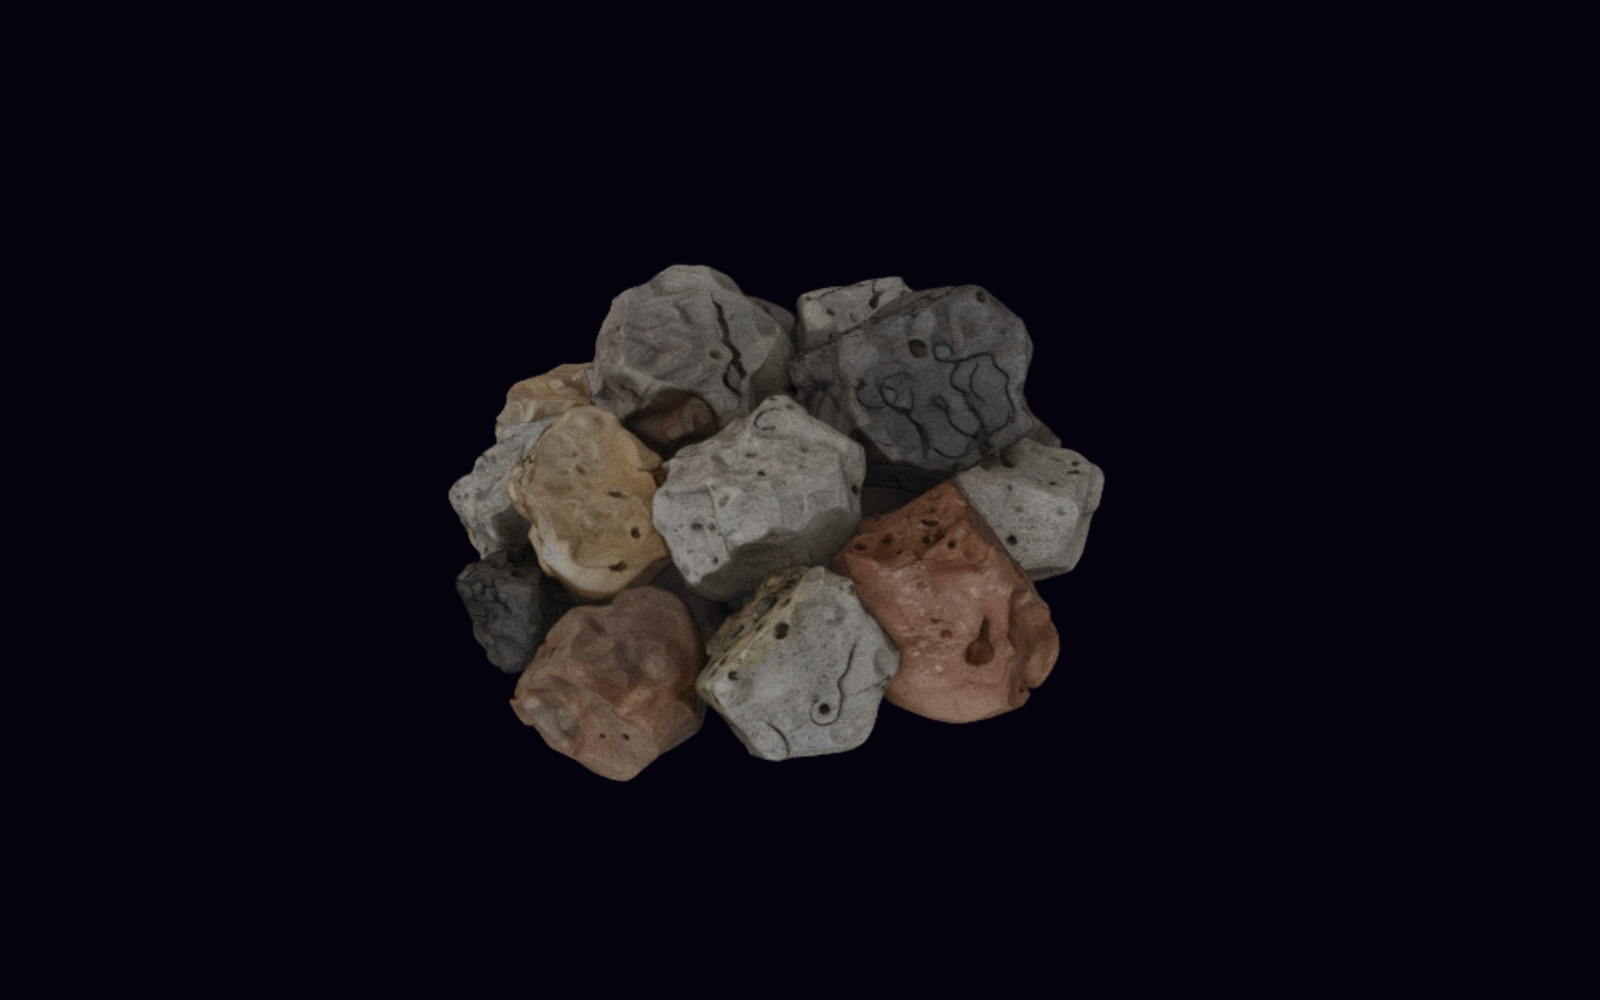
Generate crates, rocks, signs, lamps, tools, and decorative set pieces from short production briefs.
Character exploration
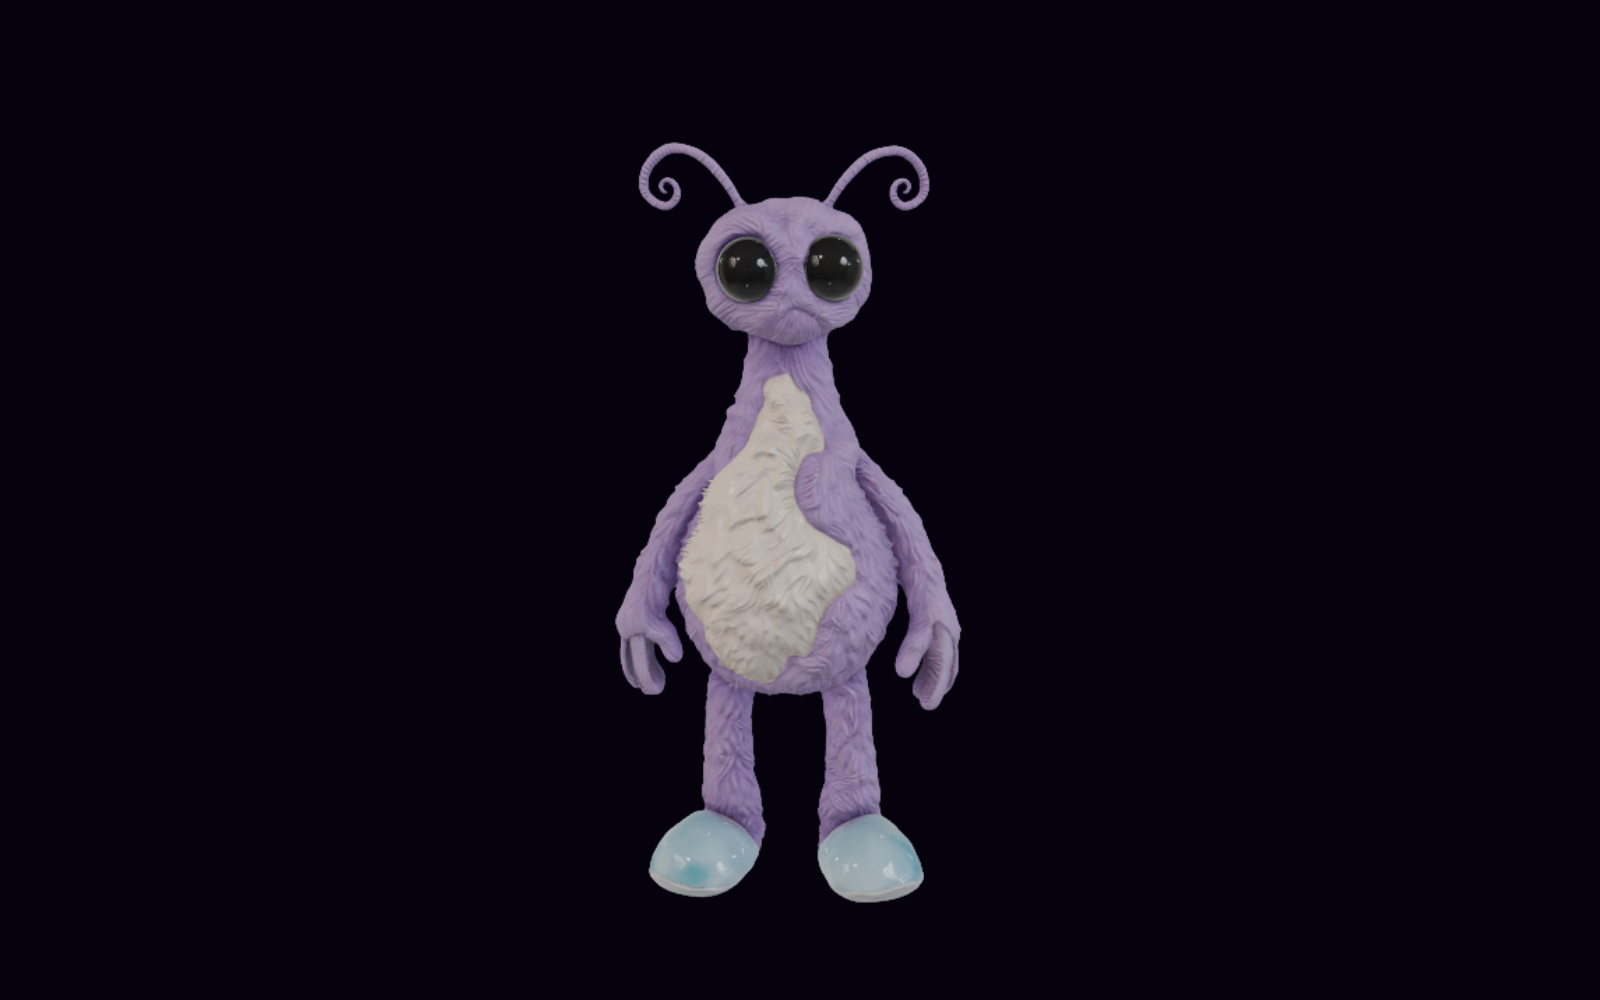
Explore early NPC, creature, outfit, or mascot directions before committing to manual modeling.
Environment pieces
Create terrain props, modular blocks, background objects, and theme-set dressing for scene iteration.
Pipeline handoff
Move the most promising candidate into Remesh, Texture, UModeler X, Blender, or engine review.
Practical workflow
Start with the written brief, compare generated options, then move only the strongest candidate into review and refinement.
STEP 01
Write the asset brief
Describe what the asset is, why it exists in the scene, what style it should follow, and how it should read in gameplay.
STEP 02
Generate candidate models
Create several options and compare silhouette, proportions, material direction, and usefulness.
STEP 03
Select the strongest direction
Choose the result that best communicates the intended asset, not necessarily the one with the most detail.
STEP 04
Refine for the project
Continue with mesh cleanup, texture work, engine import, scale checks, or Unity-native editing where needed.
Where this fits in a game-asset pipeline
Use the workflow where it speeds up decision-making, and review carefully where production constraints are strict.
Best fit
Props, set dressing, blockout replacements, stylized items, early character exploration, pitch visuals.
Use caution
Hero characters, deformation-heavy assets, exact licensed likenesses, and assets with strict topology requirements.
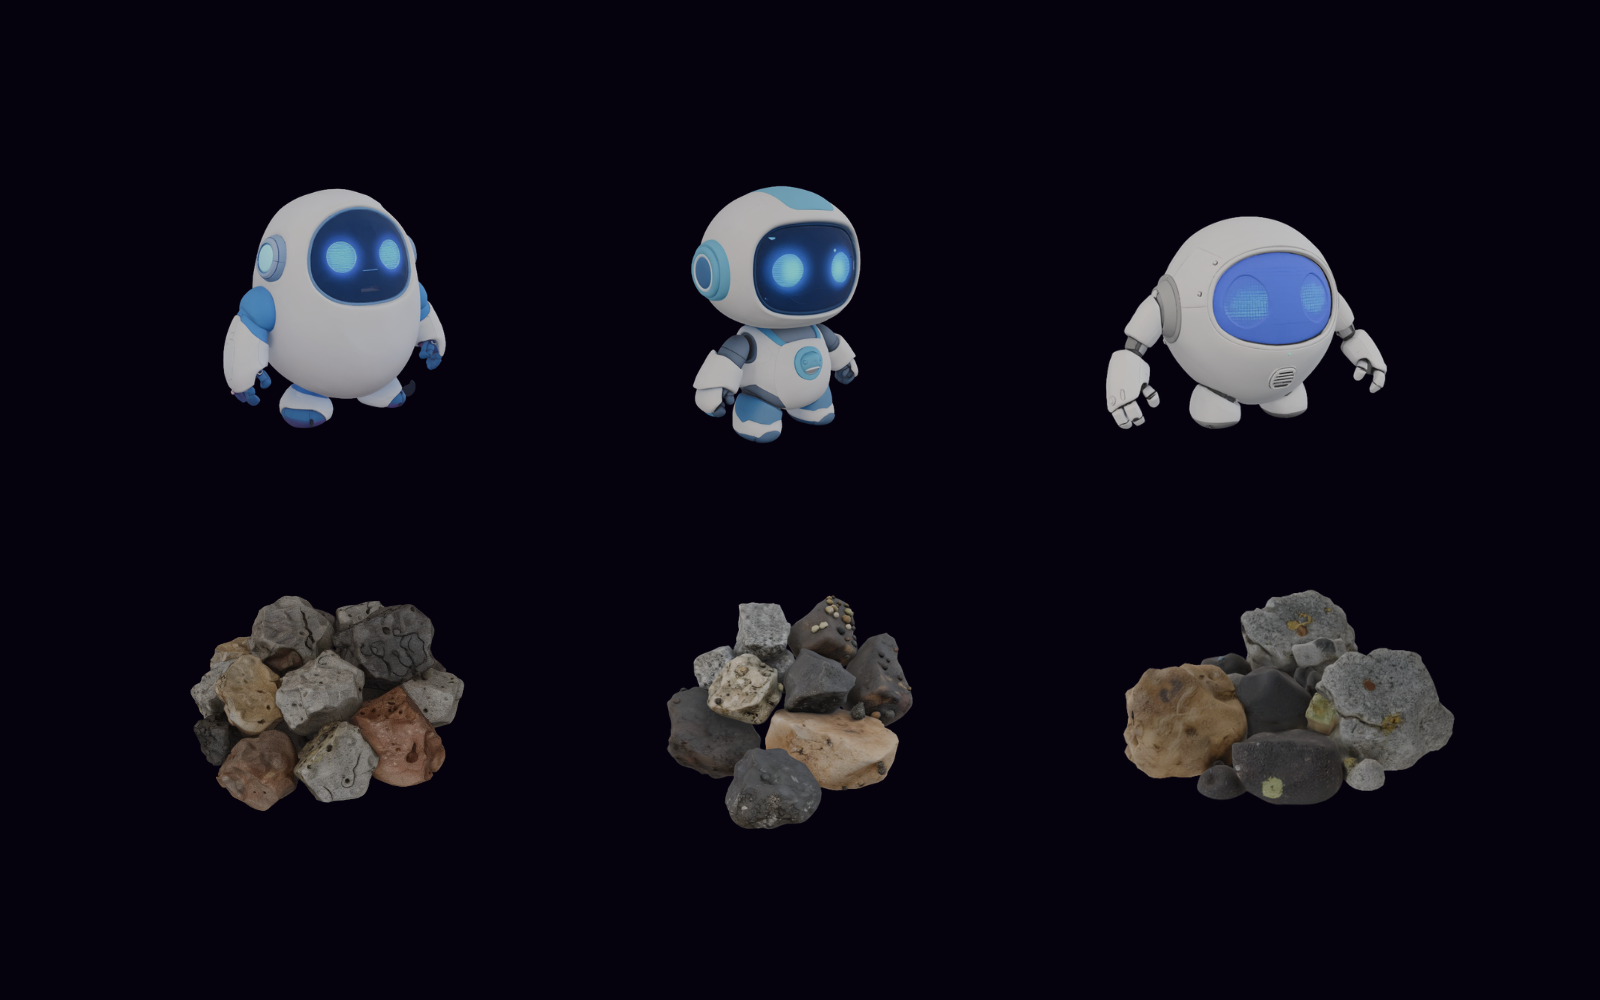
See how a written prompt becomes several 3D candidates, then a selected asset direction ready for engine review.
Prompt-result comparison
One production-style prompt appears next to several generated 3D candidates, making the selection process visible.
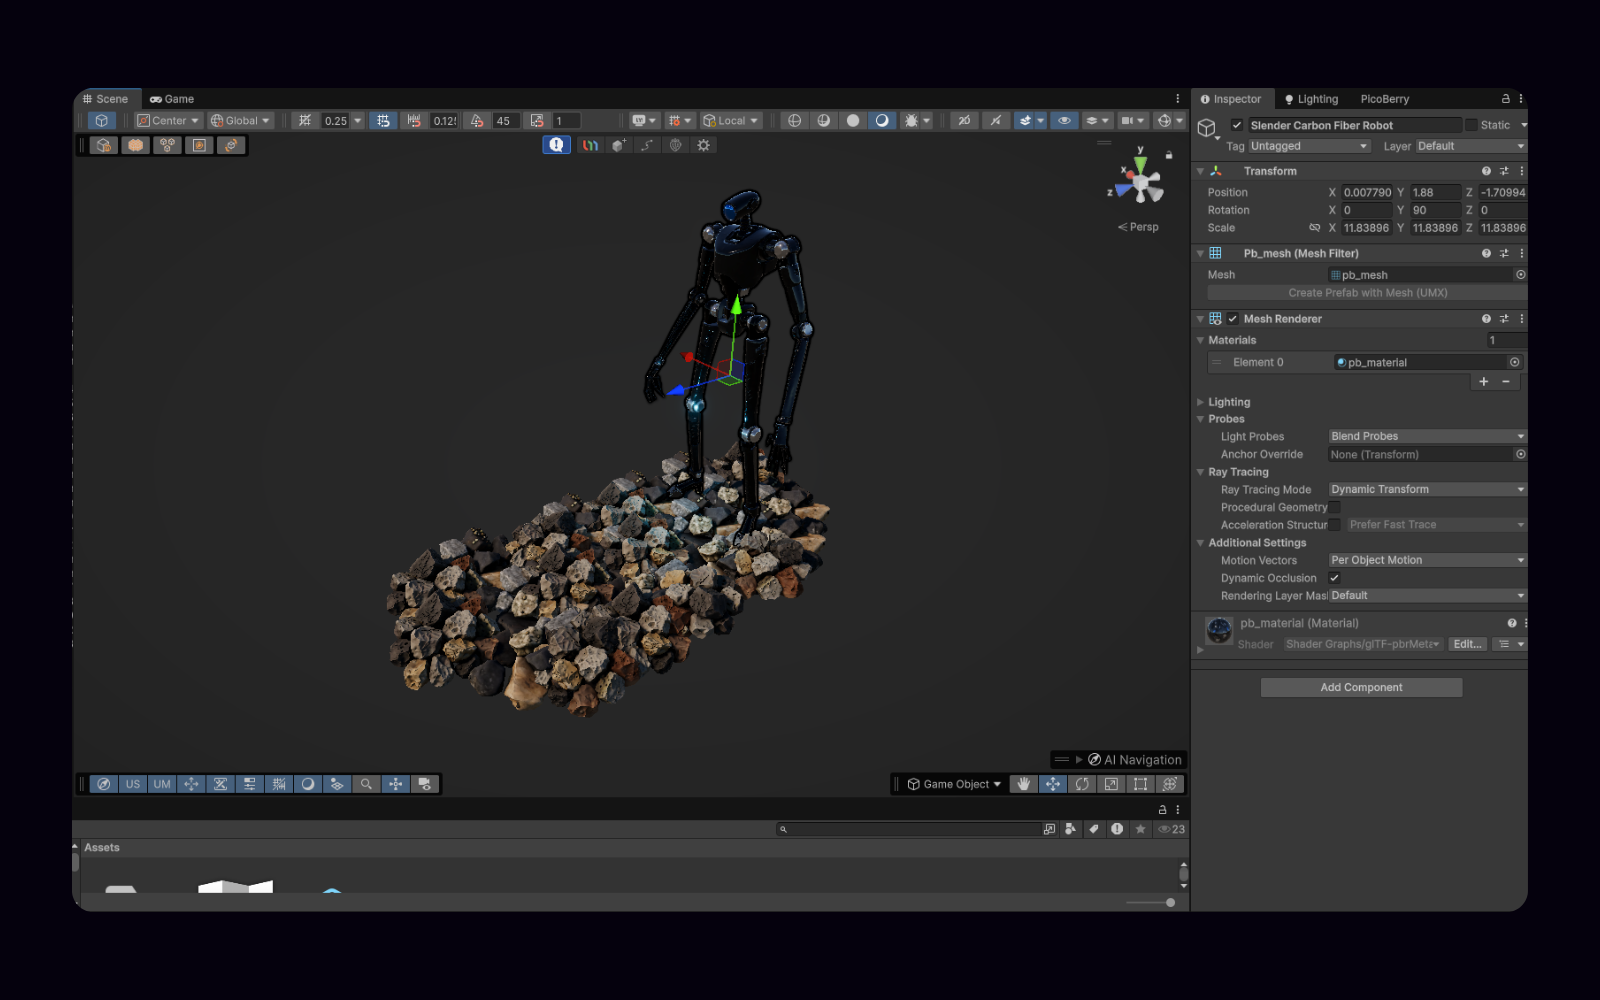
Scene placement
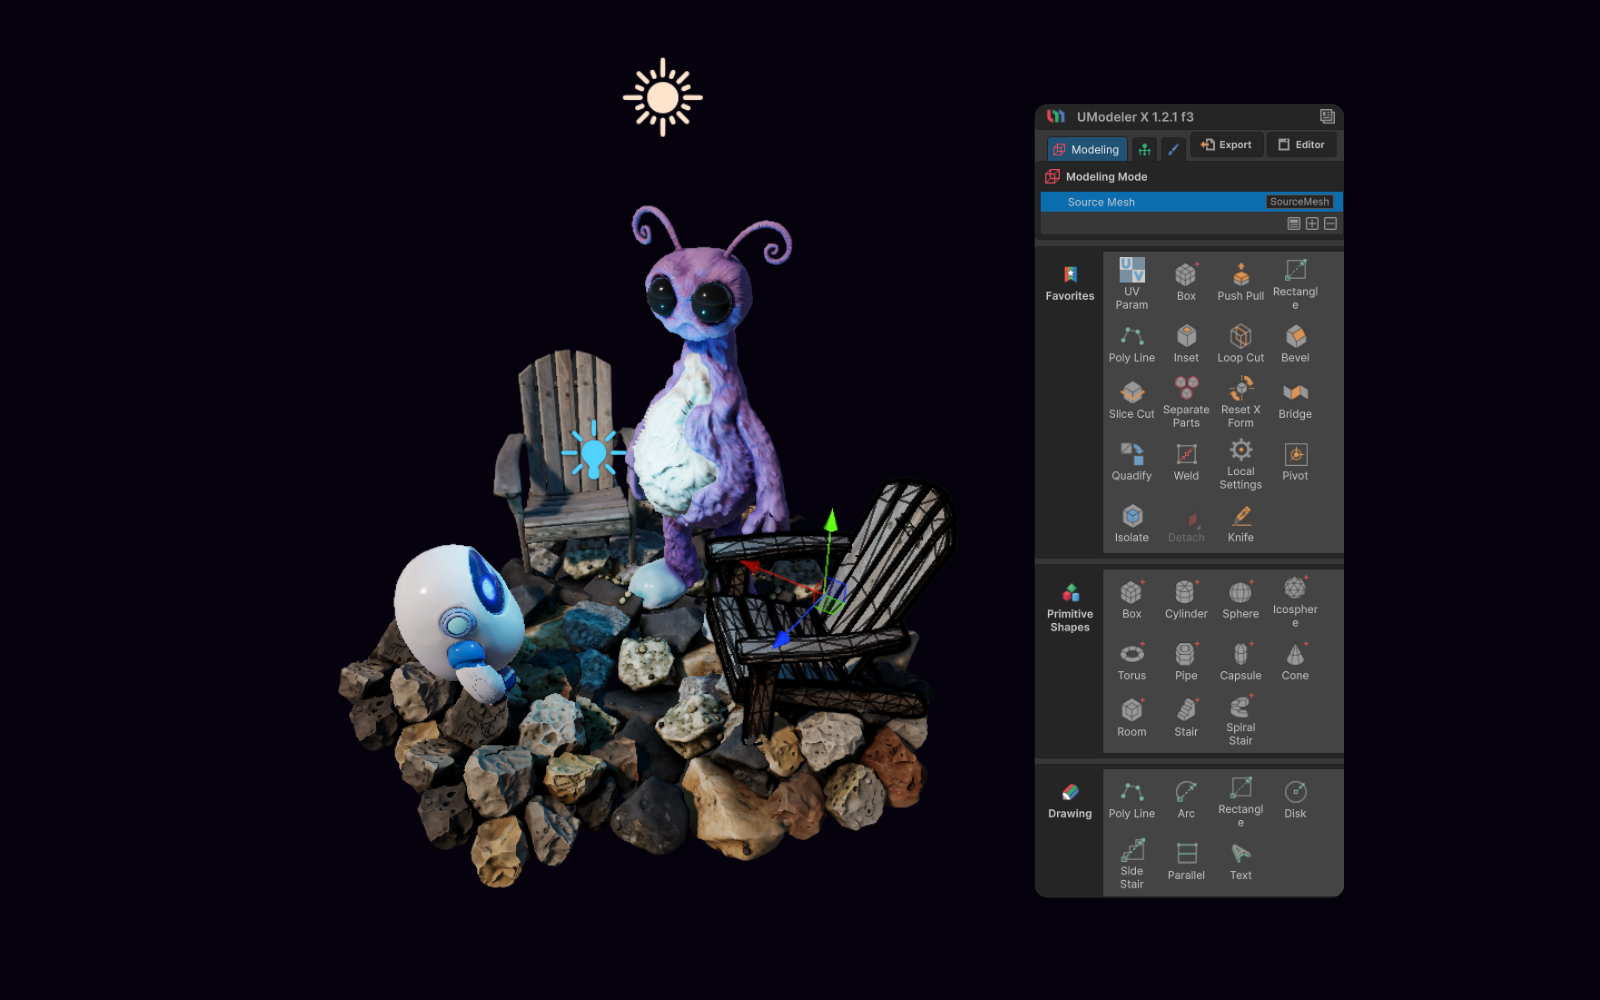
The chosen model appears inside a game scene so scale, lighting, and silhouette can be evaluated in context.
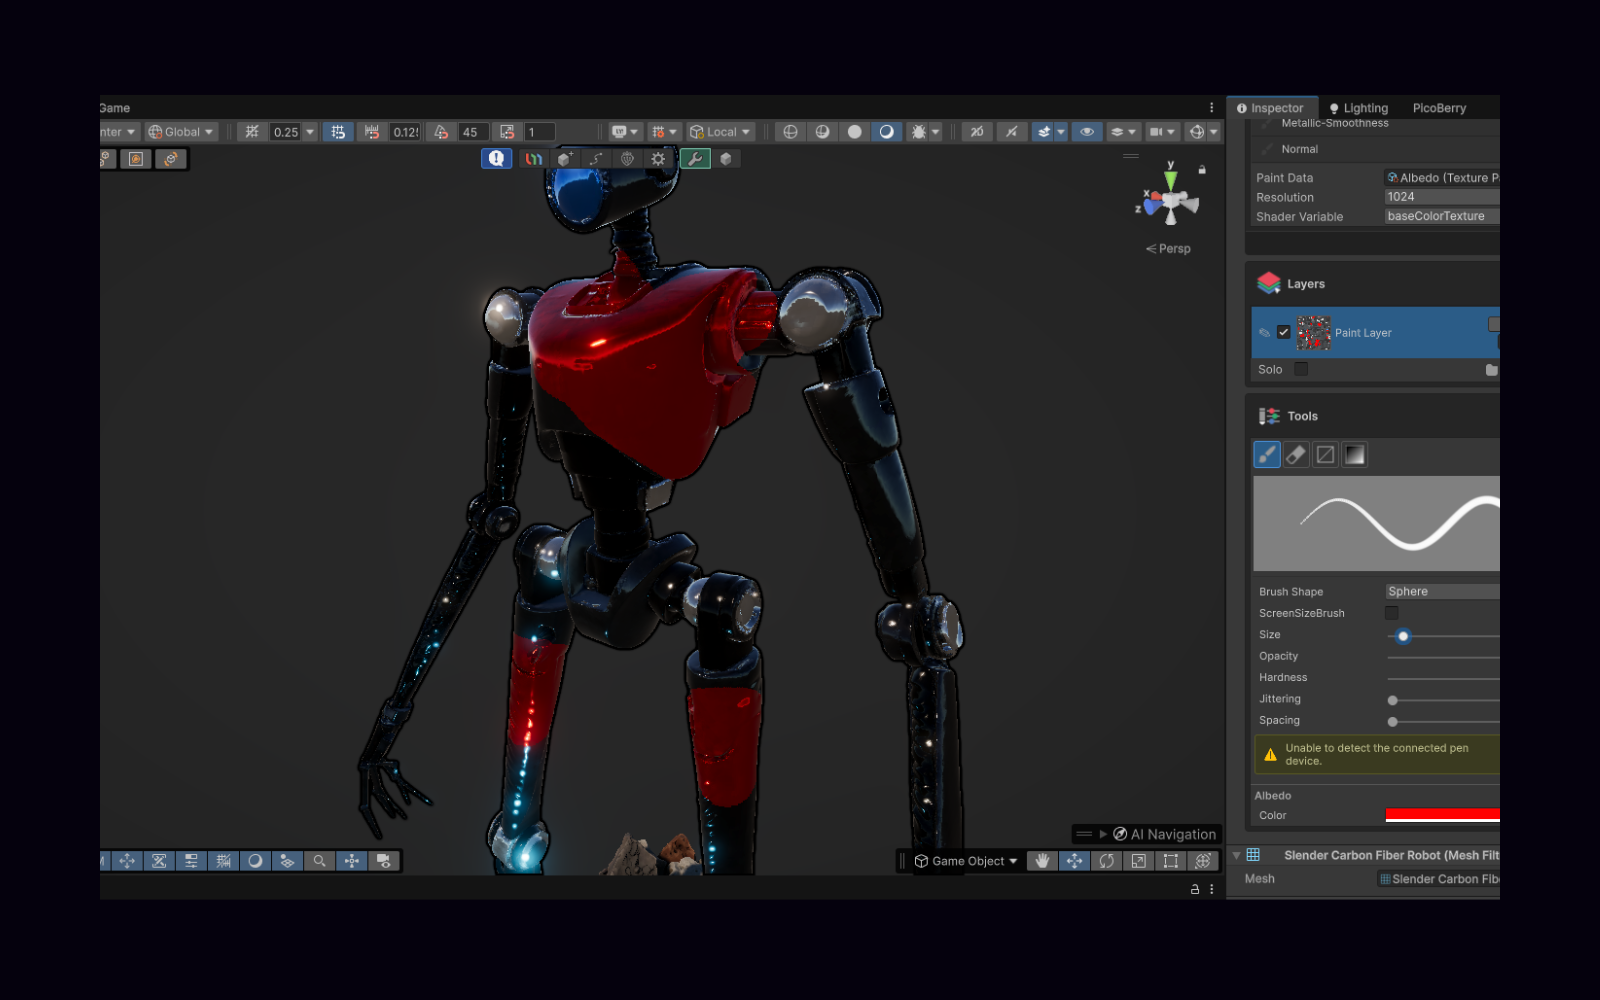
Refinement continuation
The selected result continues into Remesh, Texture, or UModeler X for project-specific refinement.
Frequently asked questions
How should I write a text-to-3D prompt for a game asset?
Write the prompt like a compact asset brief: asset type, gameplay or scene role, style, material, silhouette, scale, and any constraints. For example: “modular low-poly market stall, fantasy village, readable silhouette, hand-painted wood and fabric, sized for a third-person town scene.”
Can Text to 3D make final game assets automatically?
No. Text to 3D can create useful 3D candidates, but game projects still need review for topology, UVs, materials, scale, collisions, rigging, LODs, and performance requirements.
Is this workflow only for Unity developers?
No. The workflow is relevant to game developers using Unity, Unreal, Godot, Blender, and other 3D pipelines. Unity users can additionally refine assets with UModeler X inside the Unity Editor.
Where does Text to 3D fit in a production pipeline?
It fits best near the start of the pipeline: concept exploration, prop ideation, greybox replacement, art-direction comparison, and pitch visuals. Only selected candidates should move into deeper cleanup or implementation.
What kinds of game assets are best for Text to 3D?
Props, stylized environment pieces, simple creatures, background objects, and early visual candidates tend to be strong fits. Assets with strict deformation or exact technical topology need more manual review.
Can I compare multiple generation results before choosing one?
Yes. Generate a brief across multiple AI models, compare the results side by side, and keep the one that best fits your scene. From there, move the selected candidate into remesh, texture, API, or engine review.
Start with a written asset brief and turn it into reviewable 3D directions.
Use PicoBerry to turn written asset briefs into 3D candidates your team can compare, inspect, and refine.