Anyone who has rotated a character through eight directions and drawn eight sprites knows the trap — every new angle is another drawing, and once animation enters the picture it multiplies by the frame count. Unity 6.3's URP 2D Renderer breaks that multiplication. Put a single 3D Mesh through the same 2D Light, Sprite Mask, and sorting rules as everything else, and angles become rotation while animation becomes reuse. This isn't a workaround — it's an officially supported feature. This post lays out the exact setup, straight from the official docs — which materials and shaders to use, how to turn on sorting and masking, and what to check when it doesn't work.
Why 3D instead of sprites?
It won't look identical to hand-drawn 2D — especially where pixel-art or a painterly style is the game's identity. 3D's advantage isn't replacing hand-drawn art; it's reusing the cost of angles, animation, and repeated edits. The on-screen role can be similar, but the work of making it differs.
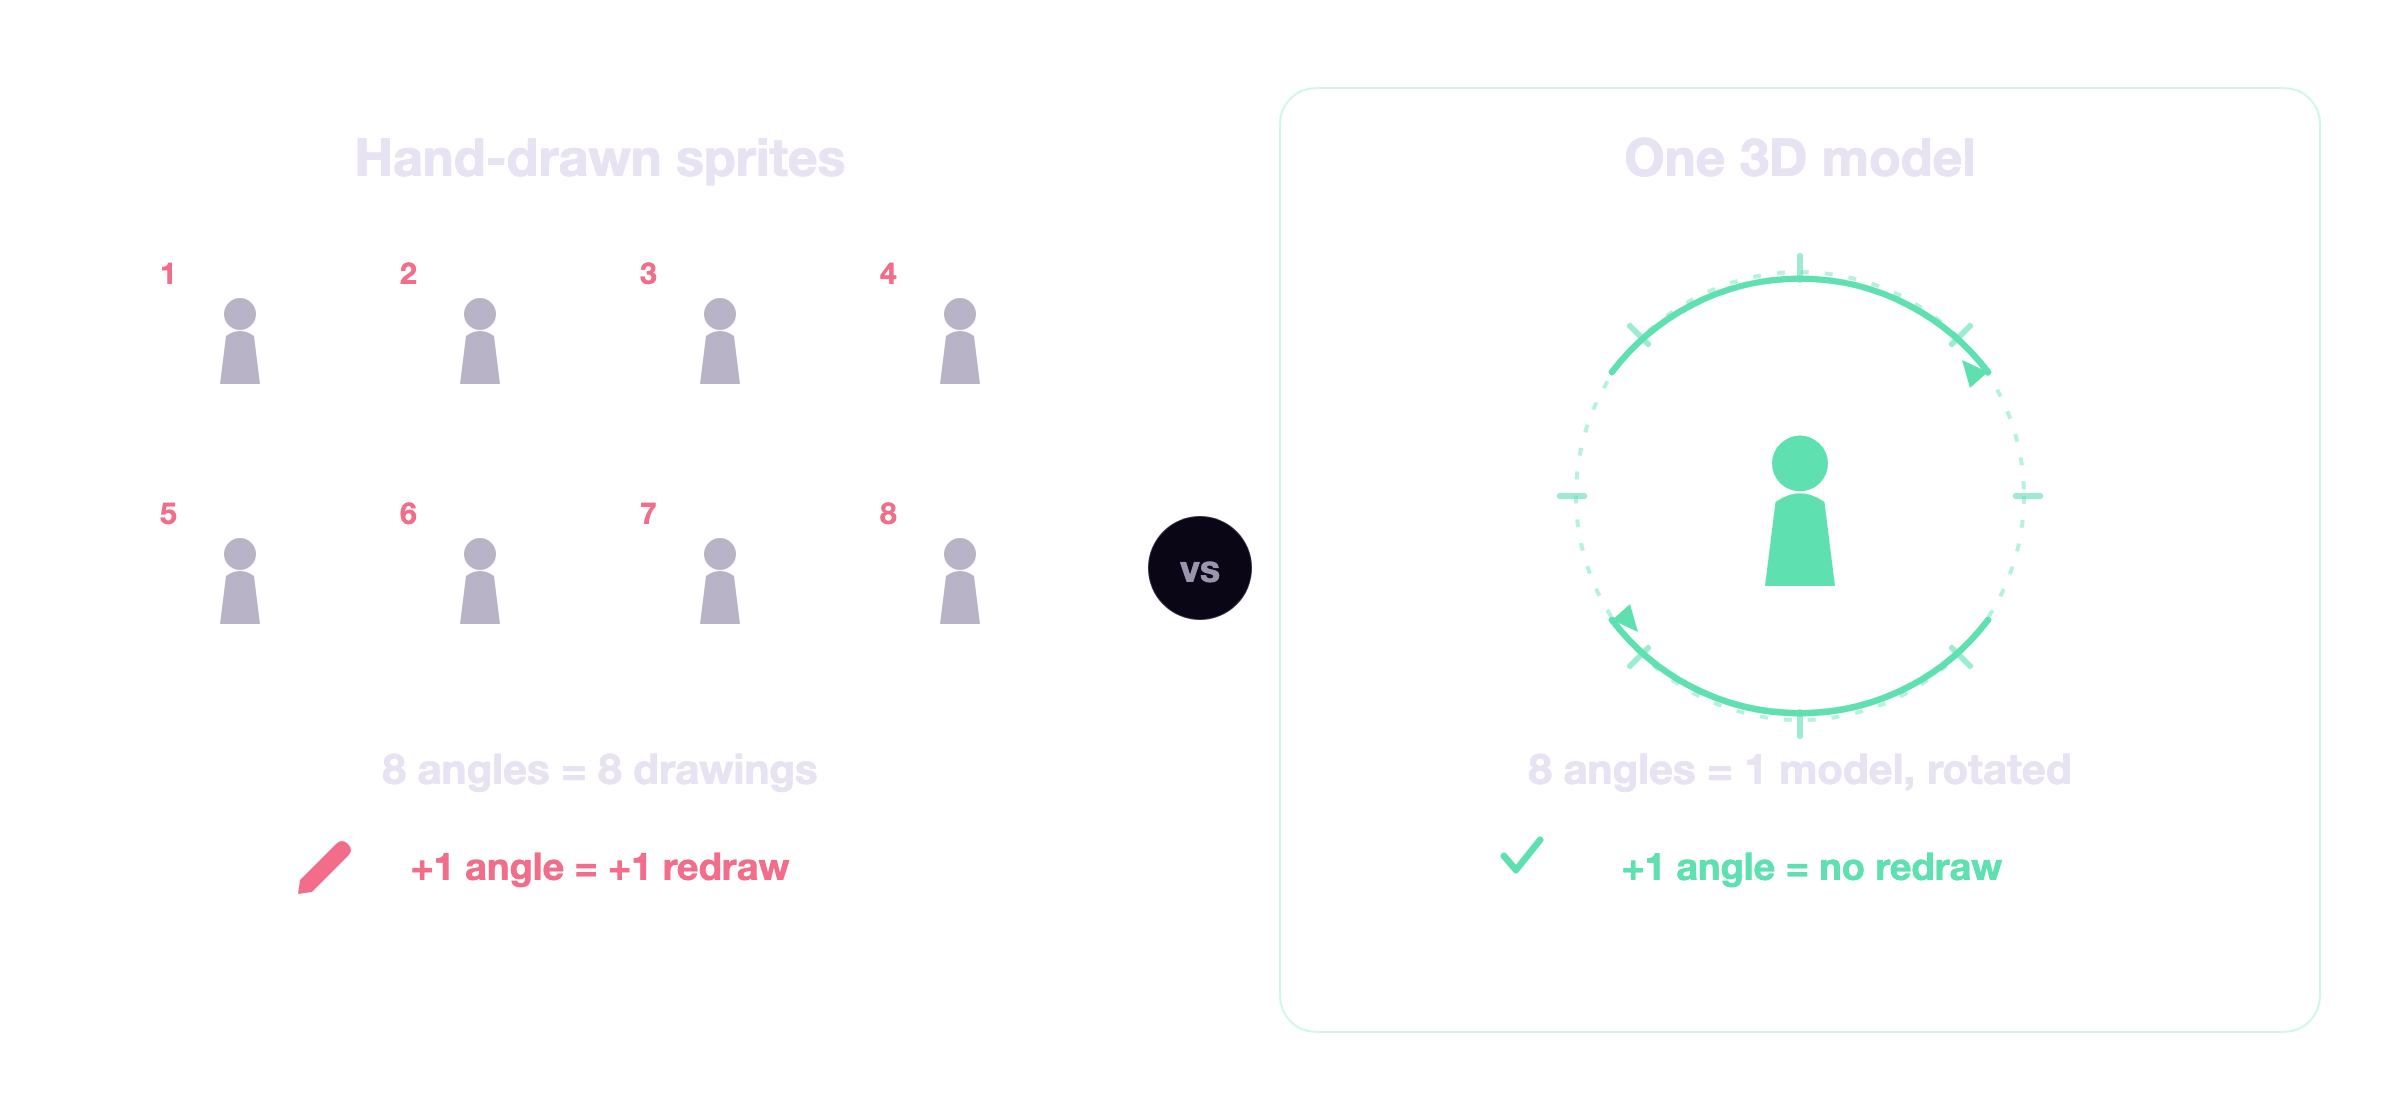
| Task | Hand-drawn sprites | 3D assets as 2D |
|---|---|---|
| New angles/poses | Redraw per direction | Rotate one model |
| Animation | Draw frame by frame | Reuse asset animation |
| Depth/render order | Stack layers by hand | Sorting Group + Sort 3D as 2D |
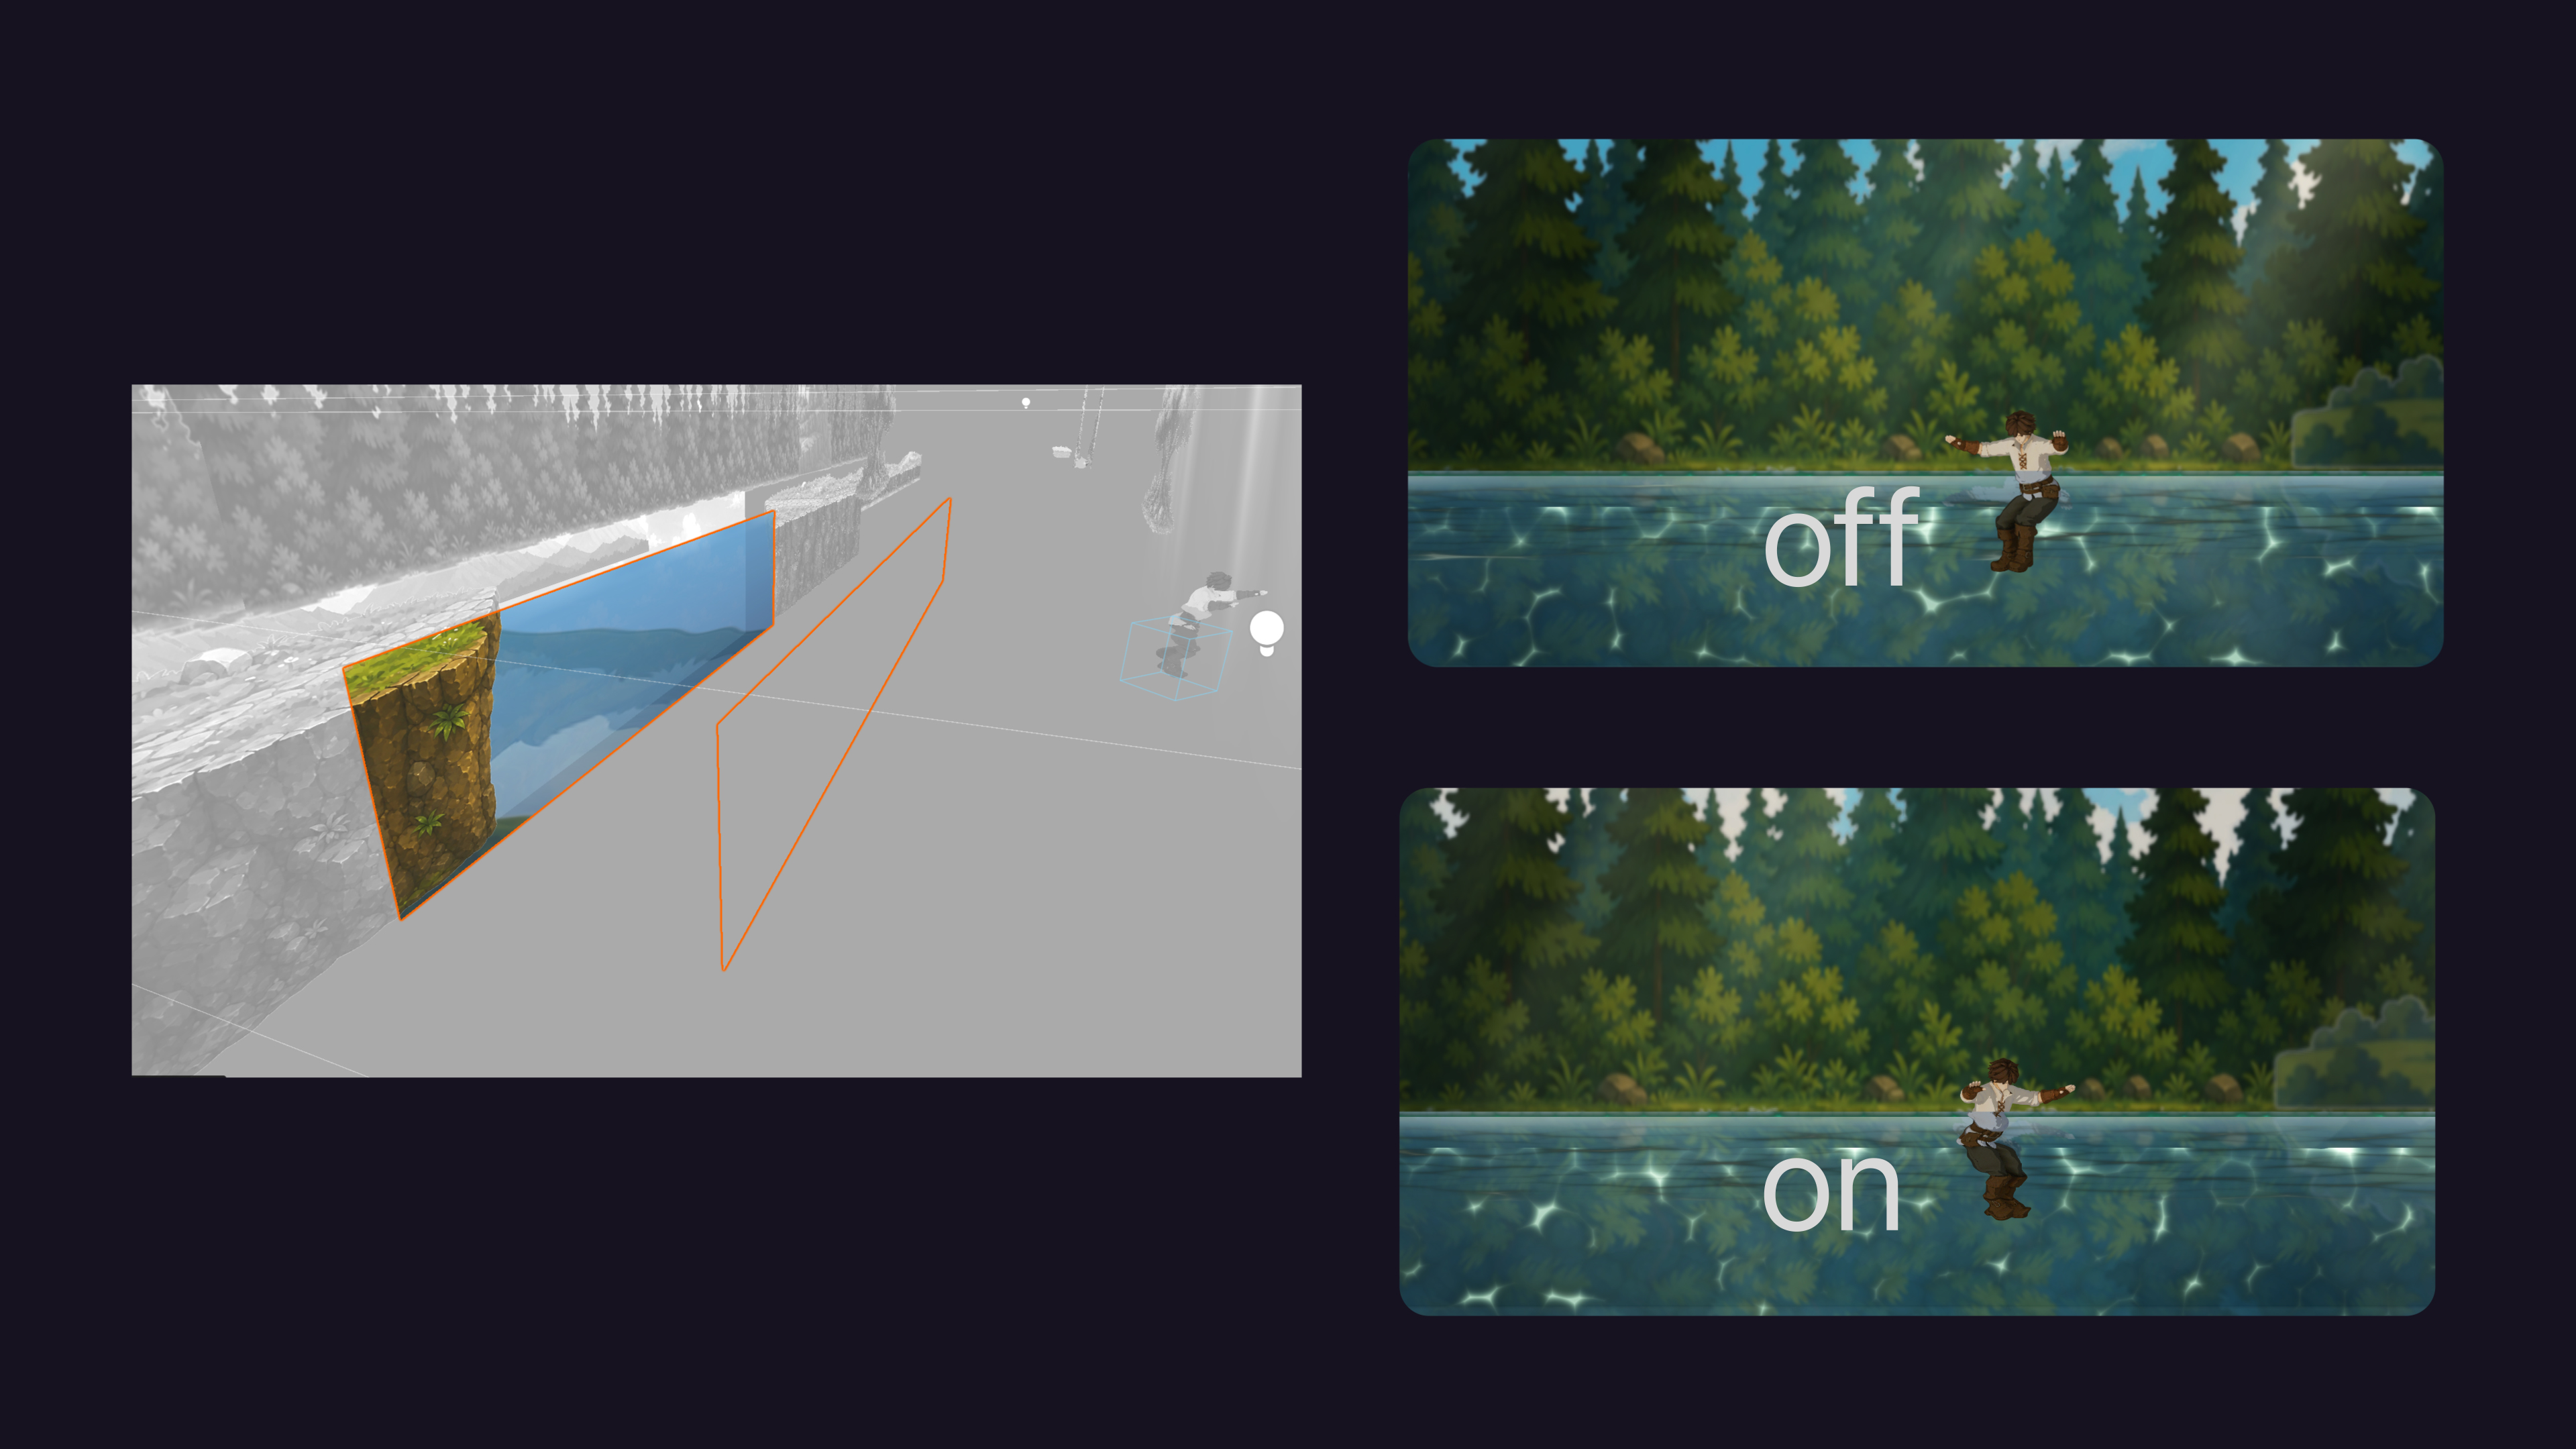
| Lighting/masks | Baked per frame | 2D Light and Sprite Mask respond |
What the right column changes isn't the look — it's the iteration cost. When a new angle or animation is needed, do you start redrawing, or reuse what already exists?
Two strategies: Z-depth vs Sort 3D as 2D
Decide one thing first — whether the scene uses depth.
- Strategy A · Z-depth — use each object's actual Z position for parallax, depth of field, fog, and scene-depth effects. This fits 2.5D games.
- Strategy B · Sort 3D as 2D — treat a 3D object as just another 2D scene element. It follows your existing Sorting Layer rules, so its front-to-back order is decided exactly the way a sprite's is.
If depth is part of the gameplay, go with A; if you're using 3D purely for the look, go with B.
The actual setup — putting a 3D Mesh through the 2D Renderer
Prerequisite: the project has to be 2D URP. The URP Asset's renderer must be a 2D Renderer Data for the 2D options below to appear on the Mesh Renderer — starting from the 2D template sets this up for you.
- Material — give the Mesh Renderer (or Skinned Mesh Renderer) a
Mesh2D-Lit-Defaultmaterial. It's assigned automatically when you create a 3D object in a 2D URP project; for an existing object, pick it in the Materials slot. A plain URP Lit material won't respond to 2D Light. (docs) - If you need a custom shader — create a Sprite Lit, Unlit, or Custom Lit shader via
Assets › Create › Shader Graph › URP, then in the Graph Settings enable Sort 3D As 2D Compatible. Skip that toggle and the sorting won't follow 2D rules. - Sorting — add a Sorting Group to the object's root (
Component › Rendering › Sorting Group). Inside the group, each renderer's Sorting Layer / Order in Layer decides front-to-back order, and the distance to camera is computed once from the root's position. (docs) - Masking — to react to a Sprite Mask, switch the Mesh Renderer's 2D › Mask Interaction from
Noneto Visible Inside Mask or Visible Outside Mask. This option only appears in a 2D URP project. (docs) - Lighting — 2D Light works only with URP + the 2D Renderer, and it targets objects wearing a Mesh2D-Lit-family material.
When it doesn't work — symptom checklist
| Symptom | Common cause | Correct setting |
|---|---|---|
| 2D Light has no effect | A plain URP Lit material | Mesh2D-Lit-Default (or a Sort 3D As 2D Compatible shader) |
| Sprite Mask has no effect | Mesh Renderer's 2D › Mask Interaction = None | Visible Inside/Outside Mask |
| Front-to-back order is scrambled | No Sorting Group / Order in Layer unset | Sorting Group at the root + Sorting Layer / Order in Layer |
| Fine in Scene, wrong in Game | Render order not checked in Game View | Verify in Game View with the actual play camera |
| The 2D options aren't even there | No 2D Renderer Data on the URP Asset | Set the project to 2D URP |
Fine in the Scene View, broken in the Game View?
A model that looks fine in isolation can fall apart under the real camera. Always confirm sorting, masking, and lighting in the Game View, at the camera distance the player actually sees.
Is 3D cheaper than sprites?
Not automatically. Draw calls, material count, shader cost, and skinned-mesh overhead all have to be measured on the target device. The savings come not from the look but from iteration — they're recovered when angles multiply, animation gets reused, and large objects no longer need redrawing frame by frame. So decide on "does this project generate enough iteration cost to make it worth it?", not on "3D is cheaper."
When to use 3D, when to stay on sprites
| 3D pays off | Sprites are better |
|---|---|
| Rotating, multi-direction characters | Only one angle, now and later |
| Units that reuse animation | Pixel-art craft is the identity |
| High-effort bosses, props that change often | Small and simple — 3D overhead isn't worth it |
Getting the draft fast with PicoBerry
This workflow starts with a usable 3D draft. Use PicoBerry to generate a clear-silhouette draft from text or an image and put it through the setup above. It isn't AI replacing the artist; it's shortening the time to a first draft.
Make a 3D draft for Unity → — start from text or an image and verify it straight in your Unity scene. Free to start, no card required.
Refining the AI draft inside Unity — UModeler X
What comes out is a draft, not a finished asset. Fitting it cleanly into a 2D scene sometimes means adjusting the silhouette, the pivot, or the polygons — and you don't have to export to another tool and re-import to do it. UModeler X carries modeling, UV, painting, and rigging into the Unity editor itself, so you refine an AI-made draft right where the scene already lives.
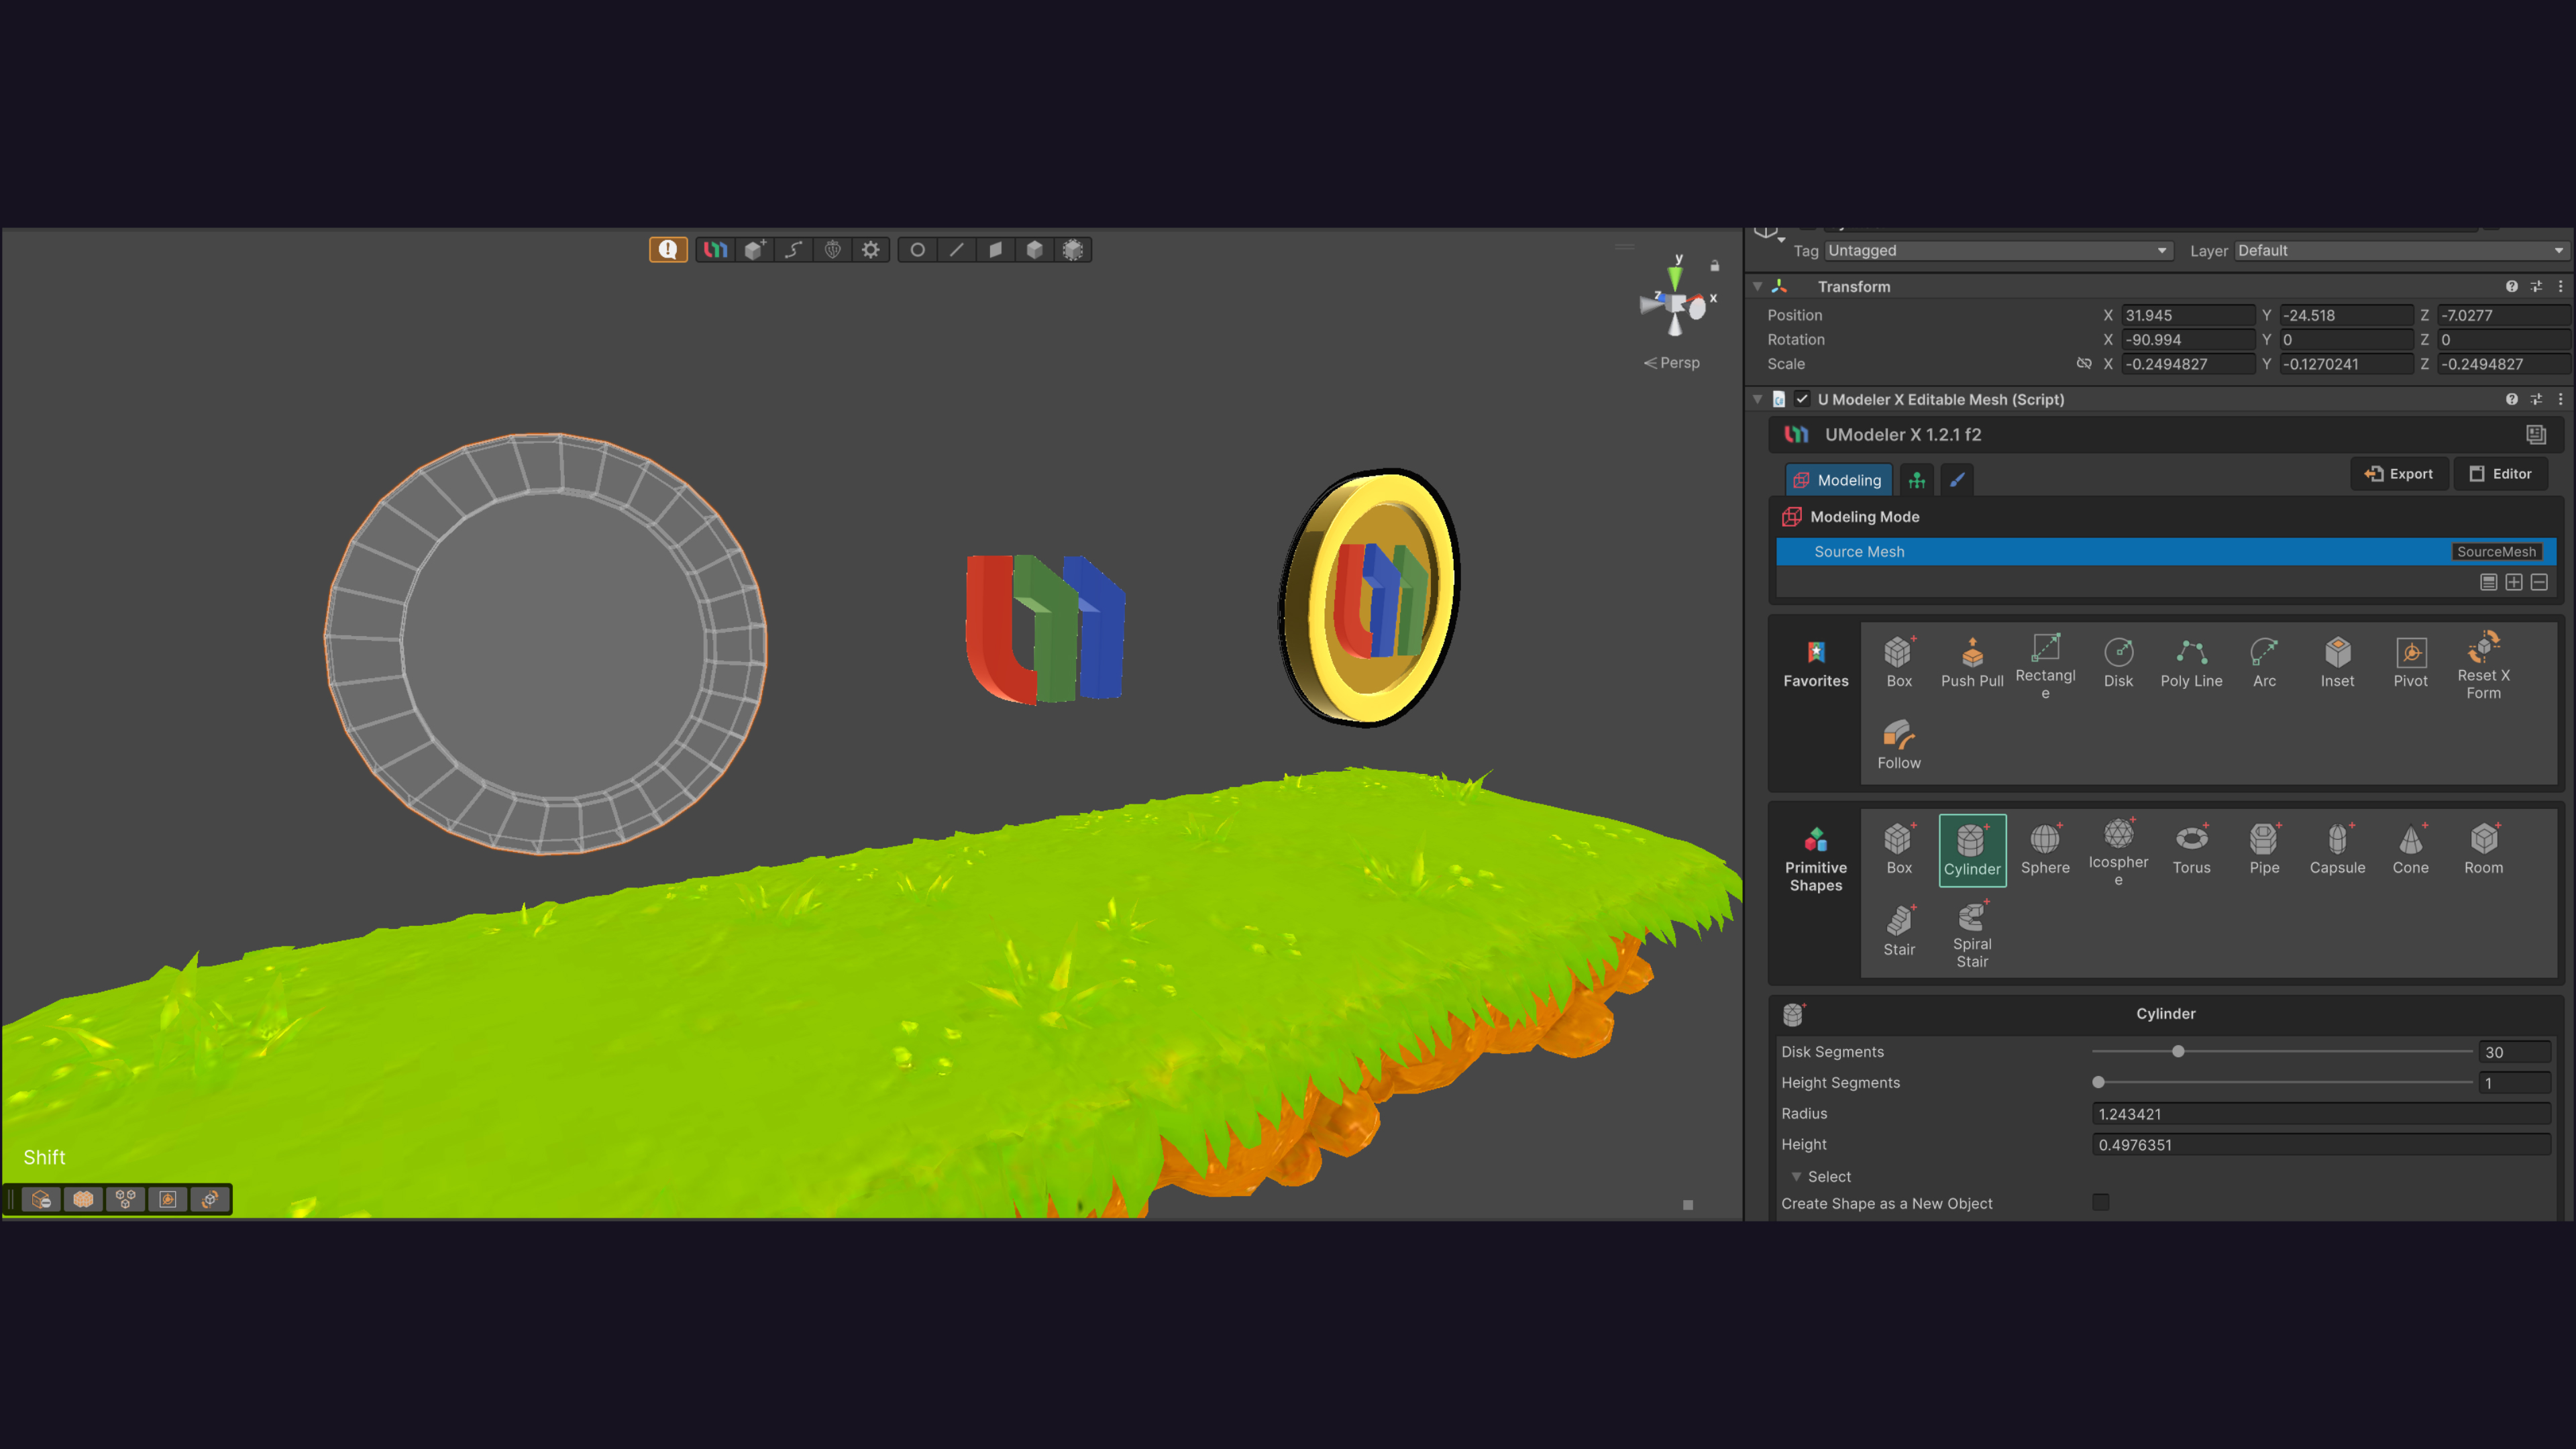
PicoBerry generates, UModeler X refines and finishes — both without leaving Unity.
Explore next
- Render 3D GameObjects in 2D scenes (official Unity docs) — the primary source this post is built on
- Unity 6.3 Render 3D as 2D — the full checklist across renderer, sorting, lighting, and performance
- AI 3D Generator for Unity — from generating a draft to placing and refining it in Unity
- AI 3D Models Aren't Assets Until You've Judged Them in a Unity Scene — why nothing counts until it's in the scene
In one line
Unity 6.3 URP officially supports rendering a 3D Mesh as 2D. A Mesh2D-Lit-Default material (or a Sort 3D As 2D Compatible shader) + a Sorting Group at the root + the Mesh Renderer's 2D › Mask Interaction — those three make a 3D object sort, light, and mask like a sprite. A plain URP Lit material won't do it, and you always verify in the Game View. Then you never redraw an angle again.