Two entry points, and they read like a fork in the road: start from a sentence, or start from a picture. Text to 3D and image to 3D each have their own workflow page, and each makes sense on its own. But watch someone actually fill a scene with props and you'll see the same three moves over and over — they write a prompt, generate an image from it, and convert that to 3D. The paths aren't alternatives. One usually feeds the other, and understanding why tells you when to skip a step.
Should you start from text or from an image?
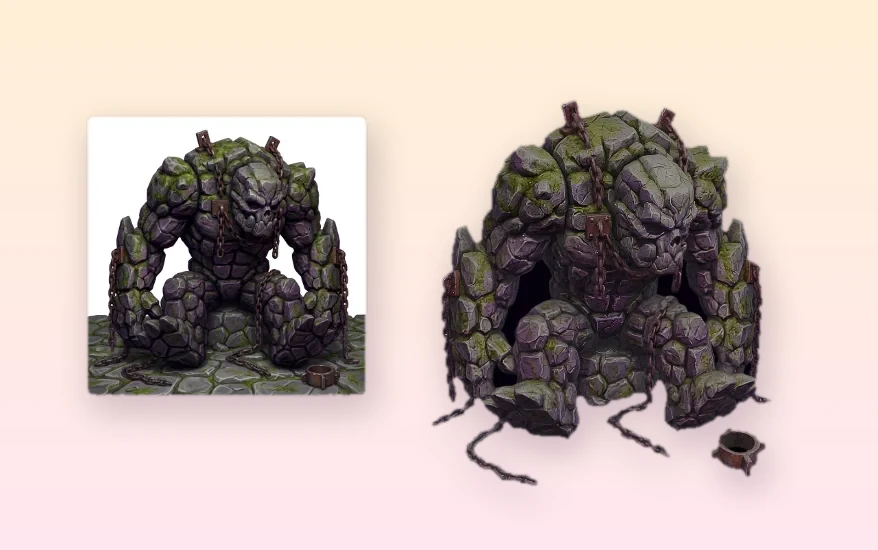
Start from an image if you already have one worth starting from — concept art, a sketch, a reference photo. The image already carries decisions about proportion, style, and silhouette, and describing it again in words would only lose information you have.
If you don't have one, write the prompt and generate an image first, then convert that image. Going straight from text to a mesh is faster when you want breadth rather than precision — a dozen rough directions for something you haven't designed yet. But when you're aiming at a specific result, the middle step earns its place, because silhouette, angle, and style get decided while the asset is still flat. That's the last point where changing them is cheap.
What is each path actually good at?
They're not the same instrument.
- Text to 3D is a breadth instrument — one prompt, several candidates, compared side by side before anyone commits modeling time. You're not trying to hit a target; you're trying to see the options.
- Image to 3D is a precision instrument — the input already carries the decisions, so the job becomes interpretation rather than invention.
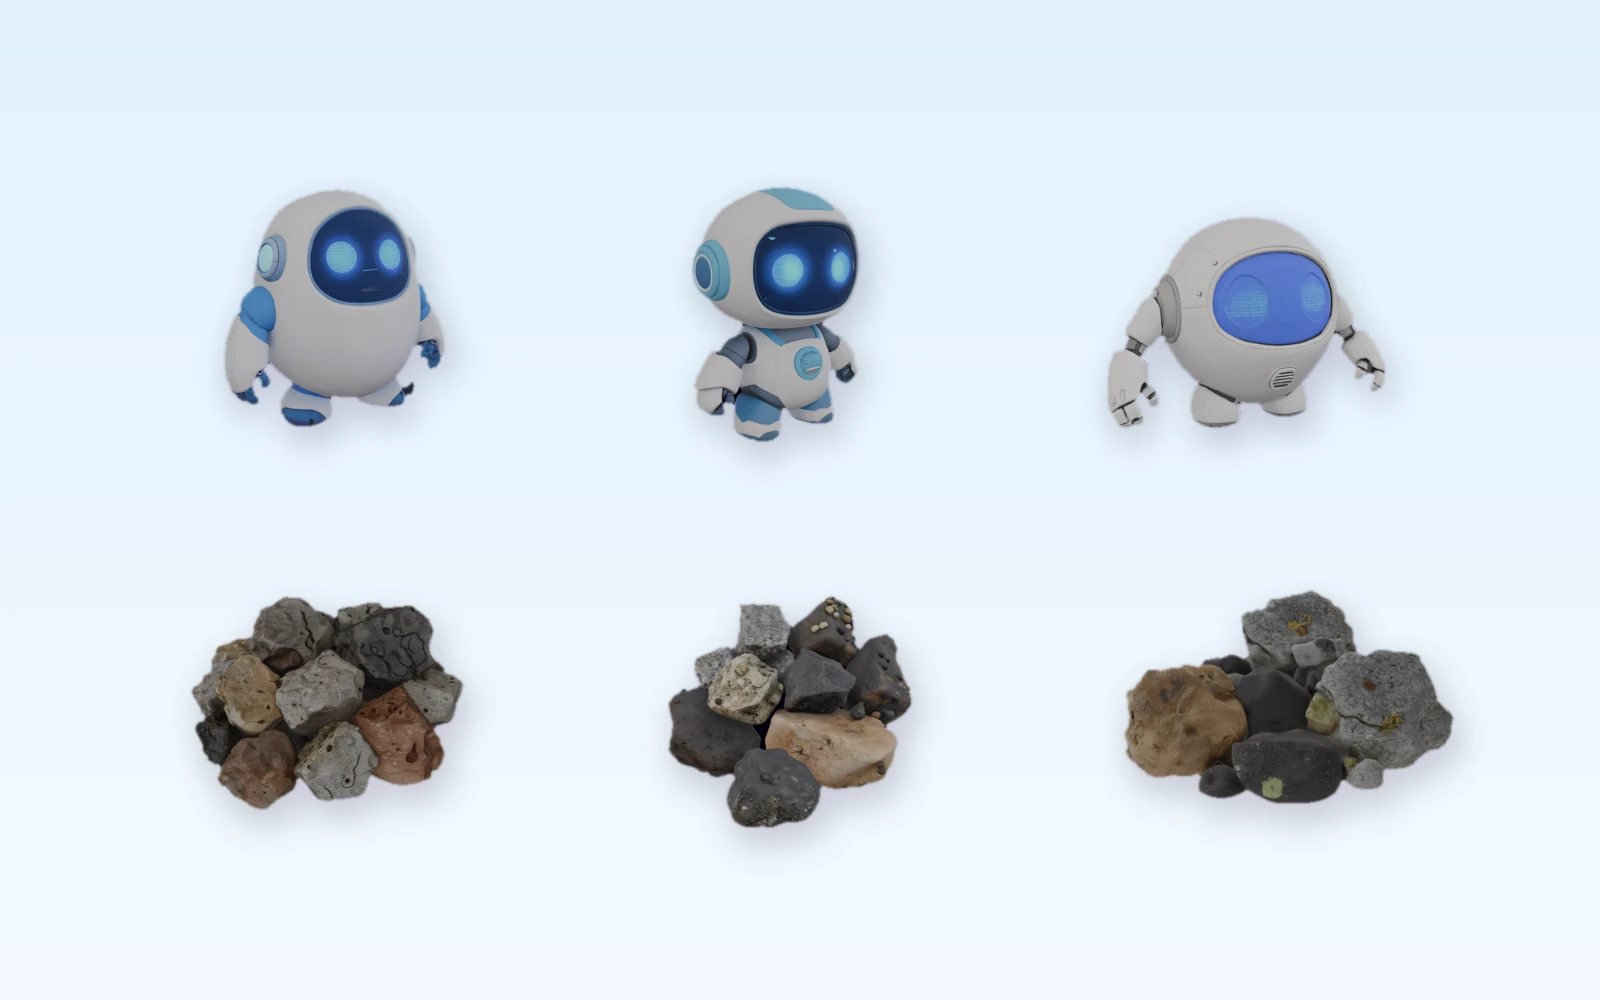
That difference shows up in how you evaluate results. With text-to-3D you're comparing directions against each other. With image-to-3D you're comparing one result against a reference you already agreed on.
Why does the image step earn its place?
Because a written prompt is cheap to change and a mesh is not.
Rewrite a clause, regenerate — that's the cost of changing your mind at the text stage. Once geometry exists, adjusting proportion or pose means regenerating from scratch or doing real modeling work. So the cheapest place to make decisions is the last point where they're still cheap, and that point is the image.
It's also where the most common failure gets caught. A prompt that reads well can still produce a silhouette that turns to mush at distance, or a pose that won't survive rigging. You find that out in seconds by looking at a picture. You find it out much later, and more expensively, by looking at a model.
Our two workflow pages describe this from opposite sides. The text-to-3D page frames the useful question as whether a result helps a team decide what to keep, refine, or discard. The image-to-3D page points out that even a clear concept image is still an incomplete 3D specification — it hides thickness, back-side structure, joints, scale, and material separation. Put those together and you get one conclusion: get the image right, and still expect to review the model.
How do you judge an image before converting it?
Not "is it pretty." The image is a specification the 3D stage will read, so judge it the way that stage will.
| Check | What you're looking for |
|---|---|
| Silhouette | Shrink it to thumbnail size. If you can't tell what the object is, the model won't fix that |
| Completeness | Is the whole object visible? Cropped edges and heavy occlusion become guesses in 3D |
| Pose | Neutral beats dramatic. An expressive angle looks good flat and fights you in the mesh |
| Style commitment | Stylized and realistic references produce different geometry — decide before, not after |
| Background separation | Can the subject be told apart from what's behind it? |
Fixing any of these in the prompt costs one more generation. Fixing them after the model exists costs an afternoon.
When is one image not enough?
A single view can't describe a back side. If you have several angles of the same object, feeding them together resolves exactly the ambiguity that makes single-image results feel hollow — depth, hidden structure, the parts the camera never saw.
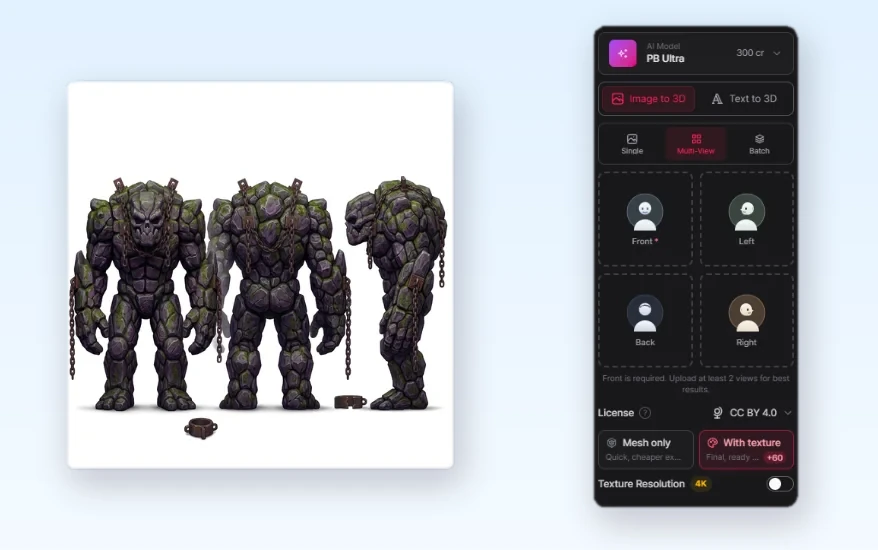
This matters most for anything with a distinct front and back: characters, vehicles, buildings with detailed facades. It matters less for symmetric props, where one good angle usually carries enough information.
When would you skip the image entirely?
Straight text-to-3D earns its place when the description is the specification. "Wooden crate, worn edges, game prop" doesn't need a picture in between — adding one only adds a step.
The same holds in two other situations. When you're generating filler geometry where the exact look doesn't matter much. And in the early phase, when you want twelve directions rather than one correct answer, and the point is to see range.
When would you skip the text?
Straight image-to-3D is the obvious choice when the image already exists and carries authority — concept art from your artist, a sketch you drew, a photograph of a real object. Regenerating it from a written description would only discard information you already have.
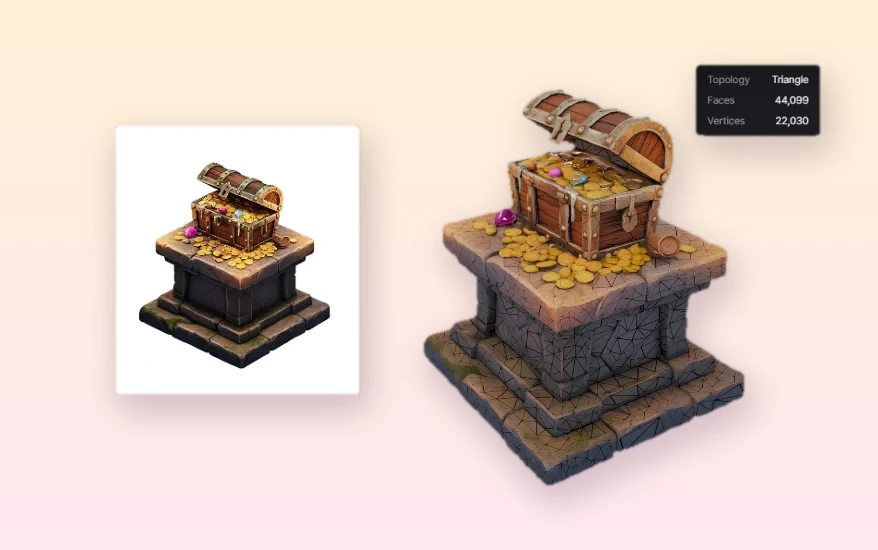
This is also the honest answer for teams with an existing art direction. If your concept artist has already made the decisions, the generation step should respect them rather than reinterpret them.
What still needs manual work?
Neither path produces a finished asset, and it's worth being direct about that.
Whatever comes out still needs a review pass — topology, scale, material separation, and whether it holds up in the scene it was made for. Some results get regenerated. Some get cut. That loop is the work, and no entry point removes it.
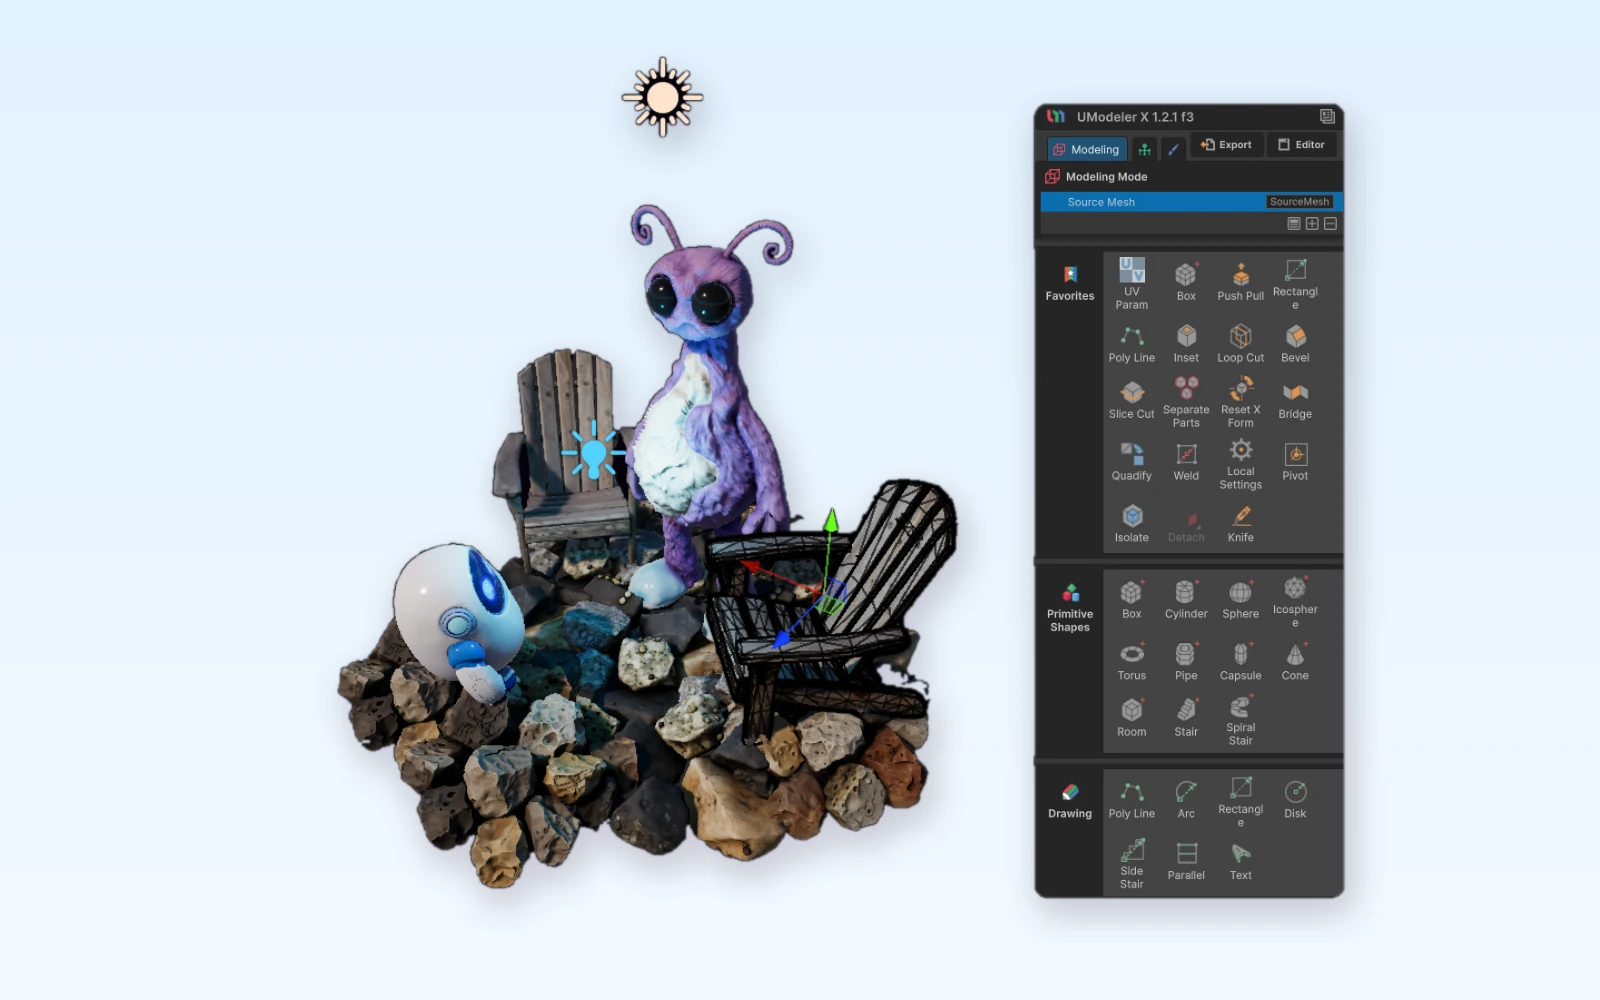
What the two routes change is how cheaply you arrive at something worth reviewing. That's a smaller claim than "AI makes your assets," and it's the one that survives contact with a real project.
How does this apply to different teams?
- Solo developers — the text-to-image-to-3D route is usually worth the extra step, because you're both the art director and the person who'd have to redo the model.
- Teams with a concept artist — start from their images. The decisions are already made, and regenerating them from text throws that away.
- Anyone filling a scene fast — go straight to text-to-3D for background and filler, and reserve the image step for objects the player will actually look at.
- Tool builders — both paths are available through the PicoBerry API, so the same decision can be made in code: generate the image, check it programmatically, then convert.
Explore next
- Text to 3D Model for Game Developers — writing prompts that produce comparable candidates
- Image to 3D Model for Game Developers — choosing inputs and reading what the model got wrong
- AI 3D Generation API — putting either path into a pipeline
- Pricing comparison — how generation capacity and commercial use compare across tools
In one line
It isn't text or image — it's a question of where you make decisions while they're still cheap. Start from an image when you have one worth starting from; write a prompt and generate one first when you don't. Either way the model arrives as a candidate, and the review pass is still yours.