Launch Event50% off annual plans · free Nano Banana imagesSee the offer
New modelsGPT Image 2.5 · Meshy 7Make one
Animation · Rig and animate AI characters
PicoBerry Animation Workflow — rig and animate AI-generated characters
A generated character is a static mesh until it has a skeleton. PicoBerry Animation auto-rigs a humanoid model and applies animations from an animation library, so you can preview a walk cycle before you commit and export it for your engine.
PicoBerry Animation: a static character gets a skeleton, a library animation, and an engine-ready export.
Built forGame DevelopersUnityUnrealGodotBlenderPicoBerry
How do you animate an AI-generated 3D character in PicoBerry?
Start with a clean humanoid or character mesh, choose Tripo or Meshy for auto-rigging, then apply a library clip and inspect the motion before export. PicoBerry gives the mesh a skeleton and skinning weights for animation; review the wireframe, PBR render, skinning weights, and foot contact before you rely on the result. Export GLB or FBX for Unity, Unreal, Godot, or Blender. If the source topology is rough, remesh it before rigging.
What can you do with the PicoBerry animation workflow?
Turn a promising humanoid model into a rigged, animated character you can preview and export for your engine.
Auto-rig a character
Turn a humanoid or character mesh into a rigged candidate that is ready for animation.
Animation library
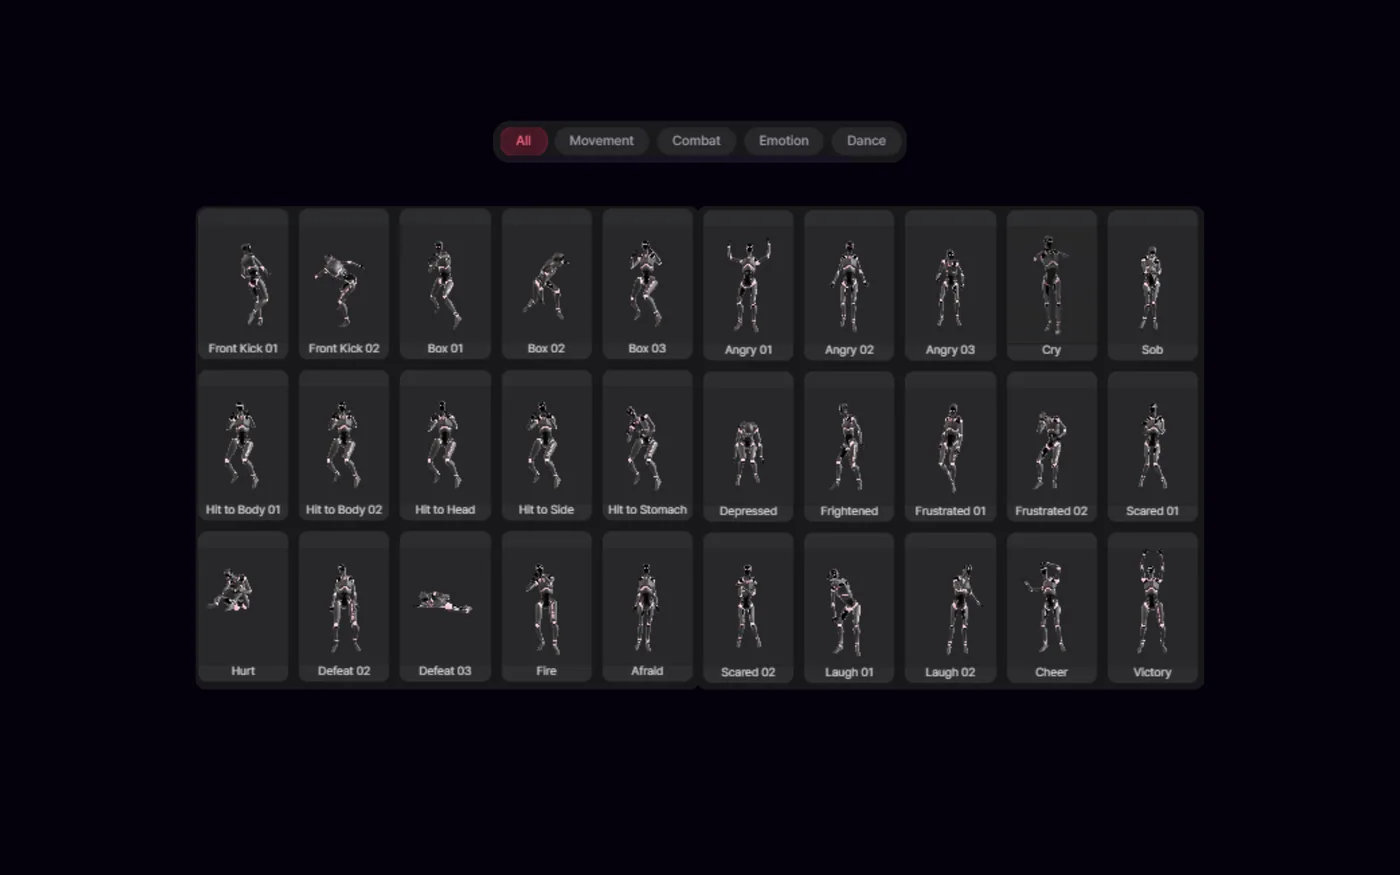
Apply common character moves — idle, walk, run, jump, and more — from the animation library.
Preview before committing
Check the rig and motion with a wireframe view and a PBR render before you export anything.
Multi-engine export
Export GLB or FBX and carry the animated character into Unity, Unreal, Godot, or Blender.
How do you rig and animate a character, step by step?
Start from a clean humanoid source, pick a rigging engine, apply a library move, then review and export.
STEP 01
Select the character model
Start from a generated or uploaded humanoid or character model; a clean T-pose source works best for rigging.
STEP 02
Rig it
Auto-rig produces a rigged candidate — pick the Tripo or Meshy engine. When the source topology is not up to it, remesh before you rig to rebuild the mesh first.
STEP 03
Apply an animation
Pick a move from the animation library — idle, walk, run, or jump — and apply it to the rigged character.
STEP 04
Preview and export
Check the wireframe, PBR render, skinning weights, and foot contact; then export GLB or FBX and validate playback in your target engine.
Workflow proof examples
Follow one soldier character from auto-rig to an applied animation to an engine-ready export.
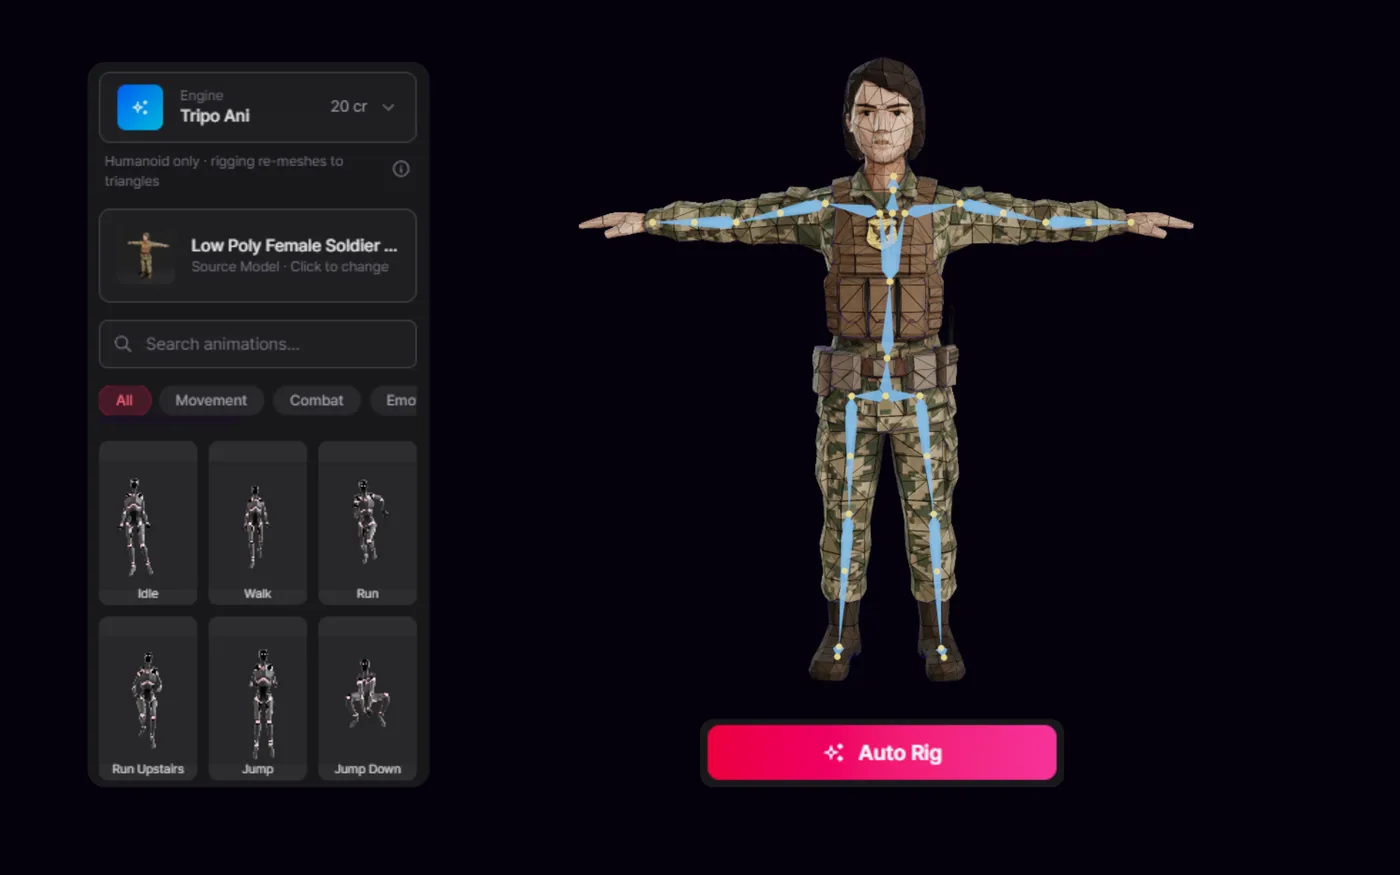
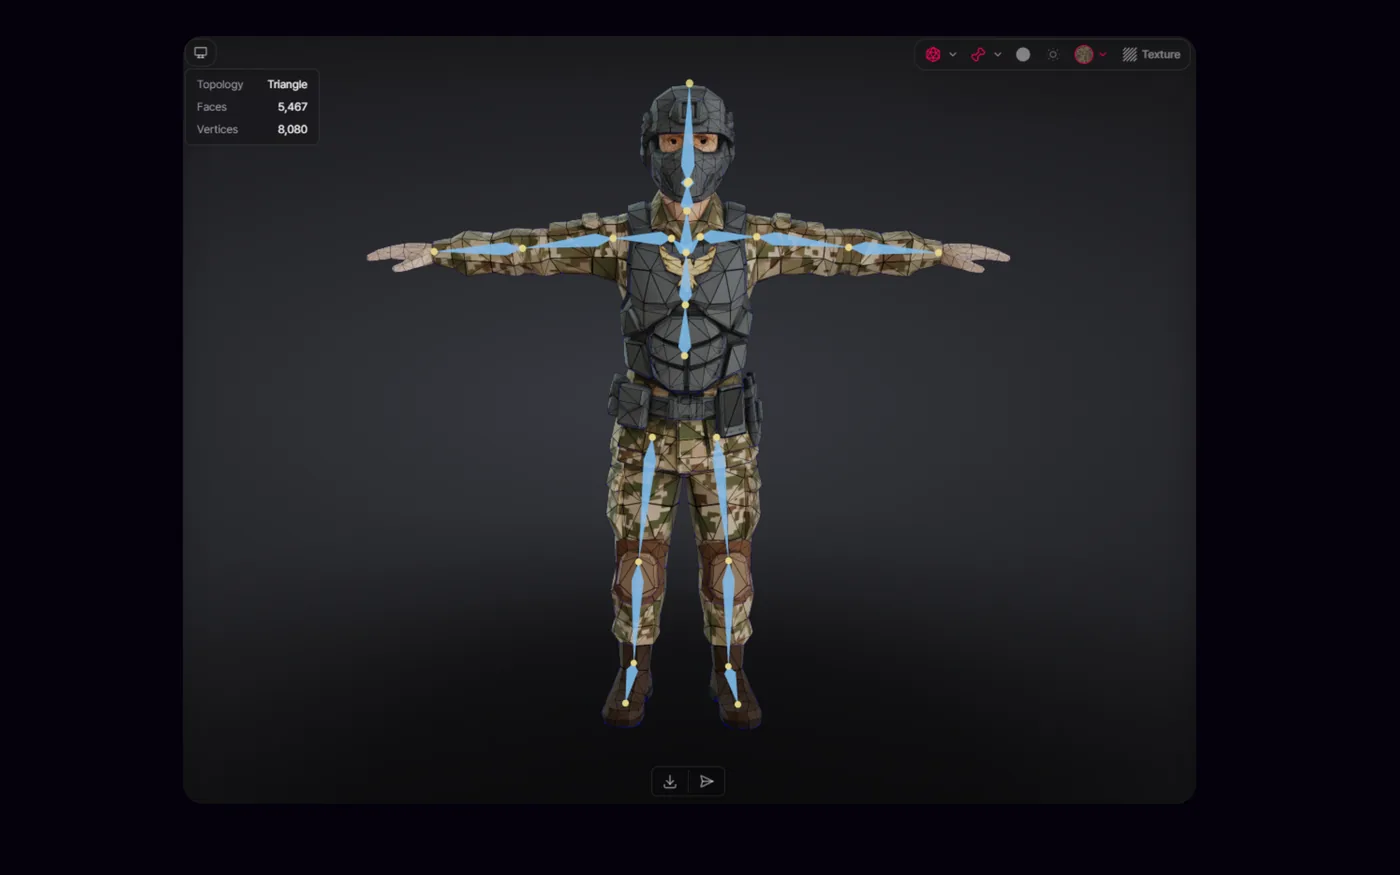
Auto-rig result
The rigged candidate with its skeleton, ready for a library animation to be applied.
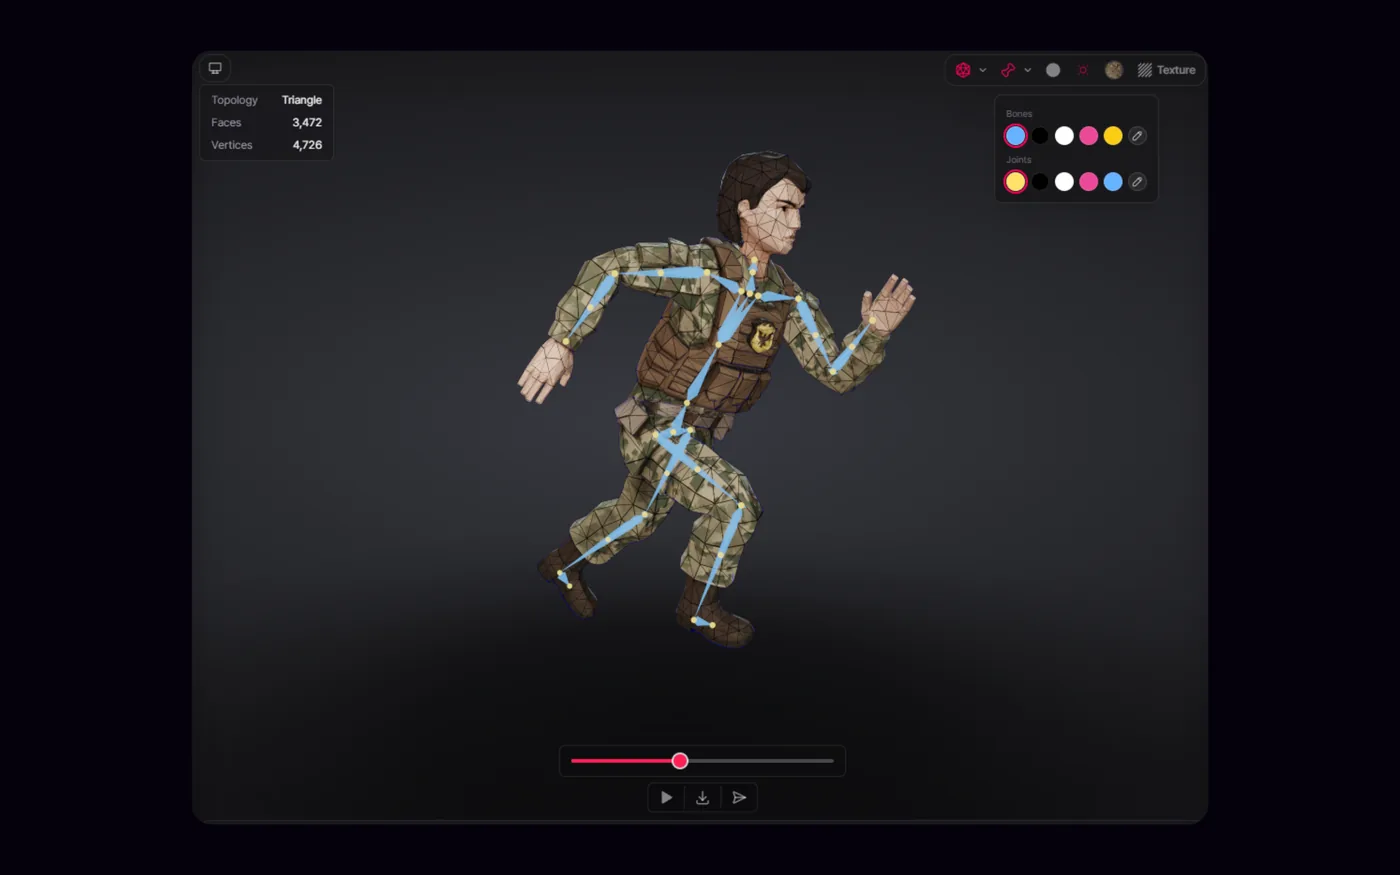
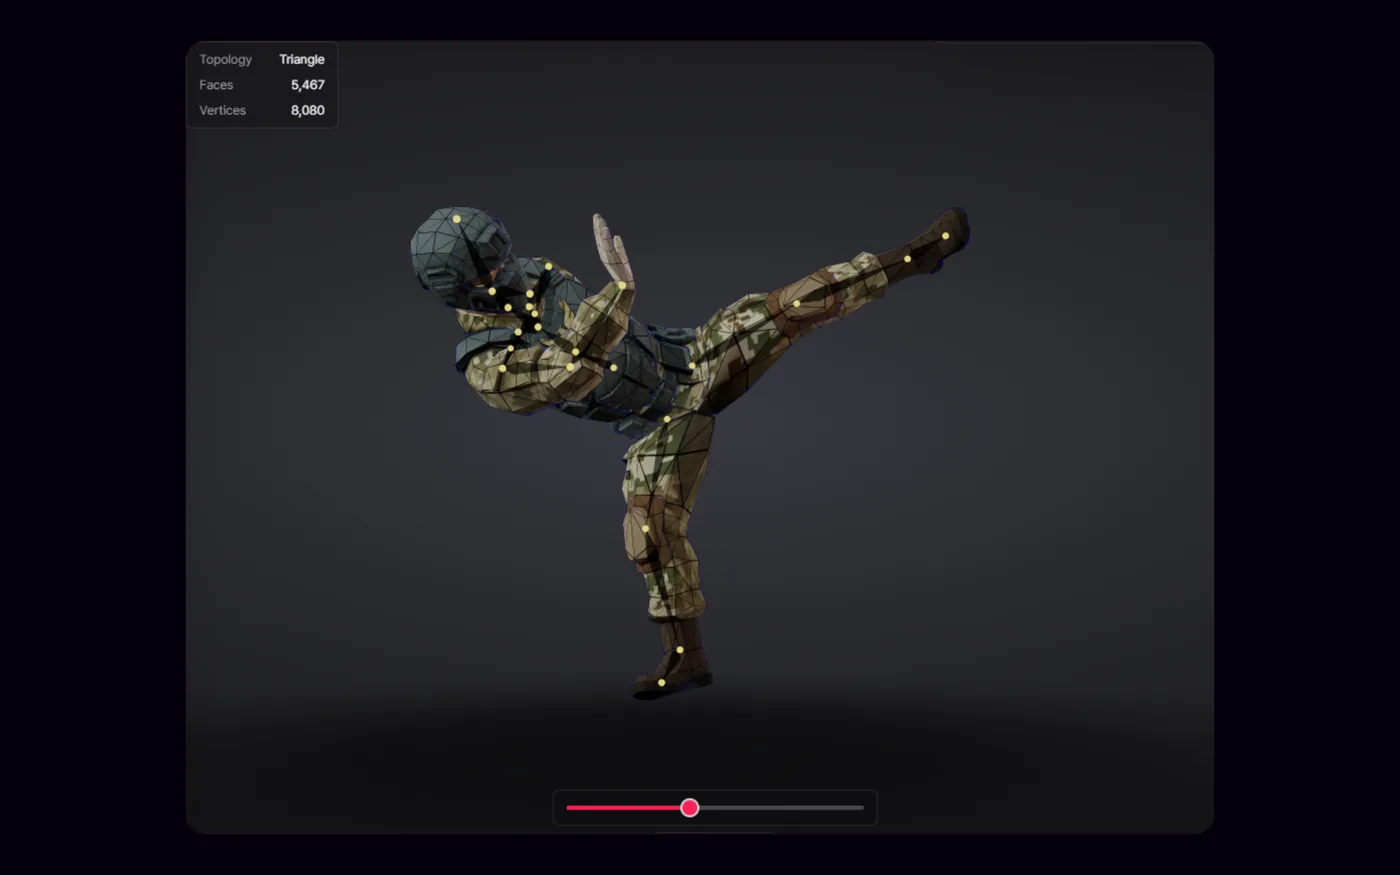
Animation applied
A library move — idle, walk, run, or jump — driving the rigged character in a preview.
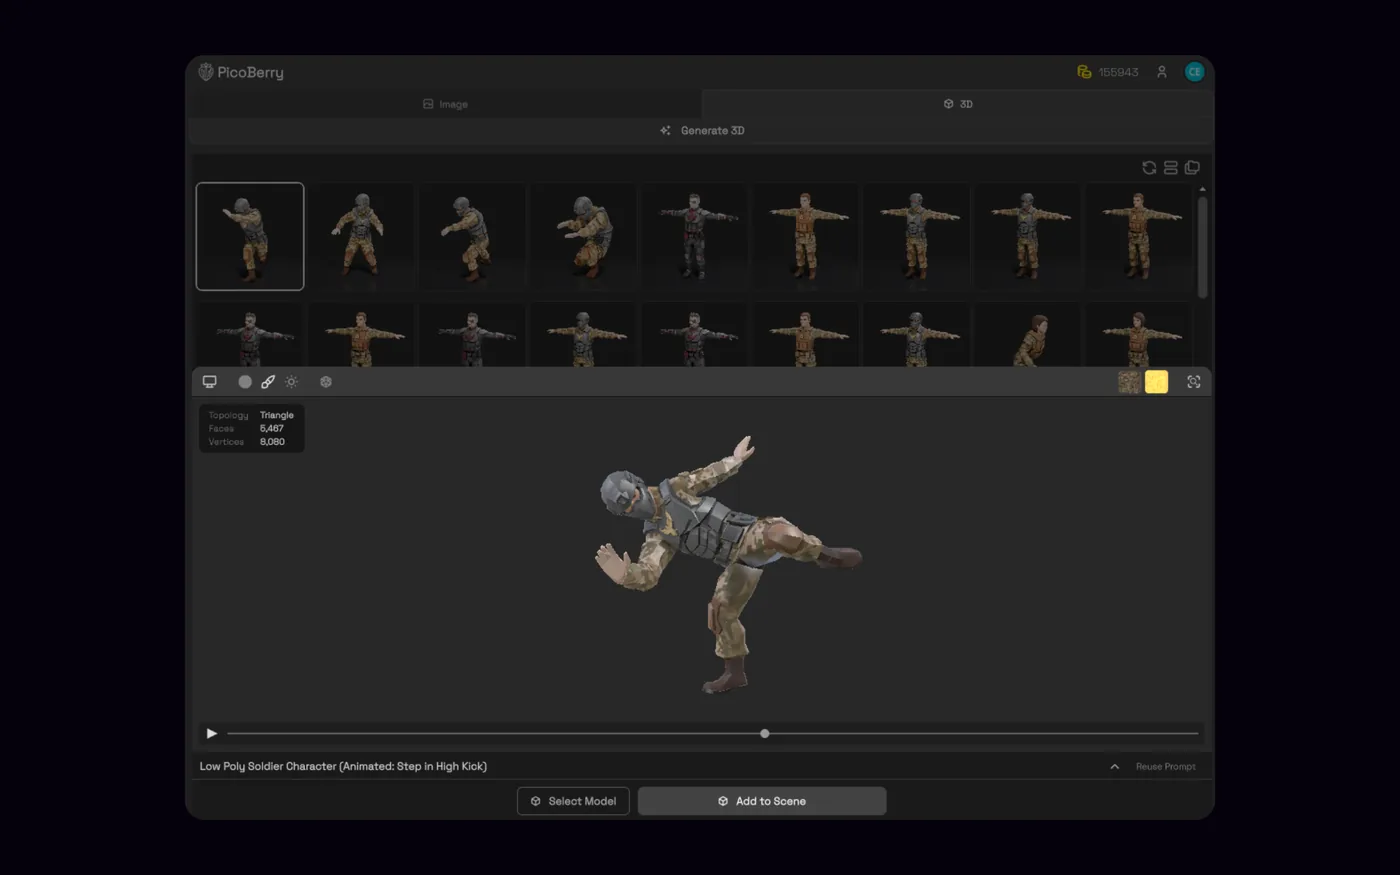
Choose and add the animated model
Review the animated result in PicoBerry before you select it for the next step in your asset workflow.
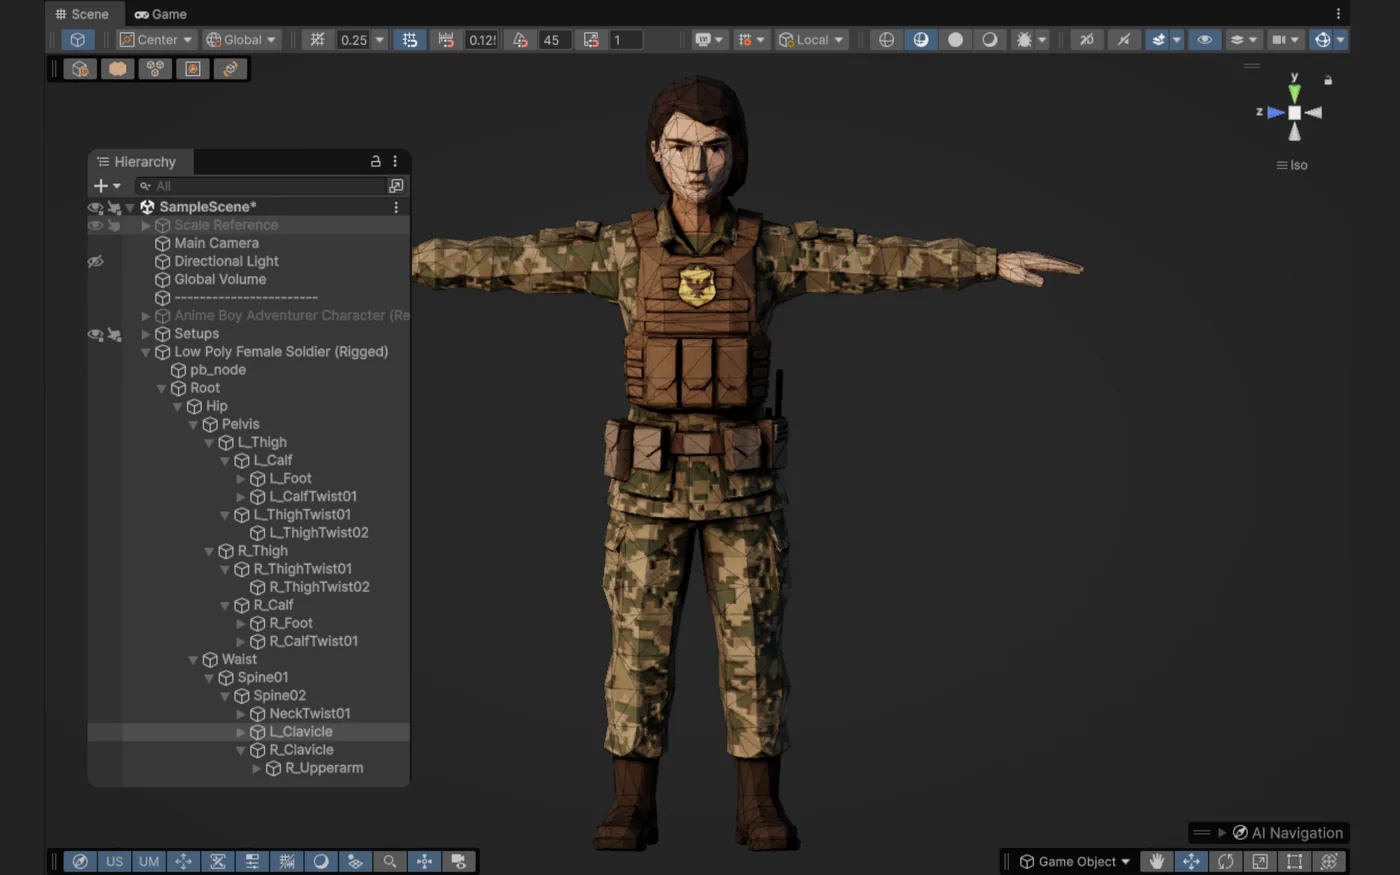
The exported character, rigged and animated in PicoBerry, running its animation inside Unreal Engine.
The bottom line: when auto-rigging fits (and when to check it)
Auto-rigging fits clean humanoid and character models. Know where it works and what to verify before you rely on the result.
Best fit
Humanoid and character models with clean topology — rig, apply a library animation, preview, and export to your engine.
Use caution
Non-humanoid shapes, already-rigged assets, or exact-skeleton requirements. Remesh first when the source topology is rough.
Review before you rely on it
Skinning weights, foot contact, and in-engine playback.
Frequently asked questions
What does PicoBerry Animation do?
PicoBerry Animation auto-rigs a character model and applies animations from an animation library, so a static generated mesh can idle, walk, run, or jump. It works best on humanoid or character topology.
How do I animate an AI-generated character?
Start from a humanoid or character model, auto-rig it, apply a move from the animation library, preview it with a wireframe and a PBR render, then export GLB or FBX. If the source topology is rough, remesh before you rig.
What source model works best for rigging?
A clean humanoid or character mesh in a T-pose. Auto-rig produces a rigged candidate; a messy or non-humanoid source may need a remesh first, or may not rig well.
Which engines does PicoBerry Animation use?
Rigging and animation are dual-engine: you can choose Tripo or Meshy. Generation is a separate step, so you rig and animate after the mesh already exists.
What animations can I apply?
PicoBerry applies animations from an animation library, covering common character moves such as idle, walk, run, and jump, alongside combat, emotion, and dance clips.
Do I need to clean up the rig afterward?
Sometimes. Auto-rig produces a rigged candidate, and it may need skinning cleanup or review, so check skinning weights, foot contact, and self-intersection before you rely on it.
Can I use the animated character in a game engine?
You can export GLB or FBX for Unity, Unreal, Godot, or Blender. Whether it plays correctly in-engine still depends on skinning, foot contact, playback, and your project’s own standards.
Do I have to remesh before rigging?
Only if the source topology is not up to it. Rigging works best on clean humanoid topology, so remesh before you rig when the mesh is messy.
Rig and animate your AI-generated characters, then preview before you export.
Start with a clean humanoid model, auto-rig it, apply an animation, review the motion, and validate the exported asset in your target engine.