Right shape, wrong surface? Generate variations of your reference art in PicoBerry, then apply the one you like as the texture — restyle a finished shape, re-bake after a remesh, and control resolution up to 4K, then review the materials before use.
PicoBerry Texture: give a finished shape a new surface, then review the materials.
Works withPicoBerryUnityUnrealGodotBlenderUModeler X
When should you re-texture an AI-generated 3D model?
When the model's shape is correct but the surface doesn't match your vision, it's time to re-texture. PicoBerry lets you pick a texture engine — Tripo, Meshy, or PB Palette — to rebuild or restyle the surface, with optional image or style guidance and resolutions up to 4K. Treat the result as a textured candidate to review before it enters your engine.
Great textures start with great images
Texturing sits on top of geometry: generate the mesh, remesh it to lock clean topology, then texture the surface. The lever that decides the result is the image reference — put your effort into strong reference art in PicoBerry, because a good image is what makes the texture land.
Texture is the surface, not the shape
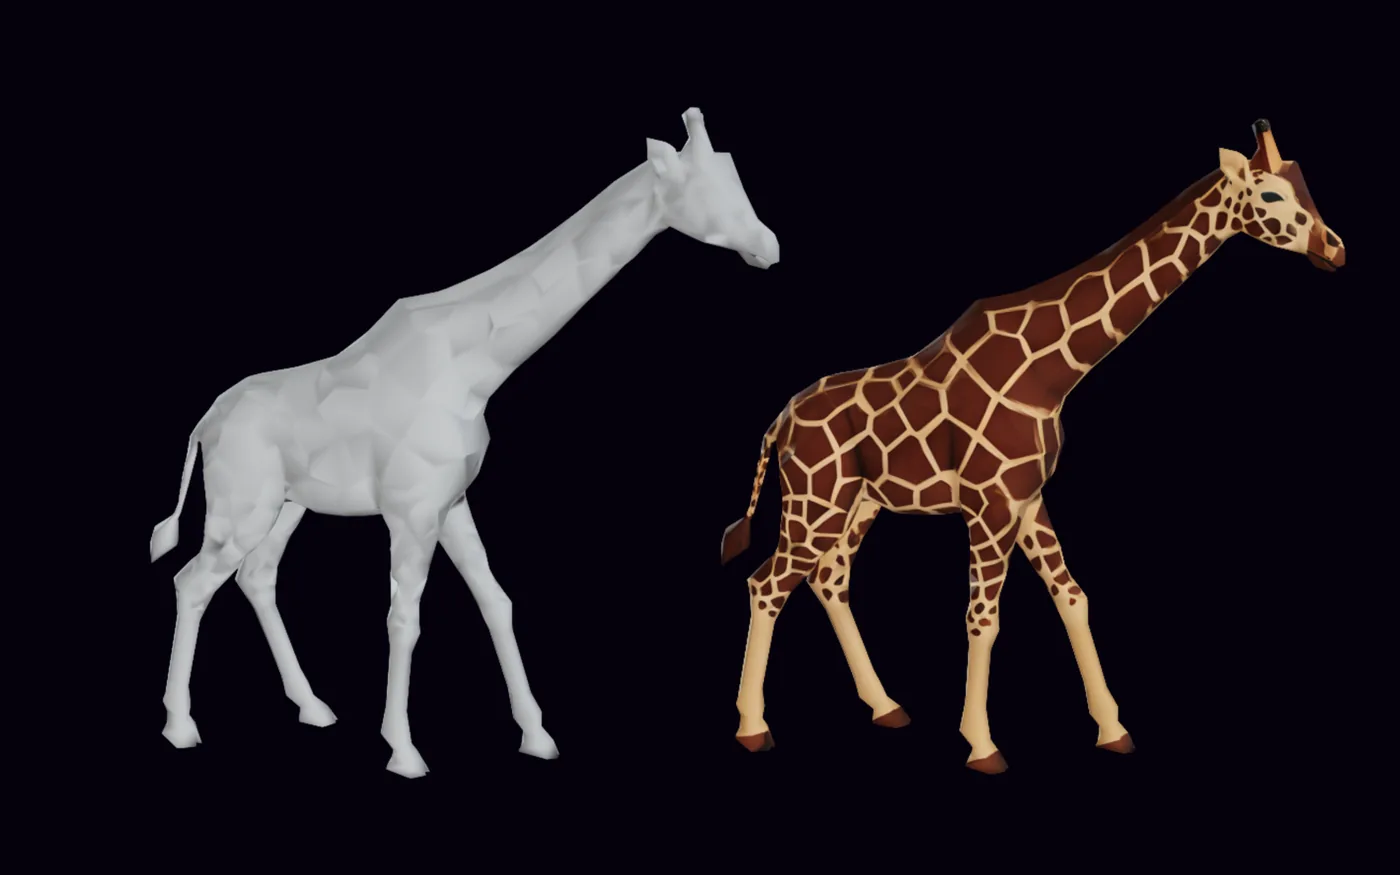
Re-texturing changes the look and materials of a finished shape without regenerating the model.
The image reference is the lever
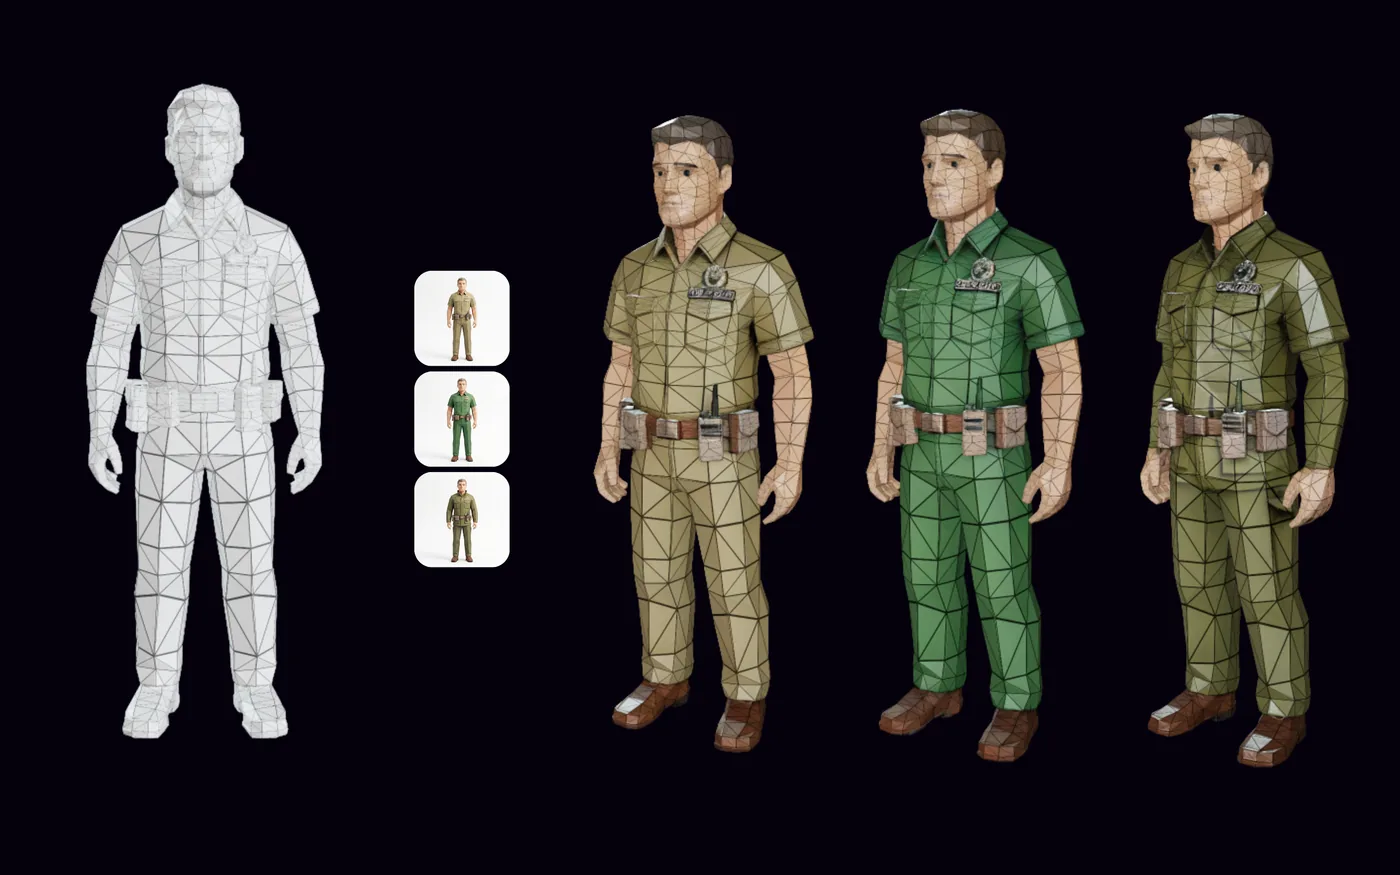
A strong reference image is what makes the texture land. Generate variations in PicoBerry and apply the one you like.
Treat the result as a candidate
Check materials, seams, and UV behavior before the asset ships — a re-texture is a starting point to review.
What you can do with PicoBerry Texture
Generate variations of your reference art, then apply the one you like — restyle a finished shape, re-bake after a remesh, and dial in resolution up to 4K.
Restyle an asset
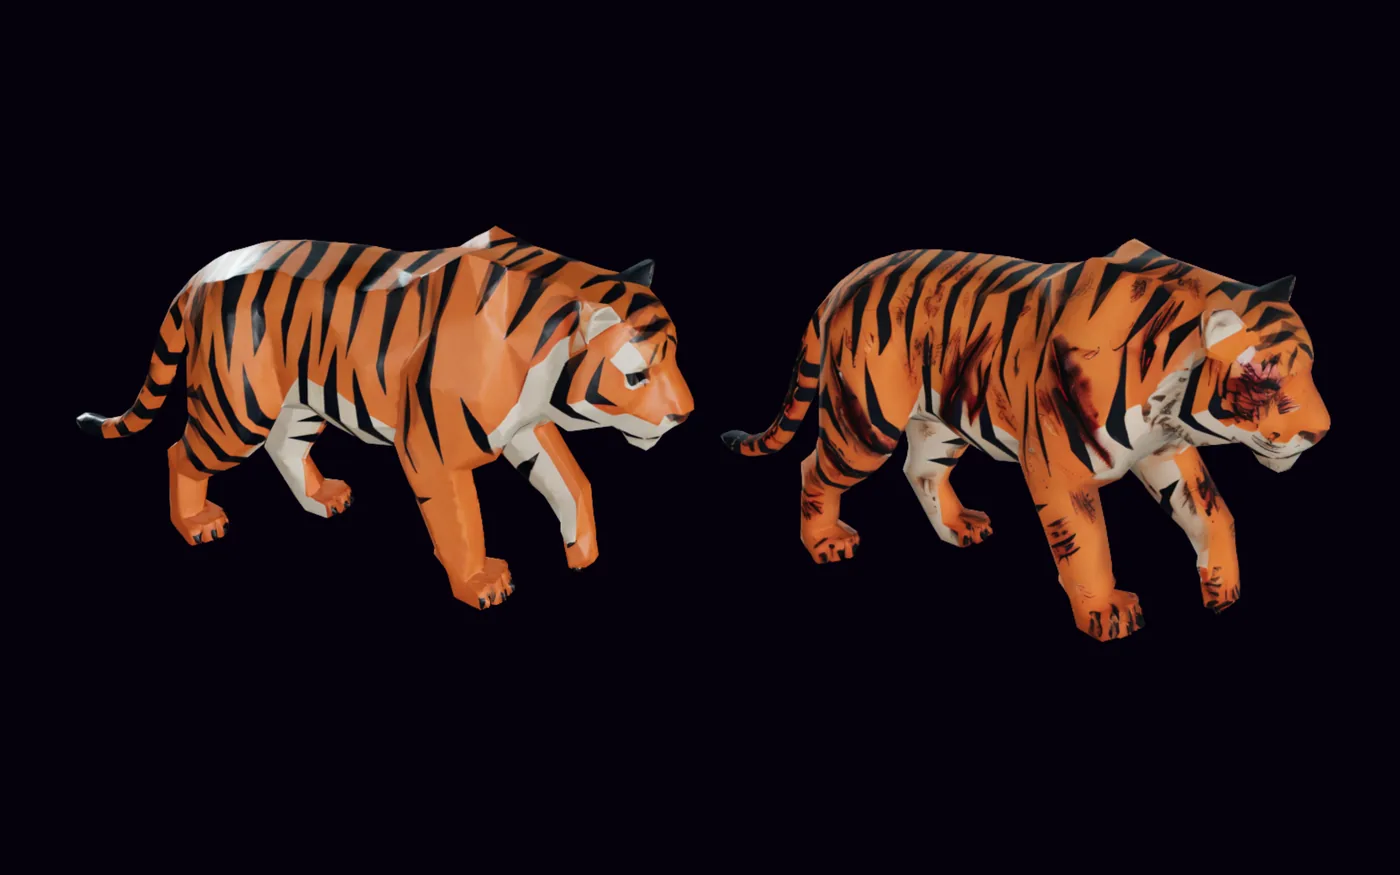
Give a finished shape a different look — clean, worn, or stylized — without regenerating the model.
Re-texture after a remesh
Rebuild the surface when a remesh changed the topology and the earlier textures no longer line up.
Image-guided texturing
Generate reference-art variations in PicoBerry, then feed the one you like in as the texture reference so the surface follows the look you have in mind.
Resolution control (up to 4K)
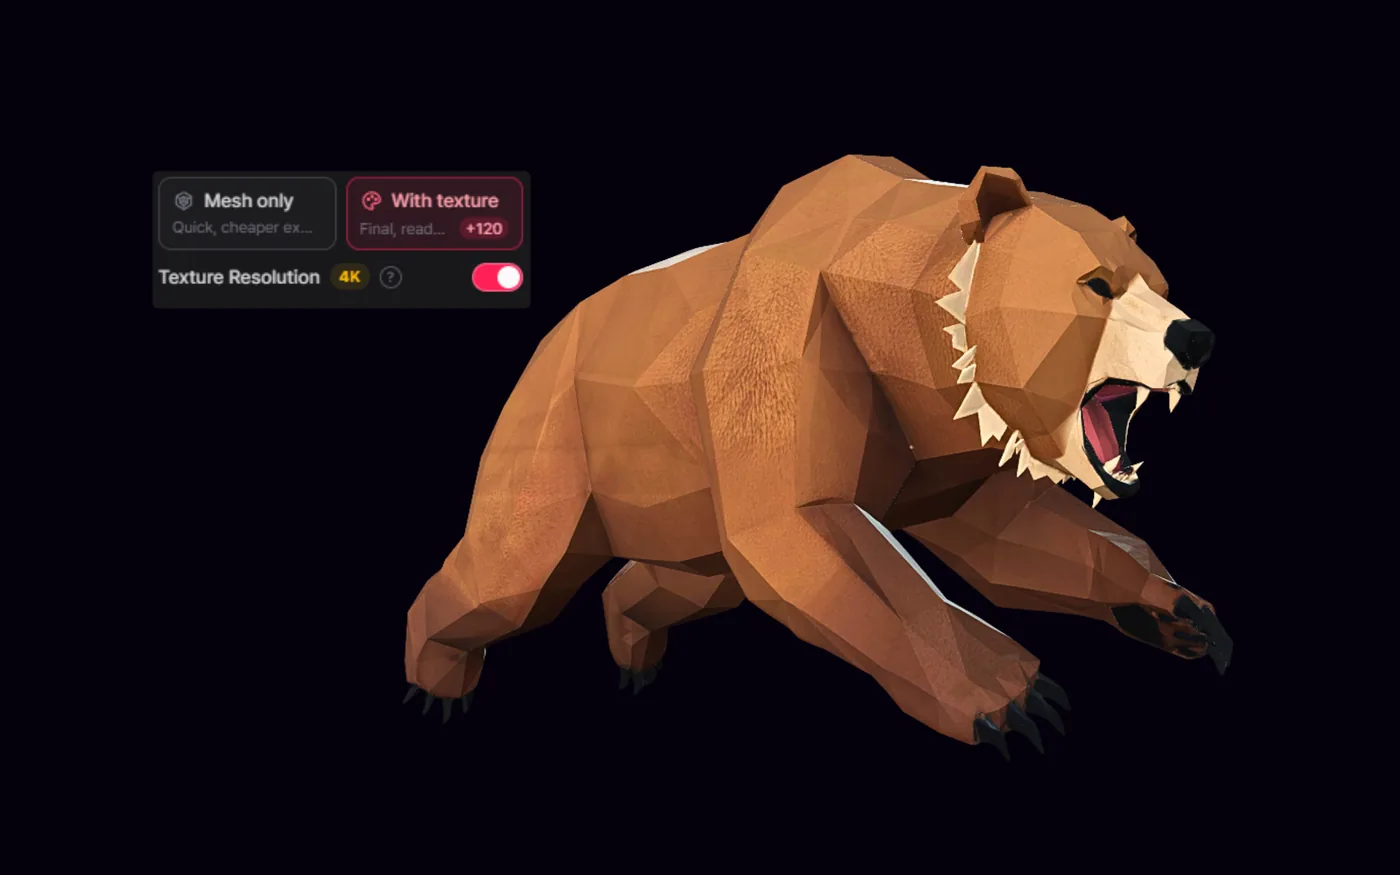
Pick a texture resolution up to 4K to match the asset's on-screen size and your project's budget.
The practical workflow
Start from settled geometry, choose the engine, reference, and resolution, compare before and after, then continue into your engine or editor.
STEP 01
Select the source model
Start from a generated, remeshed, or uploaded asset whose geometry is settled but whose surface needs work.
STEP 02
Choose engine, reference, and resolution
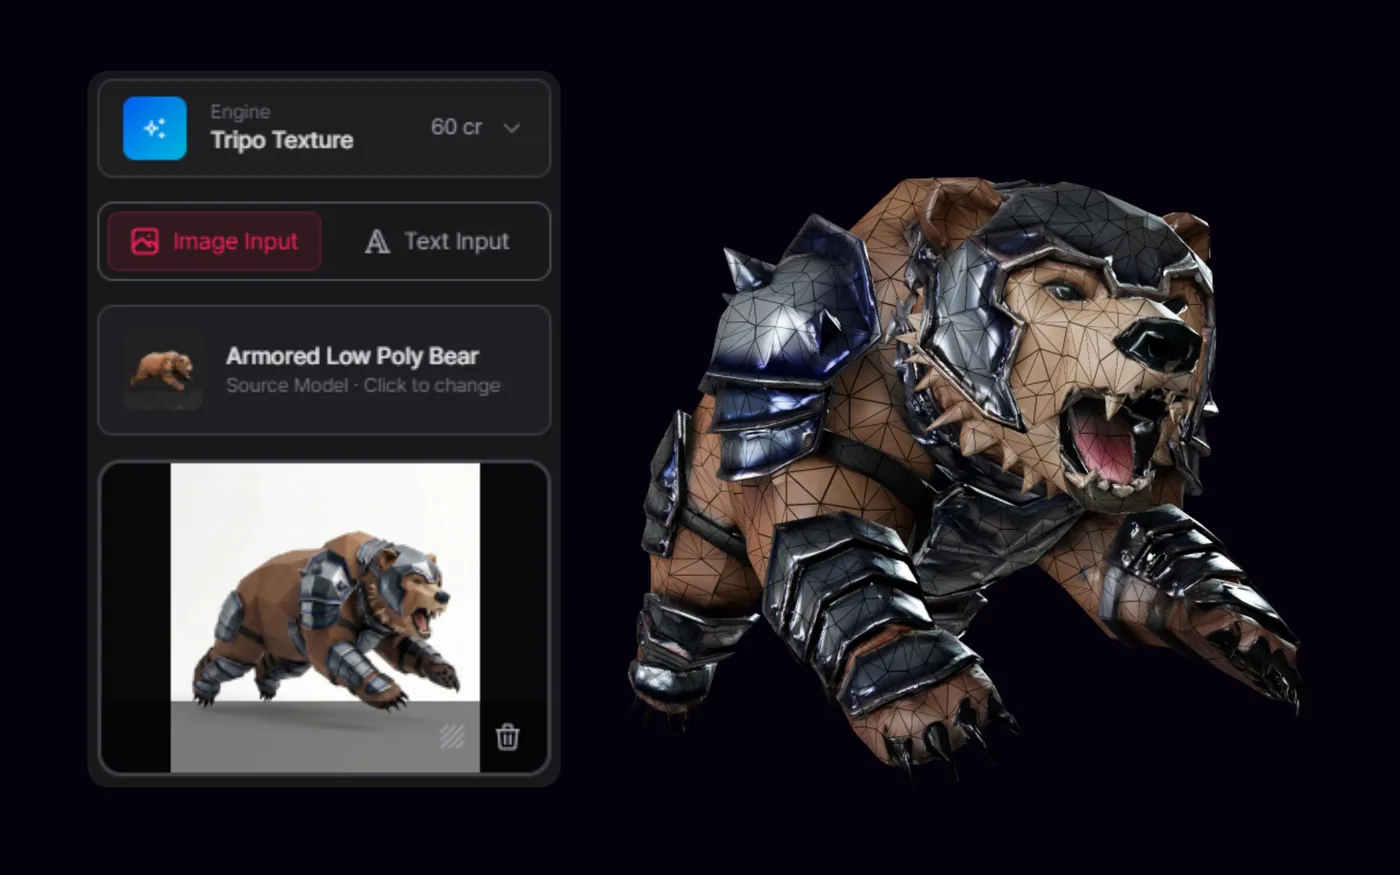
Pick a texture engine — Tripo, Meshy, or PB Palette — optionally add an image or style reference, and set a resolution up to 4K.
STEP 03
Compare before and after
Look at the materials, seams, UV behavior, and how the surface reads against the reference and the model's shape.
STEP 04
Continue into engine or editor
Move the textured candidate into Unity, UModeler X, Blender, or another engine, and export as GLB, FBX, or OBJ.
Where re-texturing fits
Reach for it when the shape is right and the surface is wrong; review carefully before the asset ships.
Best fit
Restyling a finished shape, re-baking after a remesh, or applying a look from an image reference.
Texture after you remesh
Remeshing can change or drop textures, so re-texture after the topology is settled — not before.
Review before use
A re-texture changes the look, but UVs, materials, resolution, rigging, and your project's own standards still decide whether it ships.
Workflow proof examples
The before-and-after surface, the settings that produced it, and the textured result moving into an engine.
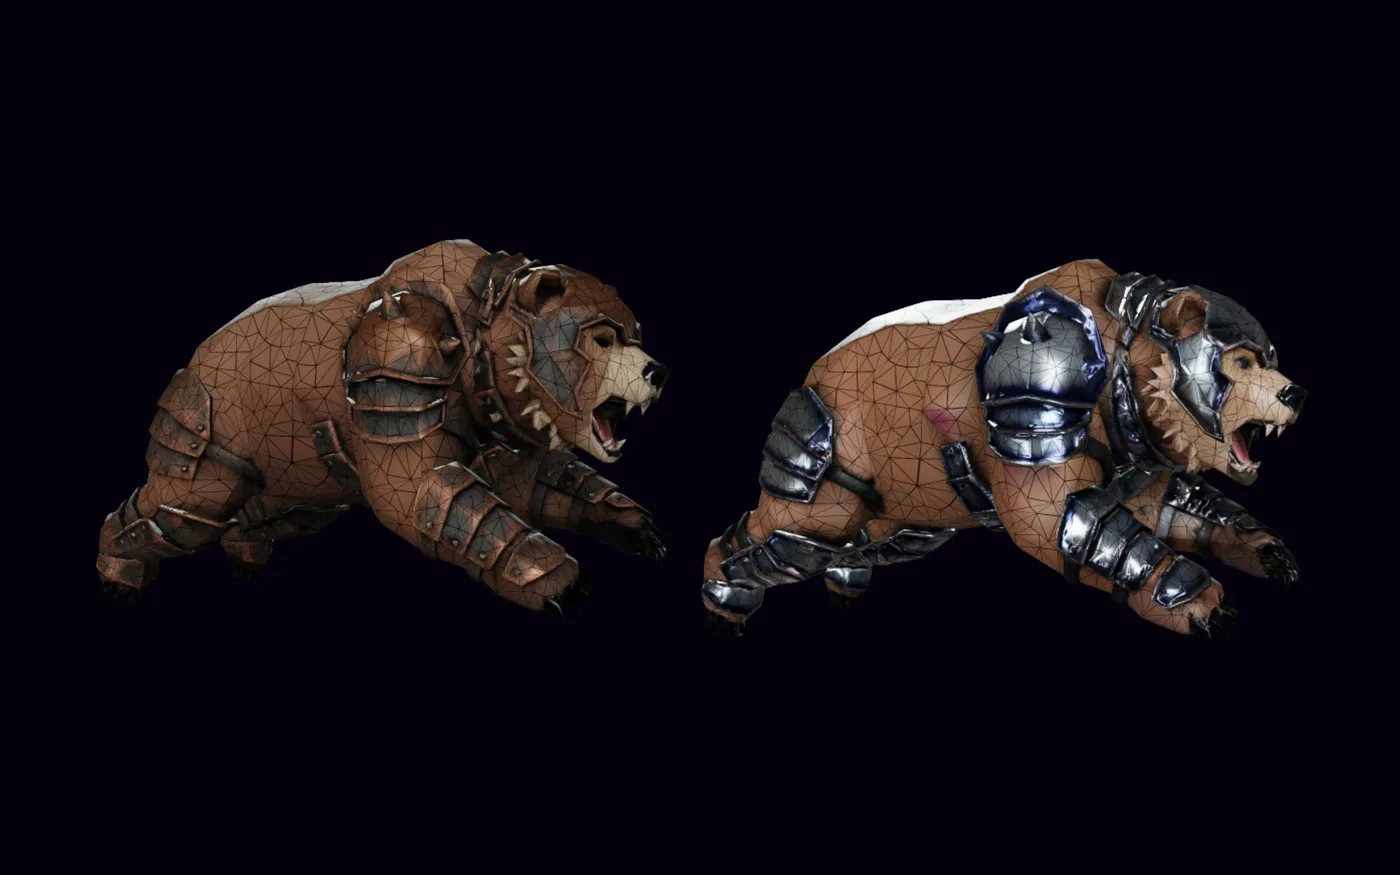
Before and after surface
The original surface and the re-textured candidate side by side, so the change in look and materials is clear.
Engine, reference, and resolution
The texture engine, optional image reference, and resolution setting that produced the result.
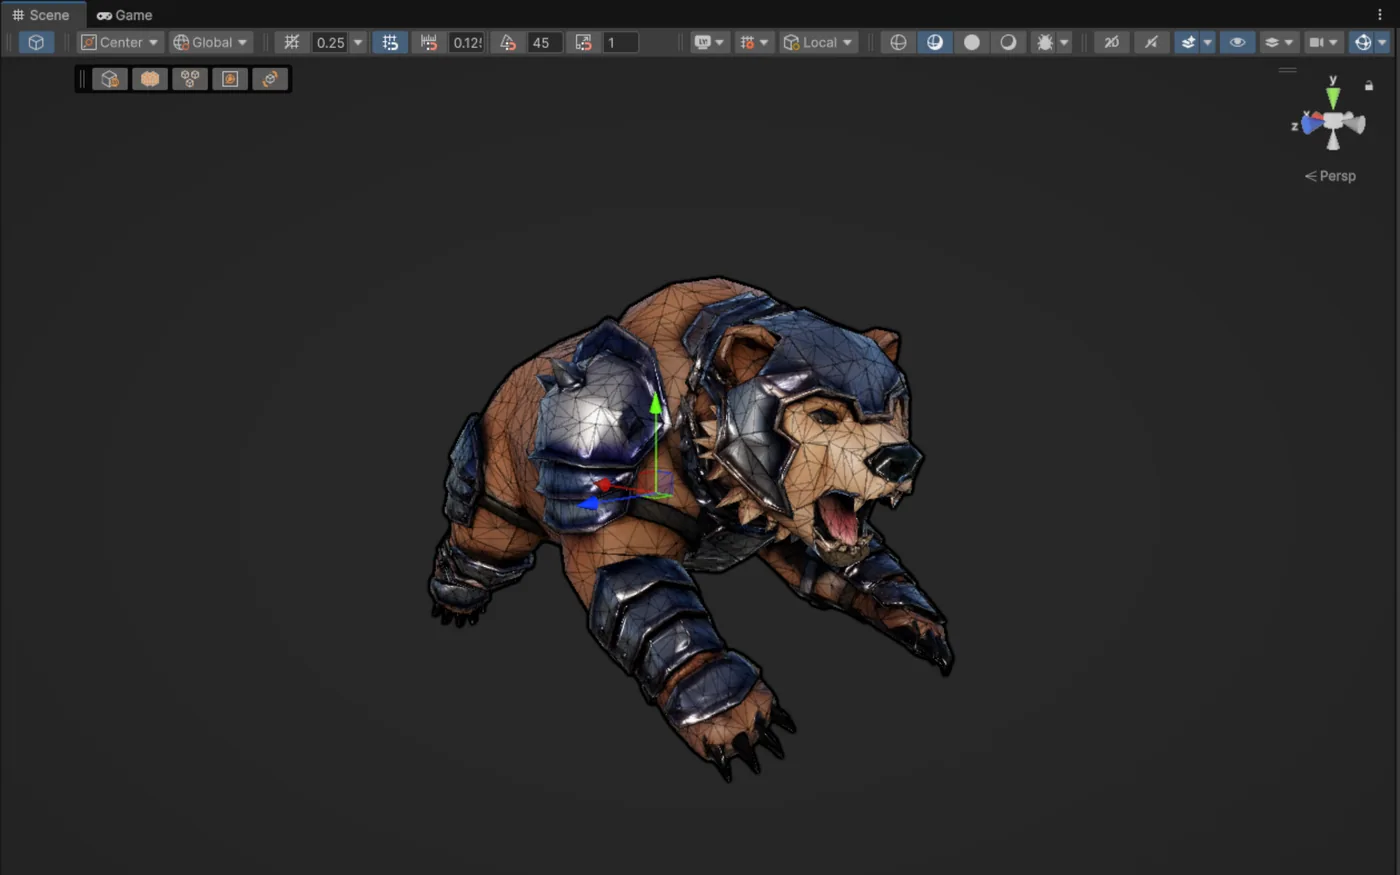
Into the engine
The re-textured model opened in Unity, ready to place in a scene.
Frequently asked questions
What does PicoBerry Retexture do?
PicoBerry Retexture regenerates or repaints the surface of an existing 3D model. It's a distinct step from generation and remesh, useful when a model's shape is right but the look, materials, or texture resolution need to change.
When should I re-texture a model?
Re-texture when you want to change the look, apply a style from an image reference, or re-bake the surface after a geometry change. As a rule of thumb, texture after you remesh, not before.
How is texturing different from remeshing?
Remeshing rebuilds the topology and can change or drop textures; texturing works on the surface, not the geometry. That is why you often re-texture after a remesh.
Can I guide the texture with an image?
Yes. You can optionally add an image or style reference so the generated surface follows the look you have in mind, and pick a texture resolution up to 4K.
Which texture engines can I use?
In PicoBerry you pick a texture engine — Tripo, Meshy, or PB Palette — and set a texture resolution up to 4K. The exact engines and resolutions available can change, so check the current options in PicoBerry.
Does re-texturing alone make a model usable in a game?
No. A re-texture can give the surface the look you want, but whether an asset is usable in-engine still comes down to UVs, materials, resolution, rigging, and your project’s own standards. Review the materials before use.
Give a finished shape the surface it needs — then review the materials.
Use PicoBerry Texture to change an asset's look, apply a style from an image reference, or re-bake textures after a remesh — then review the materials before use.