Launch Event50% off annual plans · free Nano Banana imagesSee the offer
New modelsGPT Image 2.5 · Meshy 7Make one
Unreal Engine workflow · fill the level faster
AI 3D Generator for Unreal Engine Workflows — fill the level, then validate it
One prompt gives you a 3D draft, and a free plugin lands it in your Content Browser and your open level. You start where Unreal work actually starts: centimetre scale, collision, and how the thing reads in a lit level.
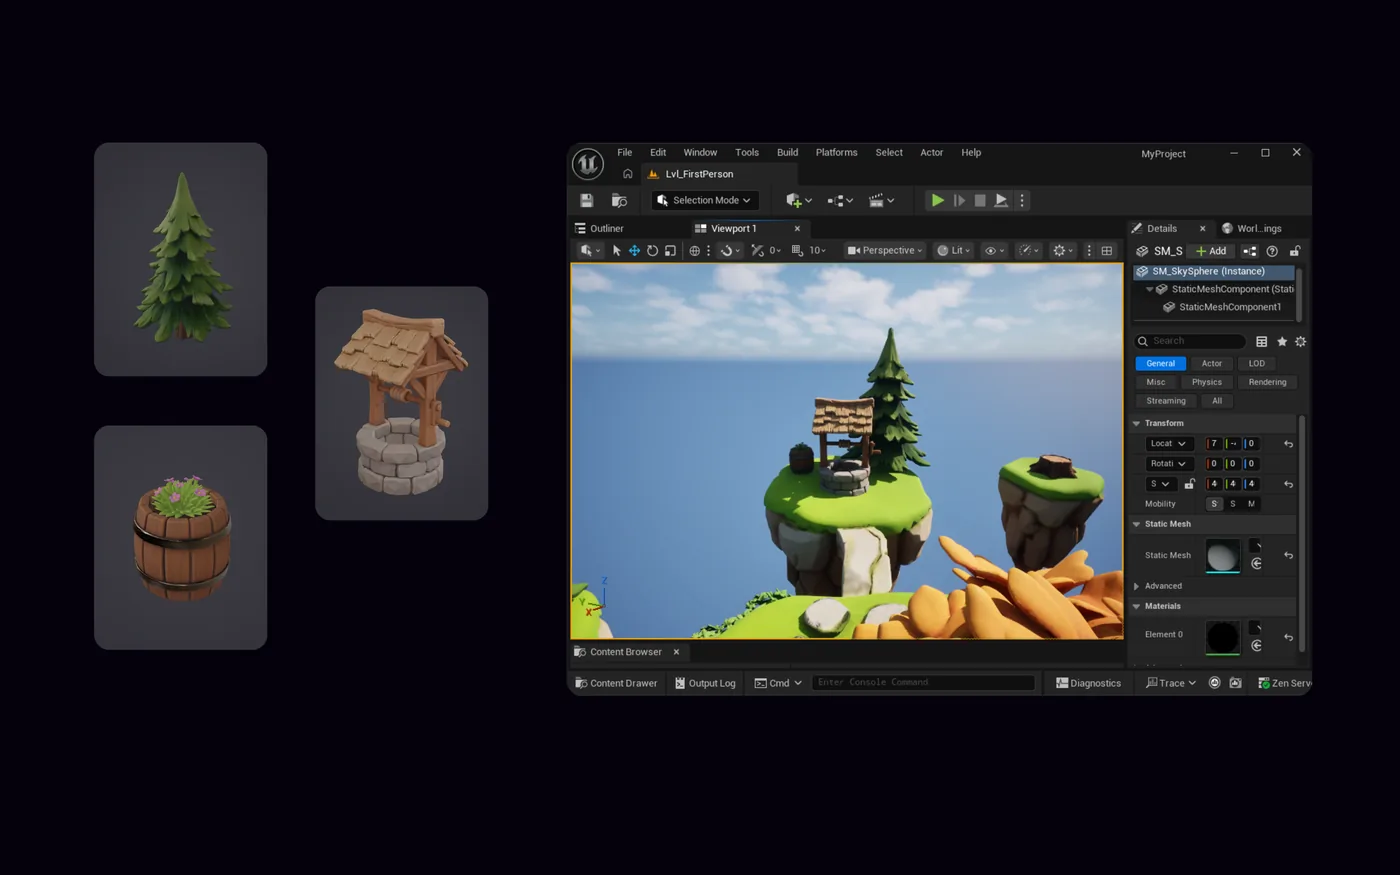
PicoBerry to Unreal Engine: a generated asset lands in the Content Browser and the open level, ready for review.
Built forUnreal Engine usersGame DevelopersUnityUnrealGodotPicoBerry
How do you make 3D assets for an Unreal Engine level with AI?
Generate a 3D draft in PicoBerry from a prompt or a reference, then send it with the free PicoBerry Bridge plugin (Unreal Engine 5.4+). It lands in the Content Browser as a GLB with mesh, materials, and textures, and is placed into your open level. From there you check centimetre scale, collision, Nanite and LOD fit, and lightmap assumptions in Unreal.
Unreal hands you the level. It does not hand you the forty props that make it feel like a place.
Set dressing is a volume problem. Crates, signage, rocks, and trees all have to exist before a level reads as somewhere real, and hand-building each one keeps the level empty for weeks. Generating candidates first lets you lay out a whole set, then spend your Unreal time on collision, Nanite and LOD planning, and the pieces that actually deserve it.
Fill by the set
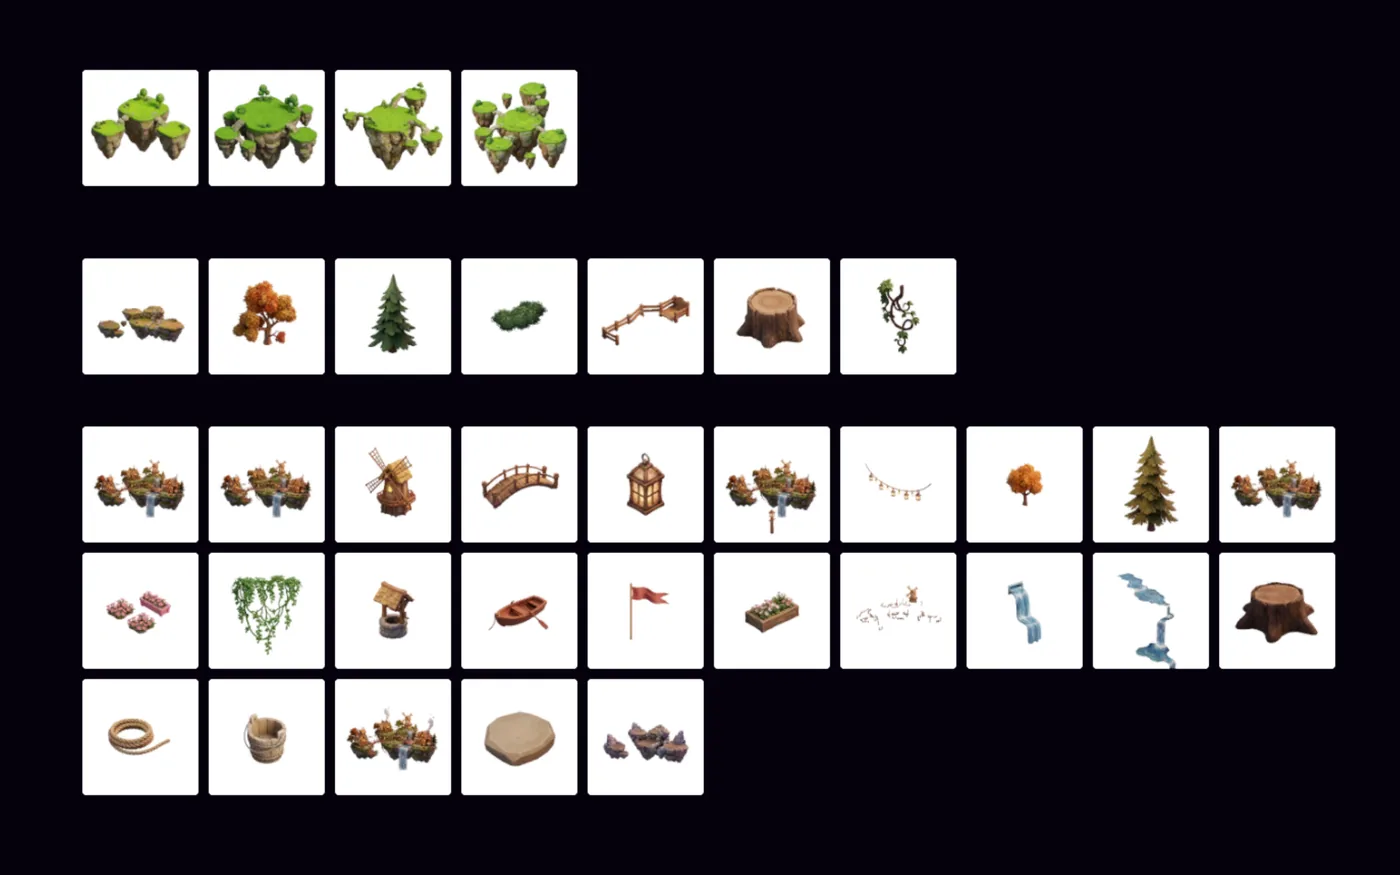
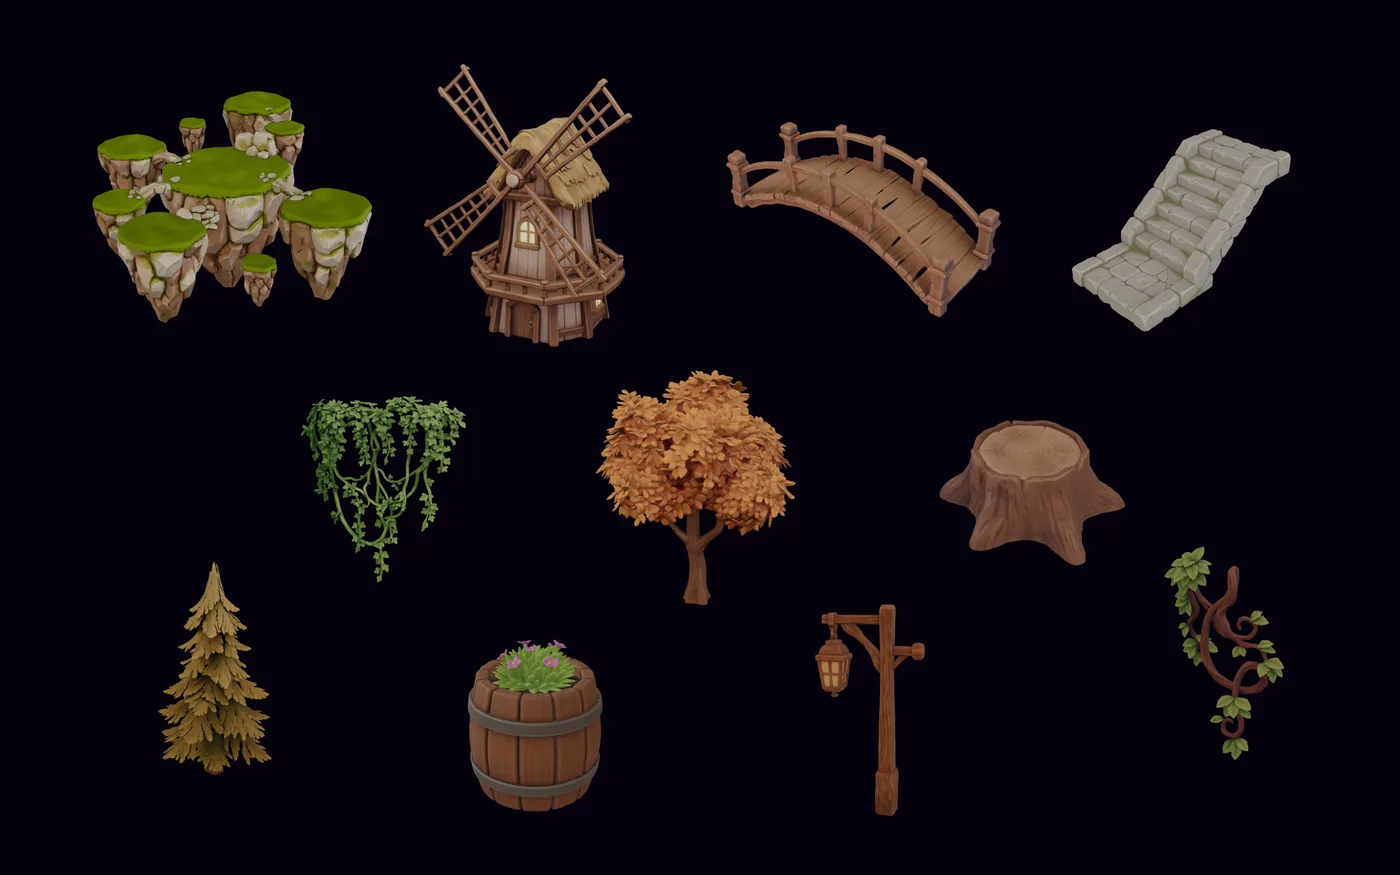
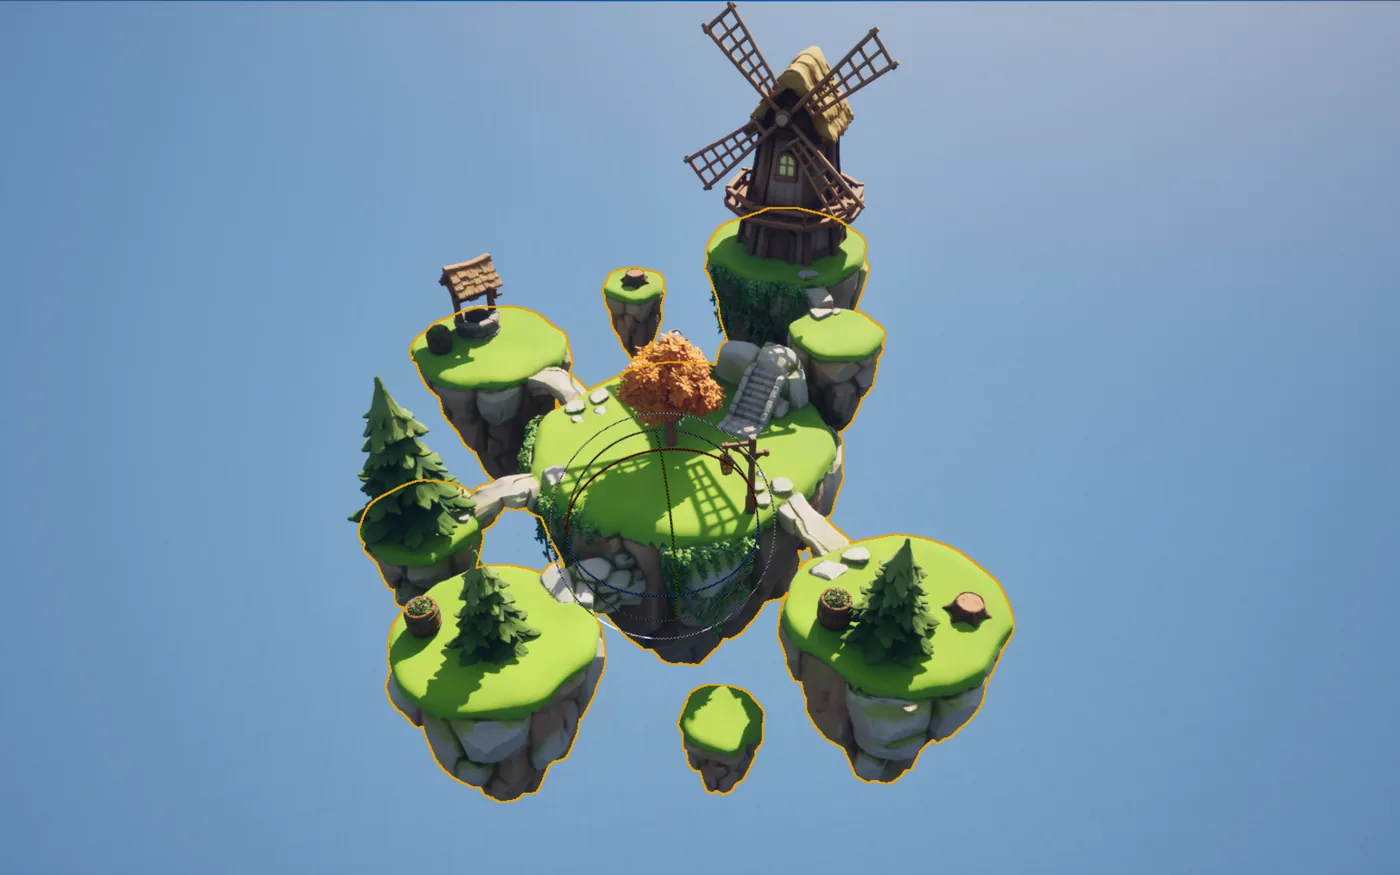
Generate a kitbash set in one pass instead of one prop at a time, and lay out level candidates before modelling anything by hand.
Judge the mesh, not the mood board
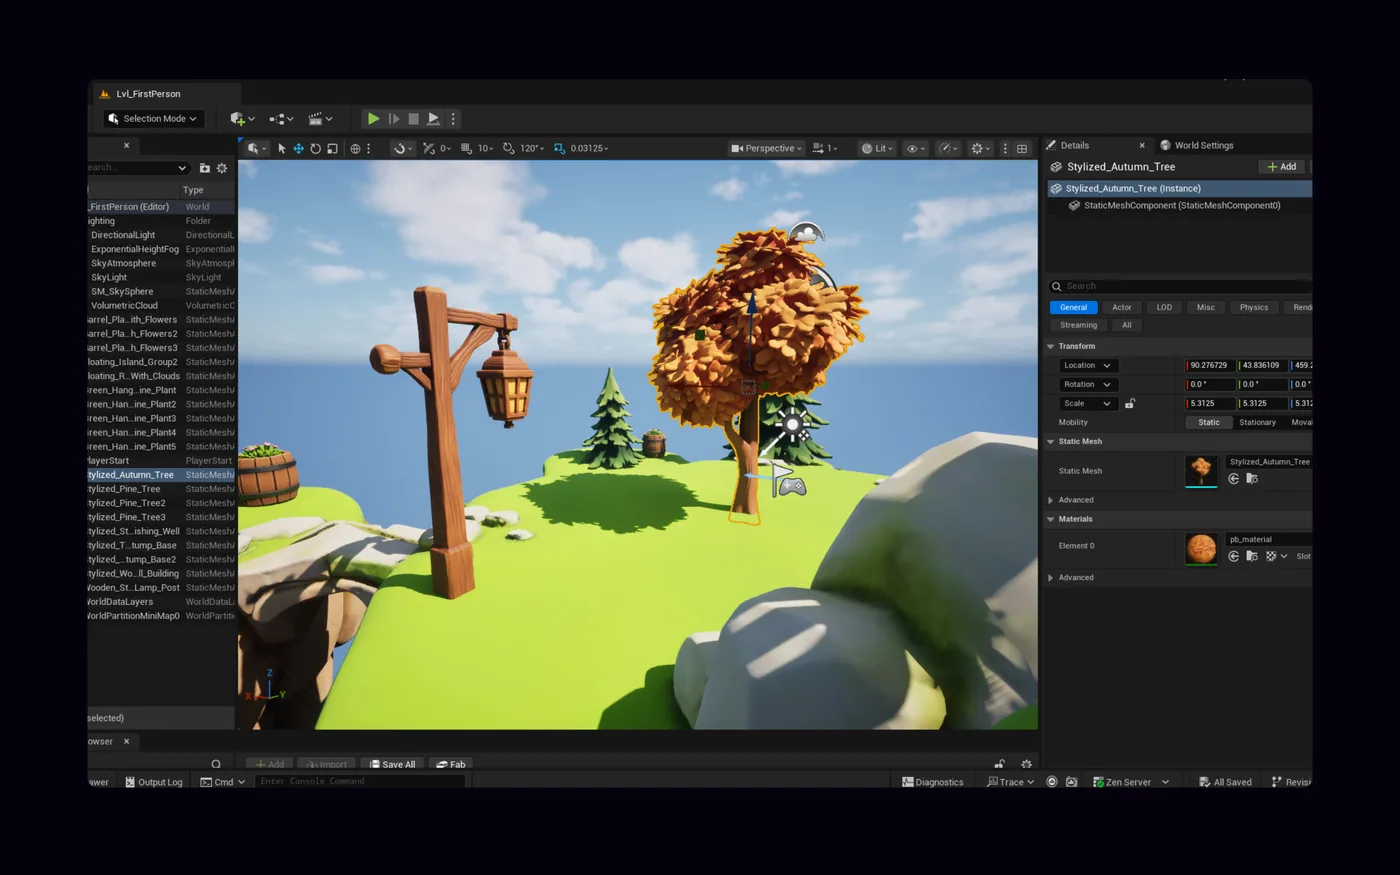
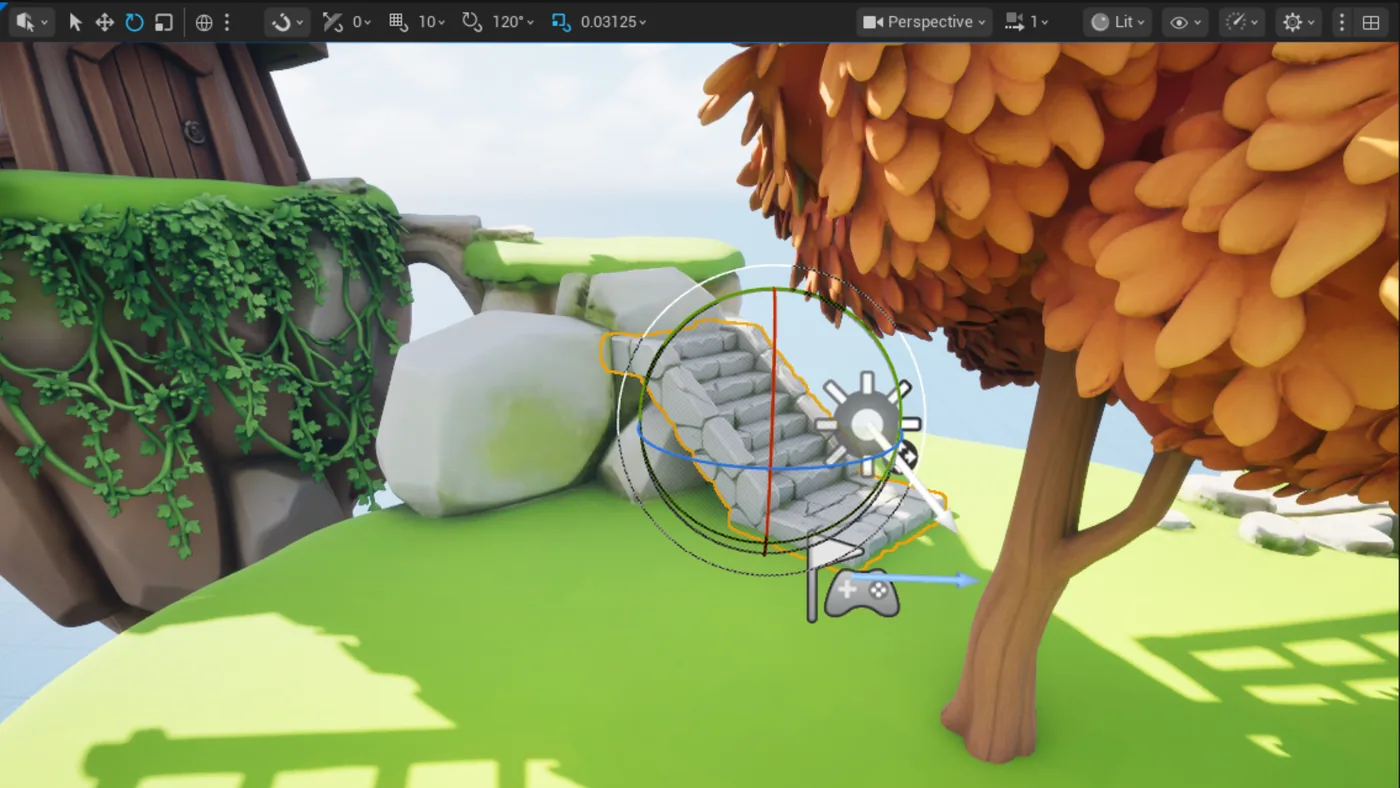
Instead of deciding from a flat concept image, drop the Static Mesh candidate into the level and judge it where it will live.
The engine still sets the rules
Centimetre scale, material instances, collision, and level fit only answer for real once the asset is inside Unreal.
What teams build for their levels
This is not the place for one carefully crafted hero prop. It is the place for laying out many level candidates at once.
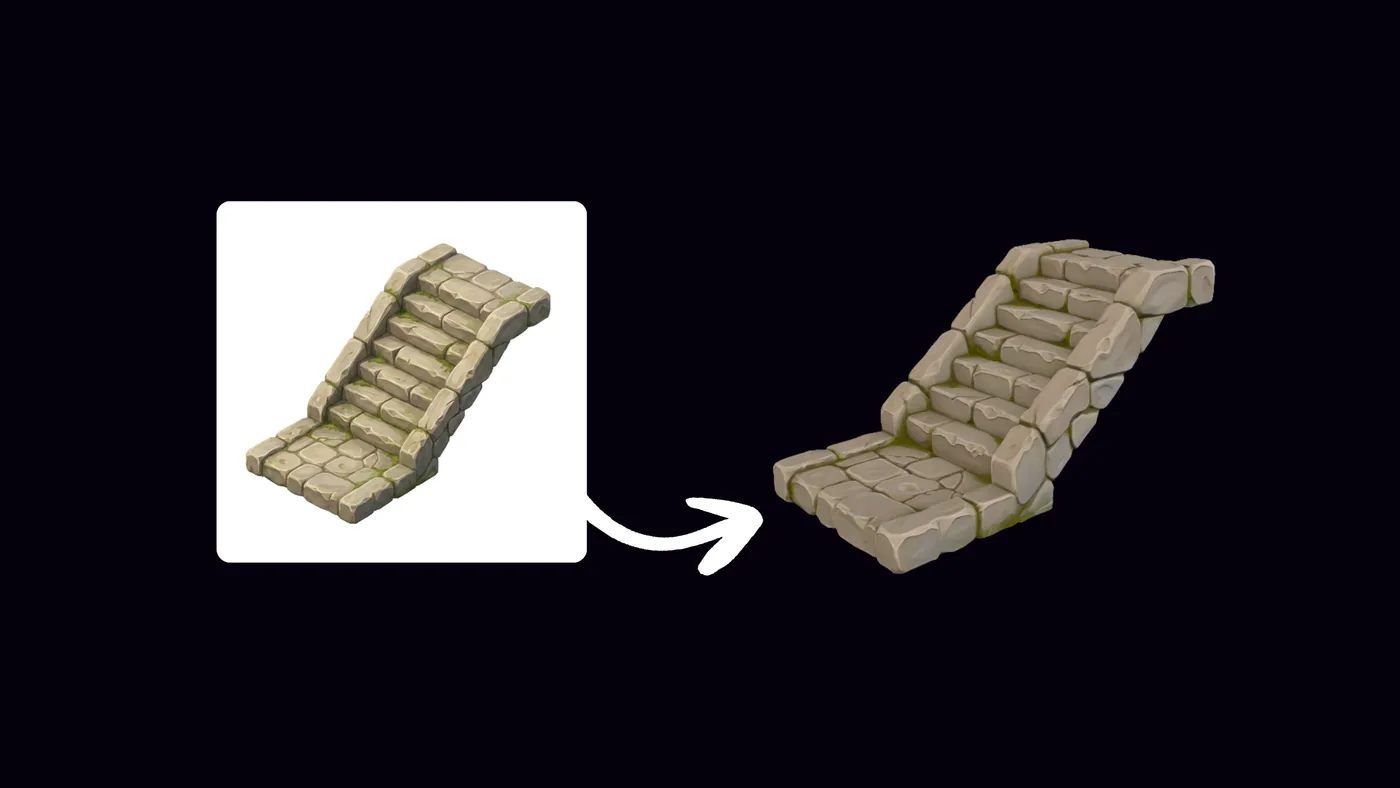
Image ideas to 3D assets
Turn rough level ideas or reference images into 3D candidates you can judge in a lit Unreal viewport.
Environment and prop kitbashing
Create prop sets, background objects, containers, pickups, signage, and set-dressing pieces for early Unreal levels.
Review as a Static Mesh
Explore rough Static Mesh candidates quickly before deciding what deserves manual cleanup, collision work, or LOD planning.
Evaluate in a lit level
Use Unreal Engine to produce lit viewport previews, Movie Render Queue tests, scale checks, and direction reviews.
From one draft to a placed actor
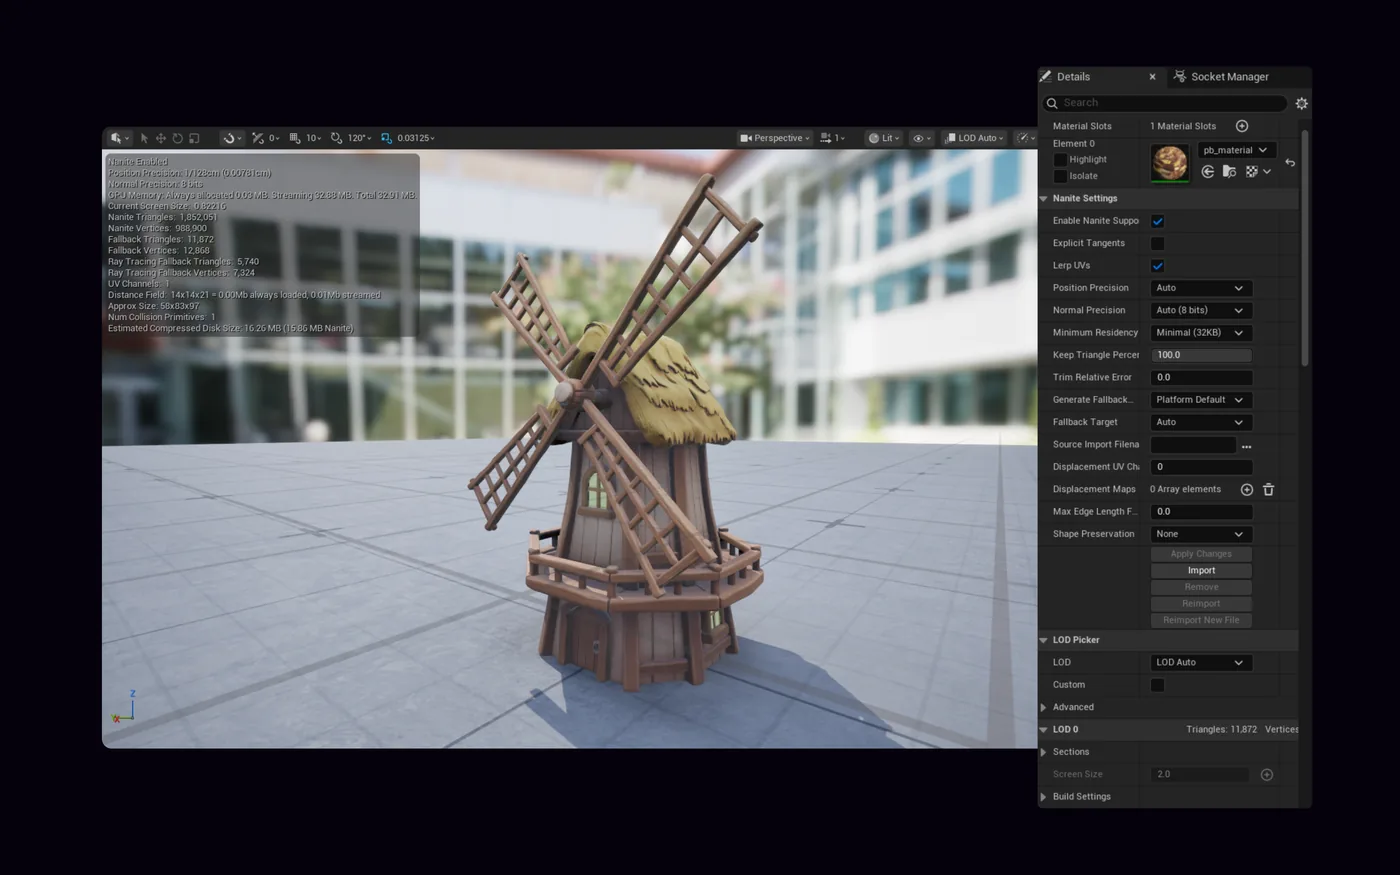
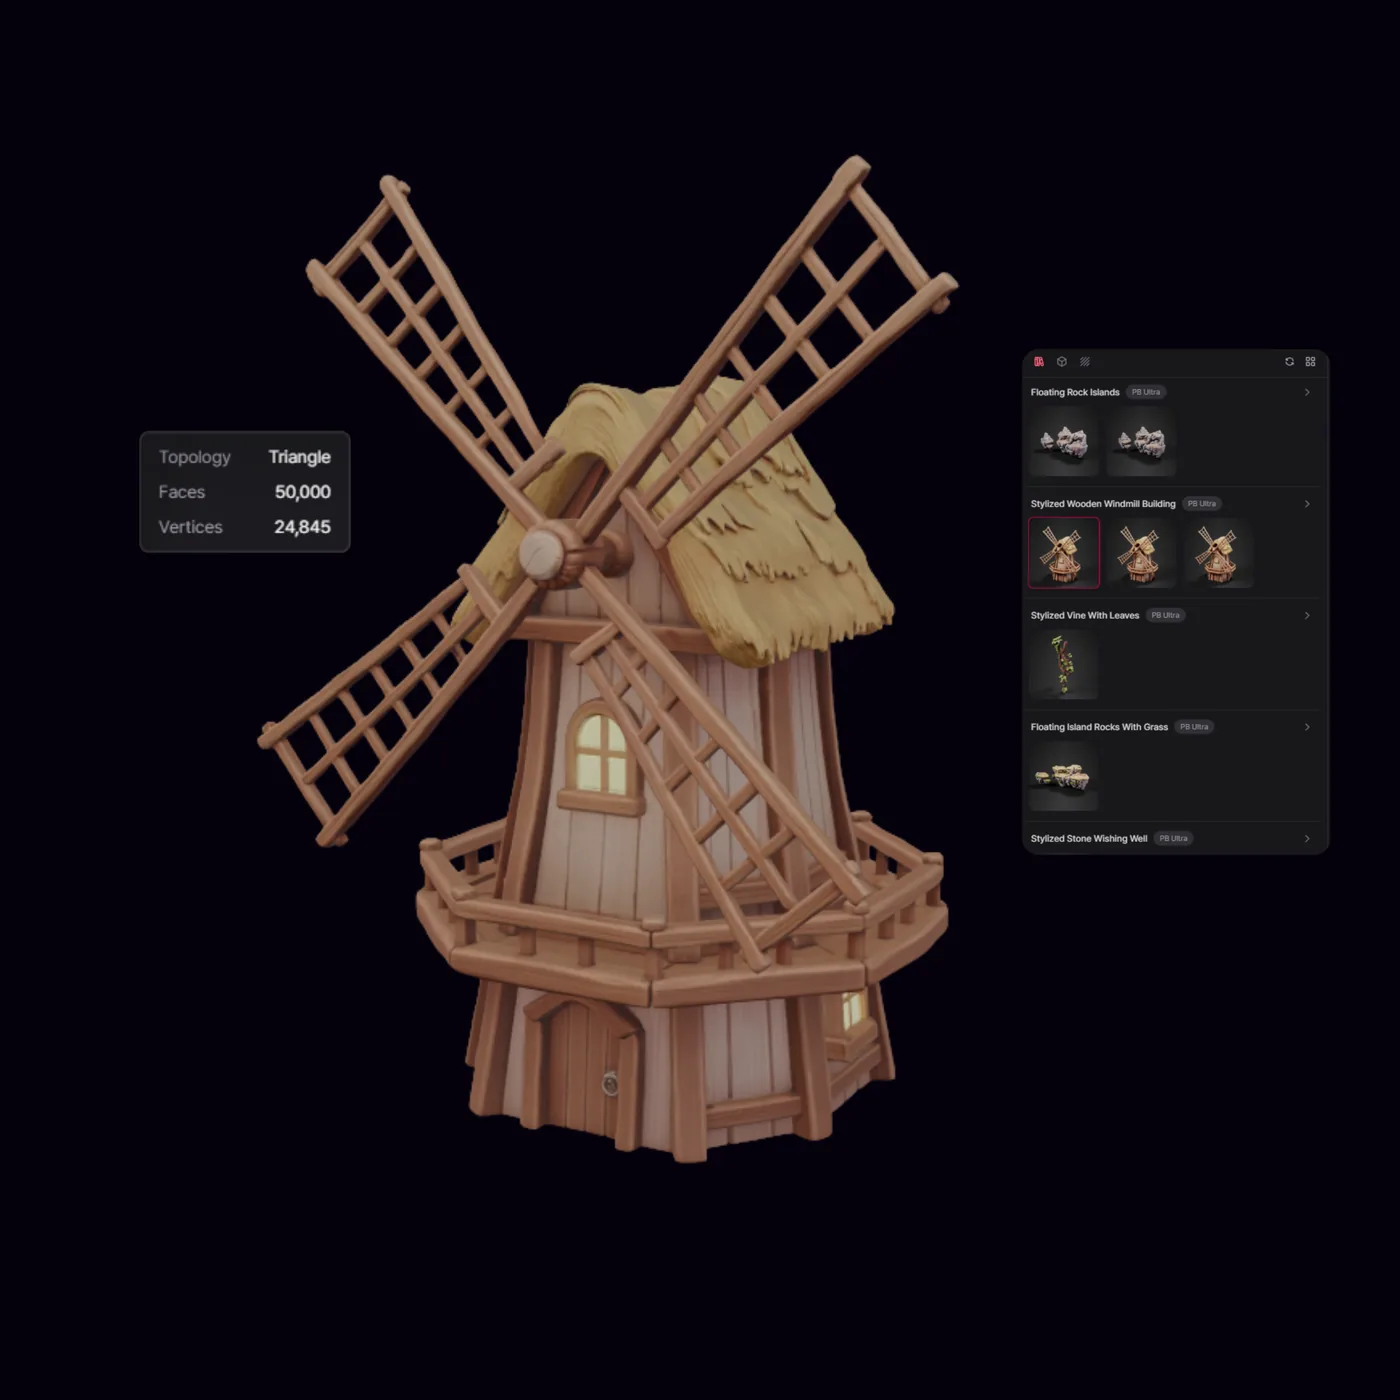
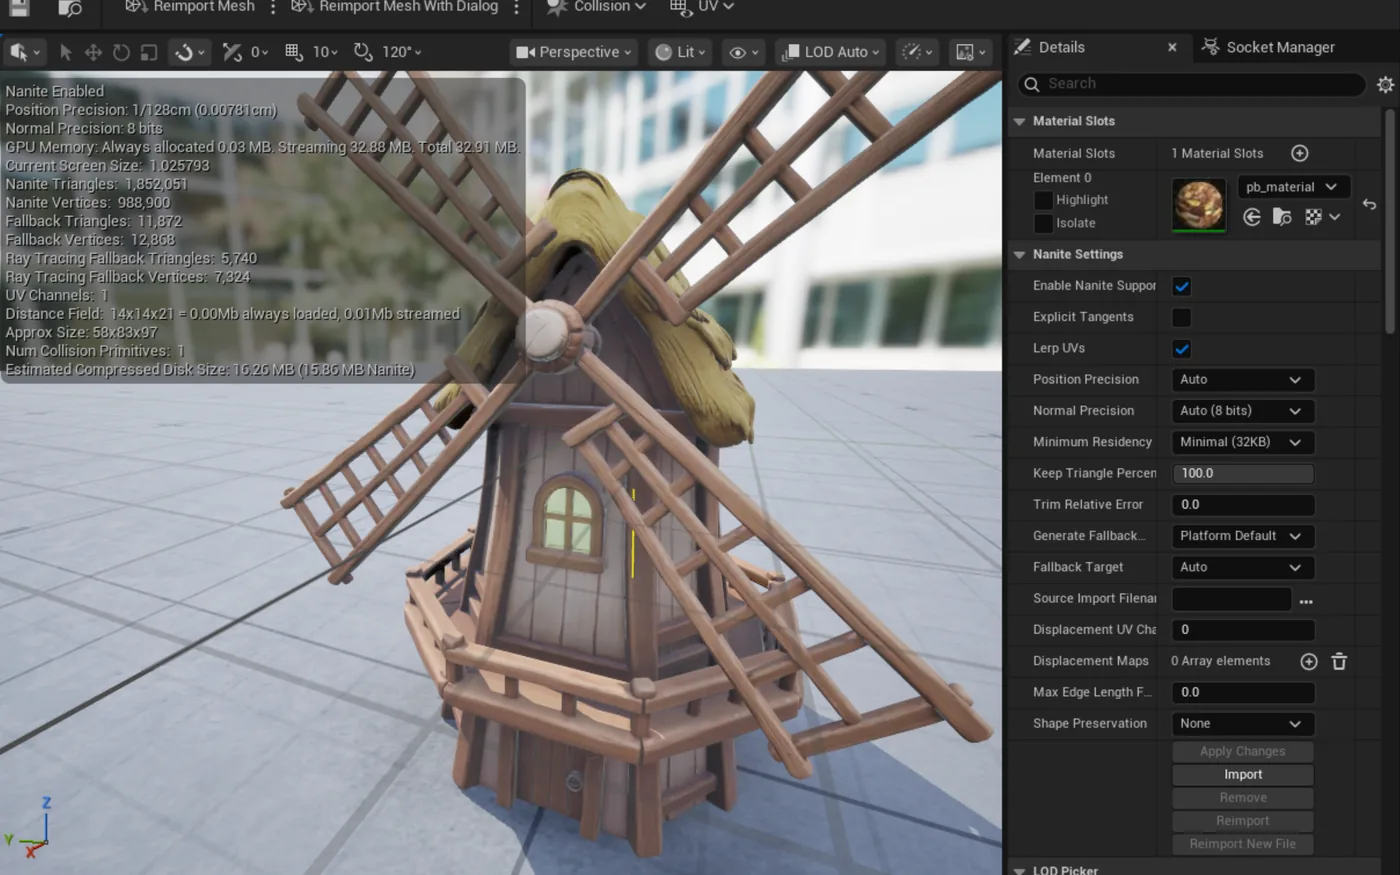
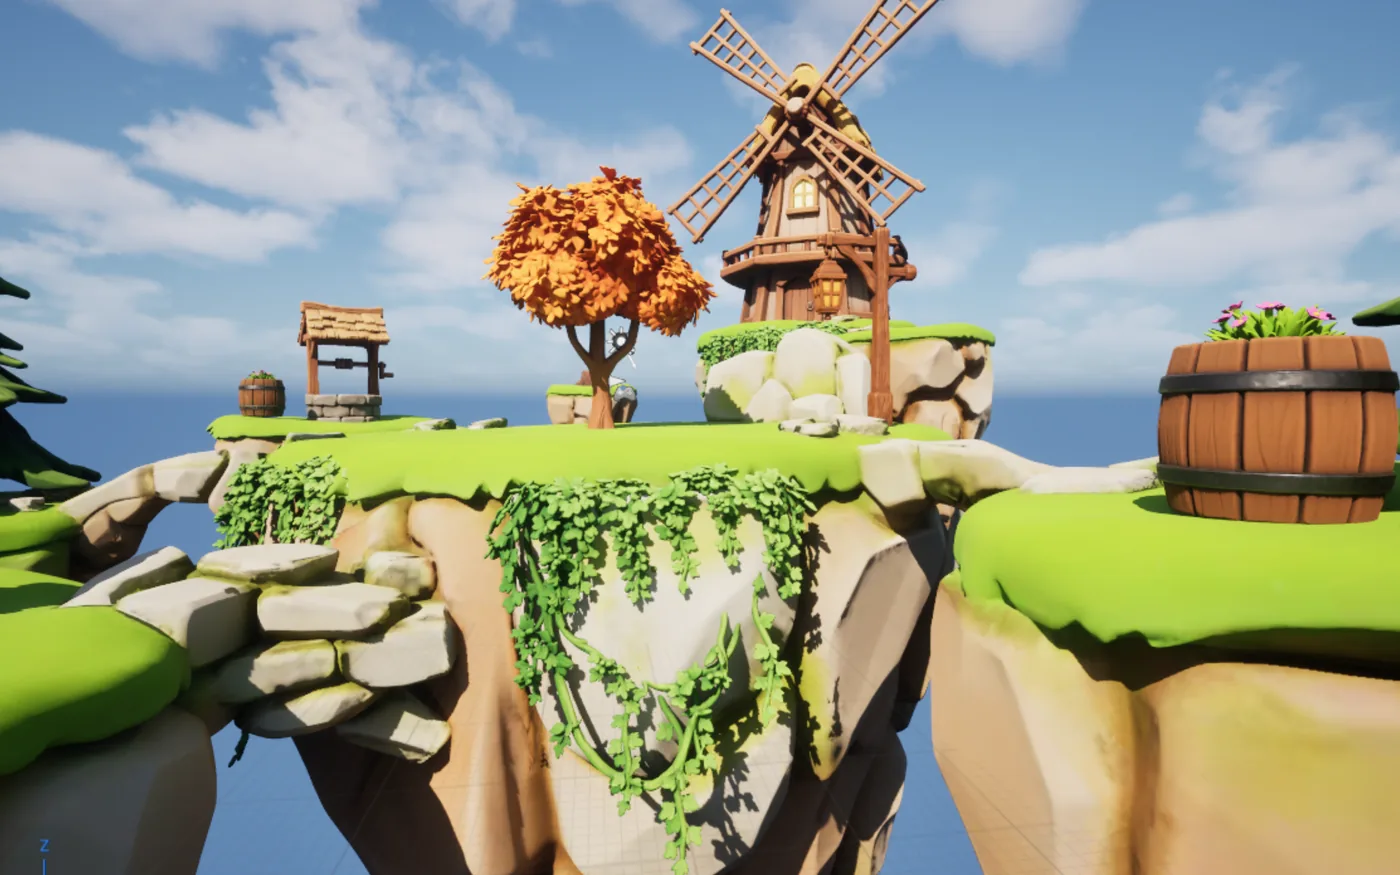
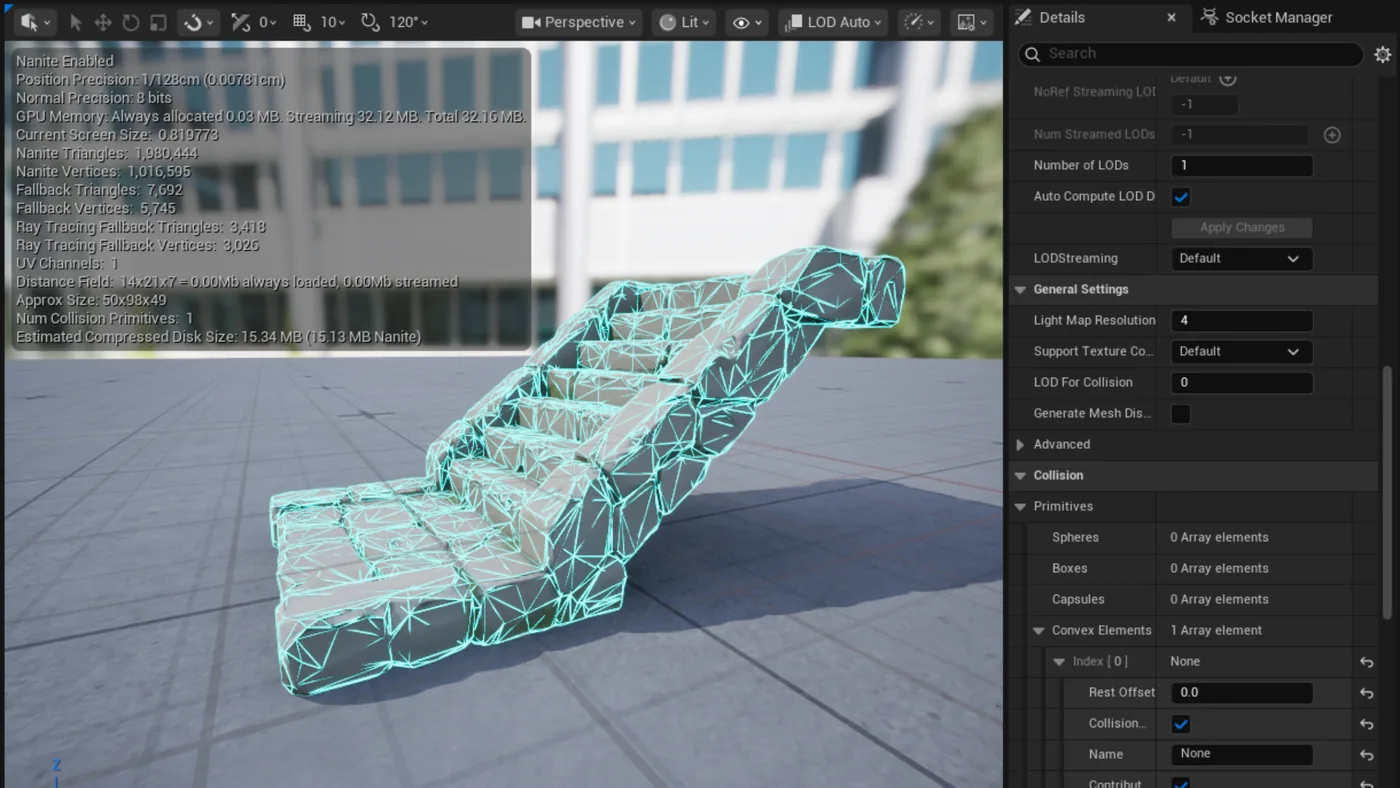
The generation result, the Static Mesh editor, and the lit level — the actual screens, in order.
Start with the candidate, not a blank level
The result from PicoBerry shows exactly what Unreal Engine receives, and what still needs review.
One plugin, and generated assets land in your Content Browser
PicoBerry Bridge is a free plugin that sends a generated asset straight from PicoBerry into Unreal Engine, so the handoff is one-click instead of a manual export, download, and re-import.
PicoBerry Bridge for Unreal Engine
Send it once. Pick it up in the Content Browser.
With the free PicoBerry Bridge plugin (Unreal Engine 5.4+), open Send to DCC Bridge in PicoBerry, pick Unreal, and the asset imports into your Content Browser in a PicoBerry folder as a GLB with its mesh, materials, and textures, then auto-places in your open level. FBX and OBJ are on the way. From there you set up materials, check scale and collision, and place it in your level.
The moment the asset lands in the Content Browser
The clip runs from Send to DCC Bridge in PicoBerry through to the asset appearing in the Content Browser and dropping into the open level.
From prompt to placed actor in four steps
Generate several, cut them against engine constraints, then take the survivor through import, collision, and placement.
STEP 01
Generate a set
Describe the props in text or feed reference images in PicoBerry. For front, side, and back references, pick a model that supports multi-view input.
STEP 02
Cut against constraints
Before anything reaches Unreal, judge silhouette, proportion, and density. A mesh that is wrong at this stage is cheaper to regenerate than to repair.
STEP 03
Validate in Unreal
Check centimetre scale, material instances, origin and pivot, collision, Nanite and LOD fit, and how it reads in a lit viewport.
STEP 04
Place it in the level
Set up collision, decide on Nanite or LODs, check lightmap assumptions, and assemble the asset into the level alongside everything else.
What Unreal will and will not forgive
The faster a level has to fill up, the better this fits. The tighter the performance budget and the collision requirements, the harder you have to look.
Best fit
Fast 3D starting points, kitbash pieces, set-dressing props, background environment objects, and visual exploration before manual modeling.
Decide with care
Strict collision, exact measurements, hero assets, mobile budgets, Nanite/LOD choices, lightmap UVs, or animation-ready rigs need deeper review.
Review before use
Check silhouette, centimeter scale, mesh structure, UVs, material instances, origin, pivot, collision, Nanite/LOD, lightmap assumptions, and target-platform needs.
The Unreal workflow in practice
See how a PicoBerry candidate continues into Unreal Engine review rather than ending at generation.
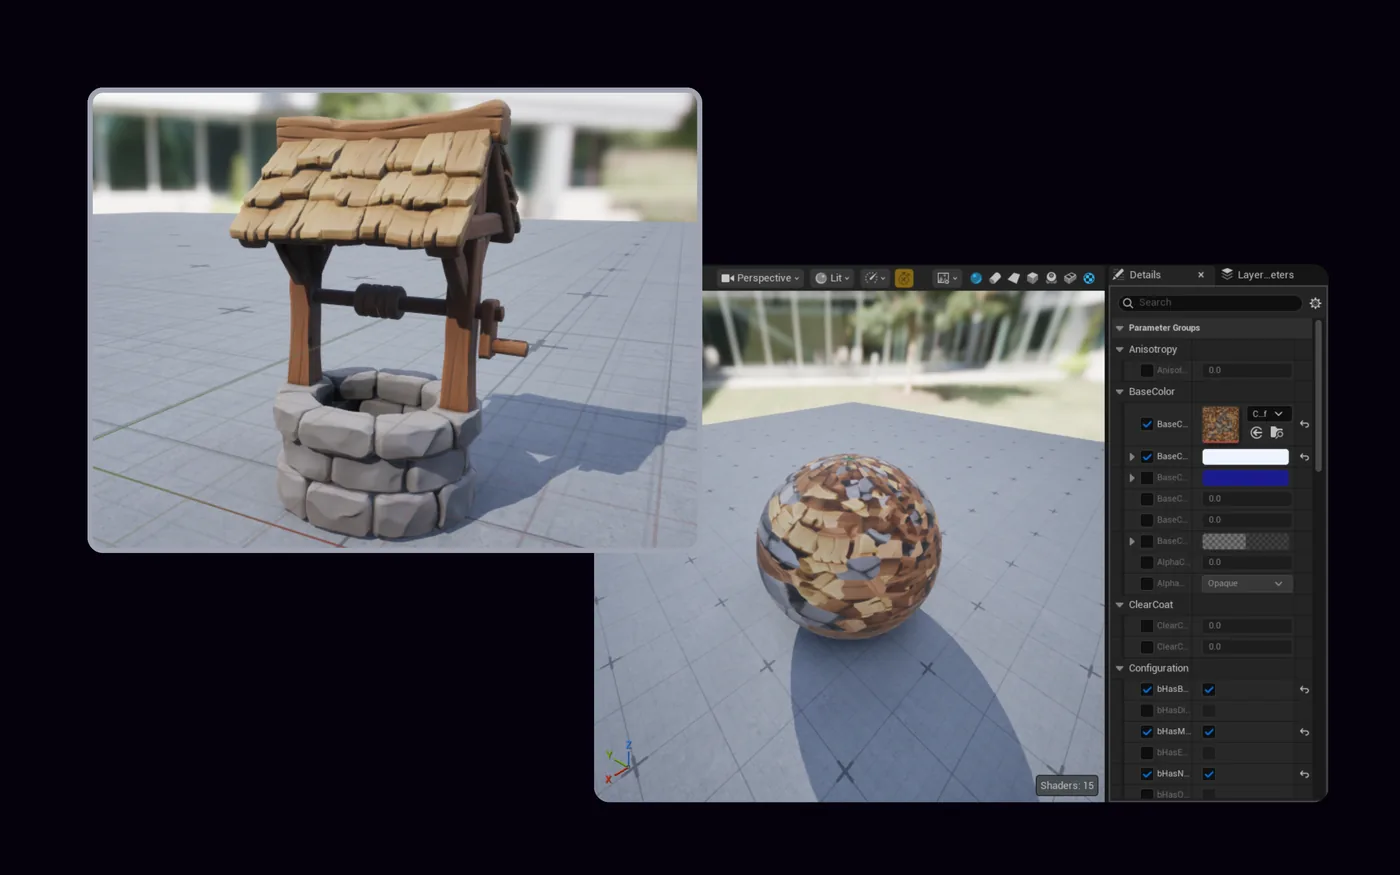
Generate in PicoBerry
A generated asset appears with the prompt, image, or reference context that created it.
Send to Unreal and inspect
The same model appears in Unreal Engine for Static Mesh import, silhouette, centimeter scale, material instance, and collision-assumption review.
Position your assets
The selected asset continues toward Unreal level assembly, collision setup, cleanup, LOD planning, or artist refinement.
From loose props to an assembled level
Before-and-after views, import checks, material passes, collision assumptions, and lit viewport previews show what changes between a PicoBerry candidate and an Unreal-reviewed asset.
Frequently asked questions
Can I use a PicoBerry model in Unreal Engine right away?
You can bring it in right away, but treat it as a draft. The free PicoBerry Bridge plugin imports the asset into your Content Browser and places it in the open level; from there check centimetre scale, collision, material instances, and triangle count against your project standards before it goes into production.
The imported model is the wrong size. What should I check?
Unreal works in centimetres while glTF and GLB are authored in metres, so scale is the first thing to verify. Open the Static Mesh editor, read the bounds, and correct it with the import scale or the actor transform. Fixing it once on the mesh is safer than scaling every placed actor.
How do I add collision to a generated mesh?
Generated meshes arrive without hand-authored collision. In the Static Mesh editor use Collision to add a box or convex shape, or Auto Convex Collision for irregular silhouettes. Complex collision as simple works for static set dressing, but it is expensive for anything the player touches often.
Can I turn on Nanite? Do I still need LODs?
Nanite runs on static meshes, and a dense generated mesh is often a good candidate. Translucent materials and skinned meshes have limits that vary by engine version, so enable it in the Static Mesh editor and compare triangle counts and draw calls in your own project before committing.
What is PicoBerry Bridge for Unreal Engine?
A free plugin for Unreal Engine 5.4 and newer that also uses the built-in Python Editor Script Plugin. Install it into your project’s Plugins folder, then in PicoBerry open Send to DCC Bridge, pick Unreal, and send; the asset arrives in the Content Browser as a GLB with mesh, materials, and textures, and is auto-placed in the open level. FBX and OBJ support is on the way.
Start with what fills the level
A few props take minutes. Send the ones you like into the Content Browser, place them, and carry on in Unreal the way you always have.