Launch Event50% off annual plans · free Nano Banana images · Premium Templates with Max yearlySee the offer
Meshy 6 Low Polyends Oct 29 · continue with Meshy T2.5Try T2.5
Guide · Environment assets
Best AI 3D model for environment assets
Rocks, foliage, crates, barrels, and modular kit pieces: the many small assets that dress a level. Here the job is a whole set that shares scale and style at a lean poly budget, not one hero piece. Here is the workflow and the models to try first.
Try first for environmentTripo P2Tripo 3.1 + Tripo Remeshthen compare onscalepoly budgetconsistency
How do you make game environment assets with AI?
Environment work is a whole set, not one hero piece — many small assets sharing scale and style at a lean poly budget. Generate your references in one consistent image style in PicoBerry Image Generation, then run them through the models suited to a kit: Tripo P2 for the low-poly bulk, and Tripo 3.1 with Tripo Remesh for pieces that need more form. Confirm matching scale and sensible pivots, keep the poly count cheap since a level uses hundreds of these, and group the kit in Collections to stay consistent. Re-texture to one palette, then export GLB, FBX, or OBJ for Unity, Unreal, Godot, or Blender.
What matters most for environment assets
The six criteria from the hub, weighted for environment sets. These are the three that decide a level kit the fastest.
Consistent scale & pivots
A rock next to a crate has to feel the right size, and each piece needs a sensible pivot so it snaps into a scene predictably.
Lean poly budget
A level uses hundreds of these, so each has to stay cheap — often a few hundred to a couple thousand triangles for a filler piece, more only where it earns it. A lighter result is usually the right call.
Style consistency
Every piece in the kit should look like it belongs to the same world. One image style and one model across the set keeps it coherent.
Models to try first for environment
Reasonable starting candidates to test, not fixed winners. Run the same set of images across them and judge the results. The lineup evolves, so check the current model picker in PicoBerry.
Candidate A
Tripo P2
Tripo's native-quad, low-poly model. A strong first try for the bulk of a kit: crates, barrels, fences, rocks, and filler props, where a lean, quad-topology result is exactly what you want.
Check: that the shape reads clearly at a low poly count.
Candidate B
Tripo 3.1 + Tripo Remesh
For pieces that need more form or surface — hero rocks, statues, or a key foliage type — generate on Tripo 3.1, then remesh with Tripo Remesh to bring the topology back to a lean poly budget.
Check: that the detail survives the remesh to your poly count.
Then keep the set together
Organize in Collections
As the kit grows, group it in Collections so scale, style, and naming stay consistent across every piece.
Check: that new pieces match the set already in the collection.
Objects that belong in the same world
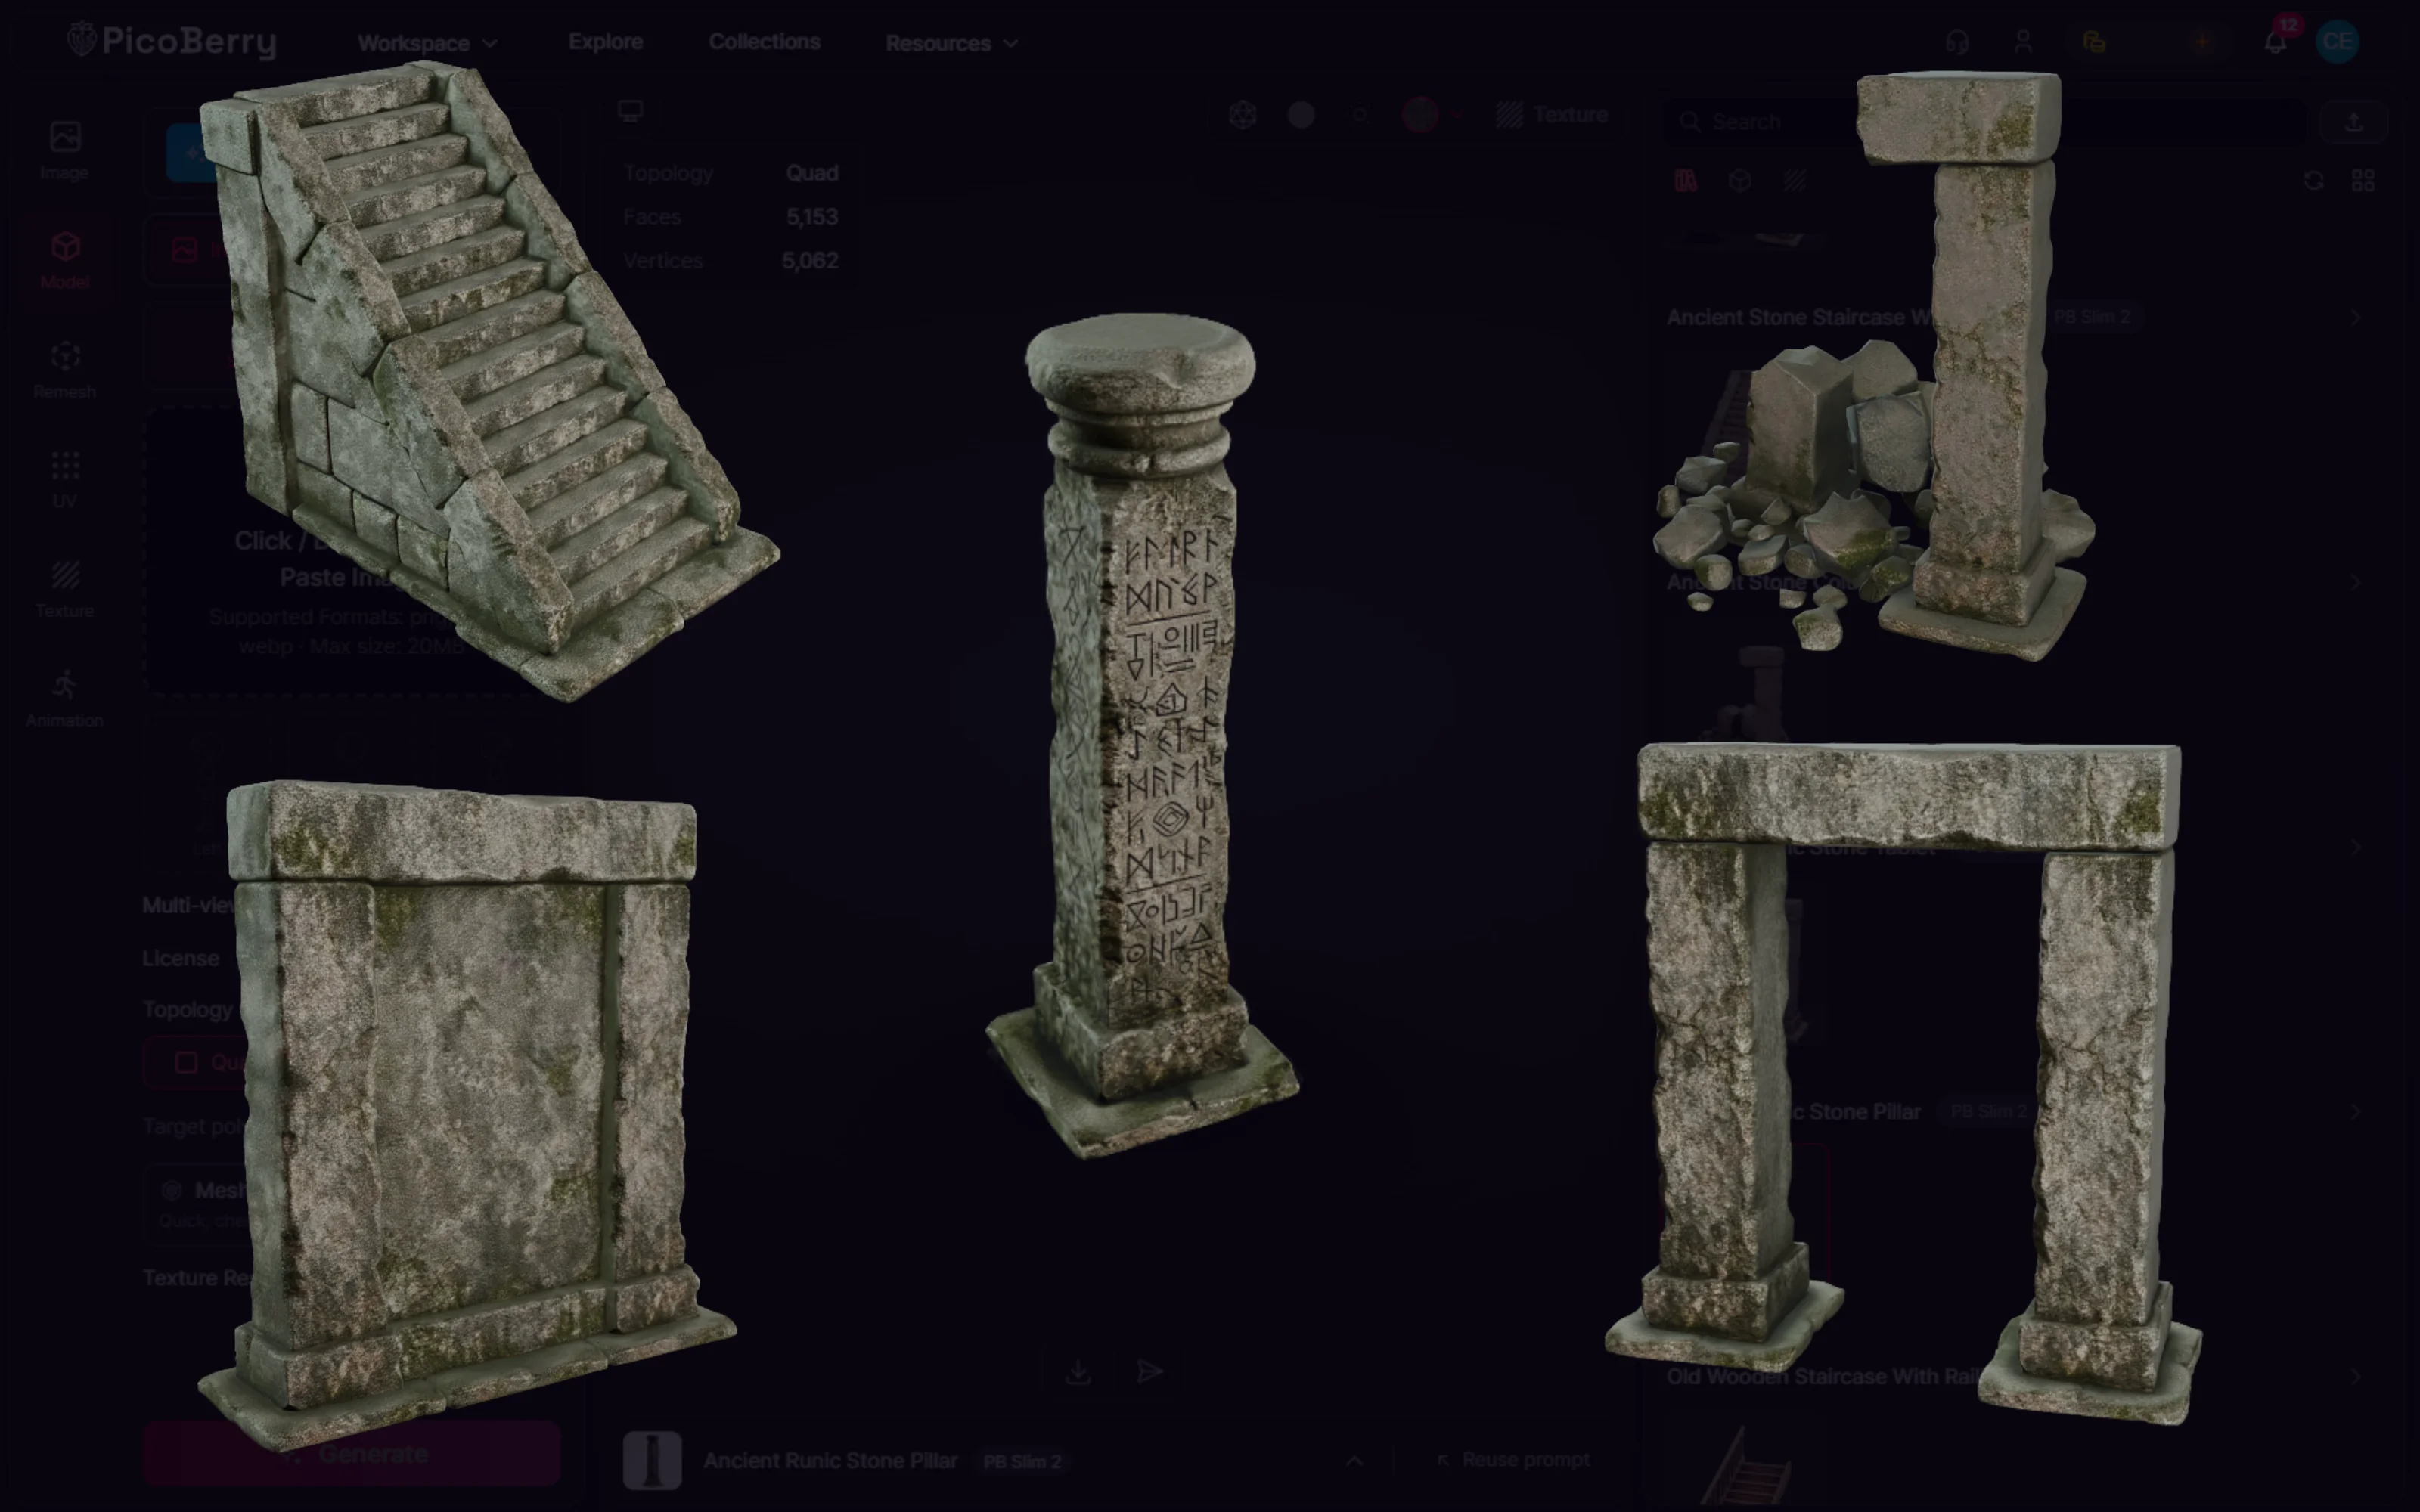
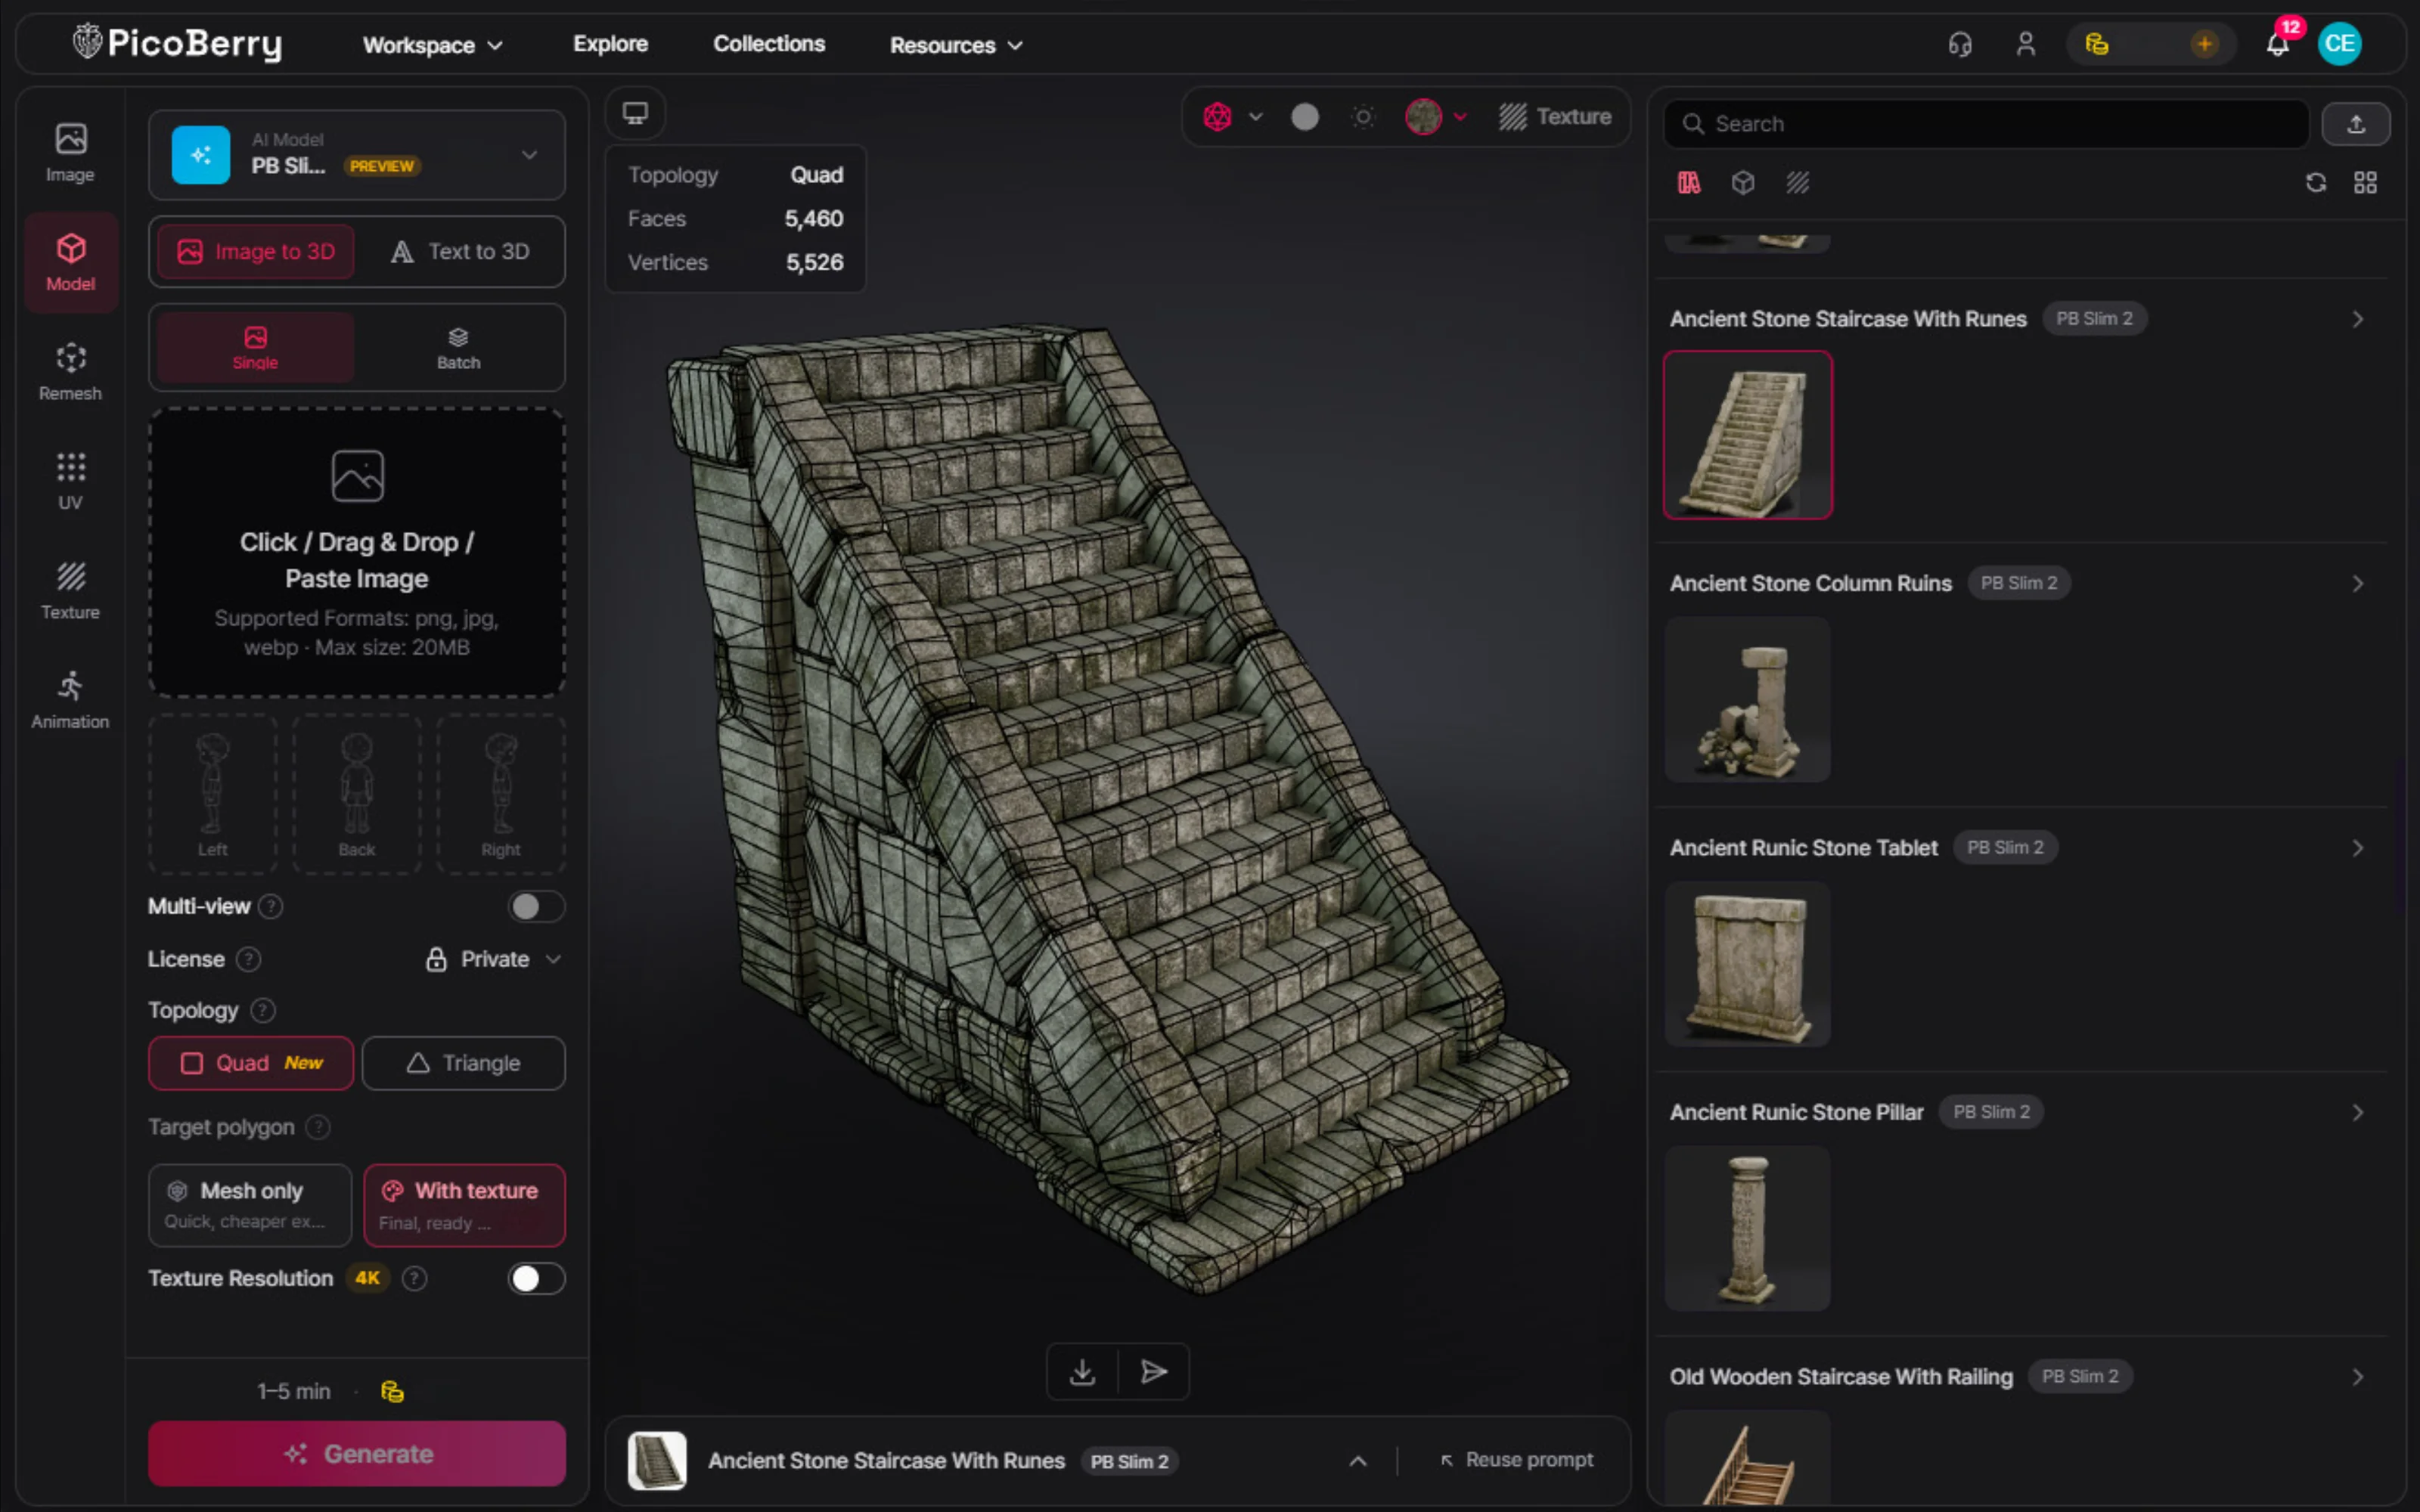
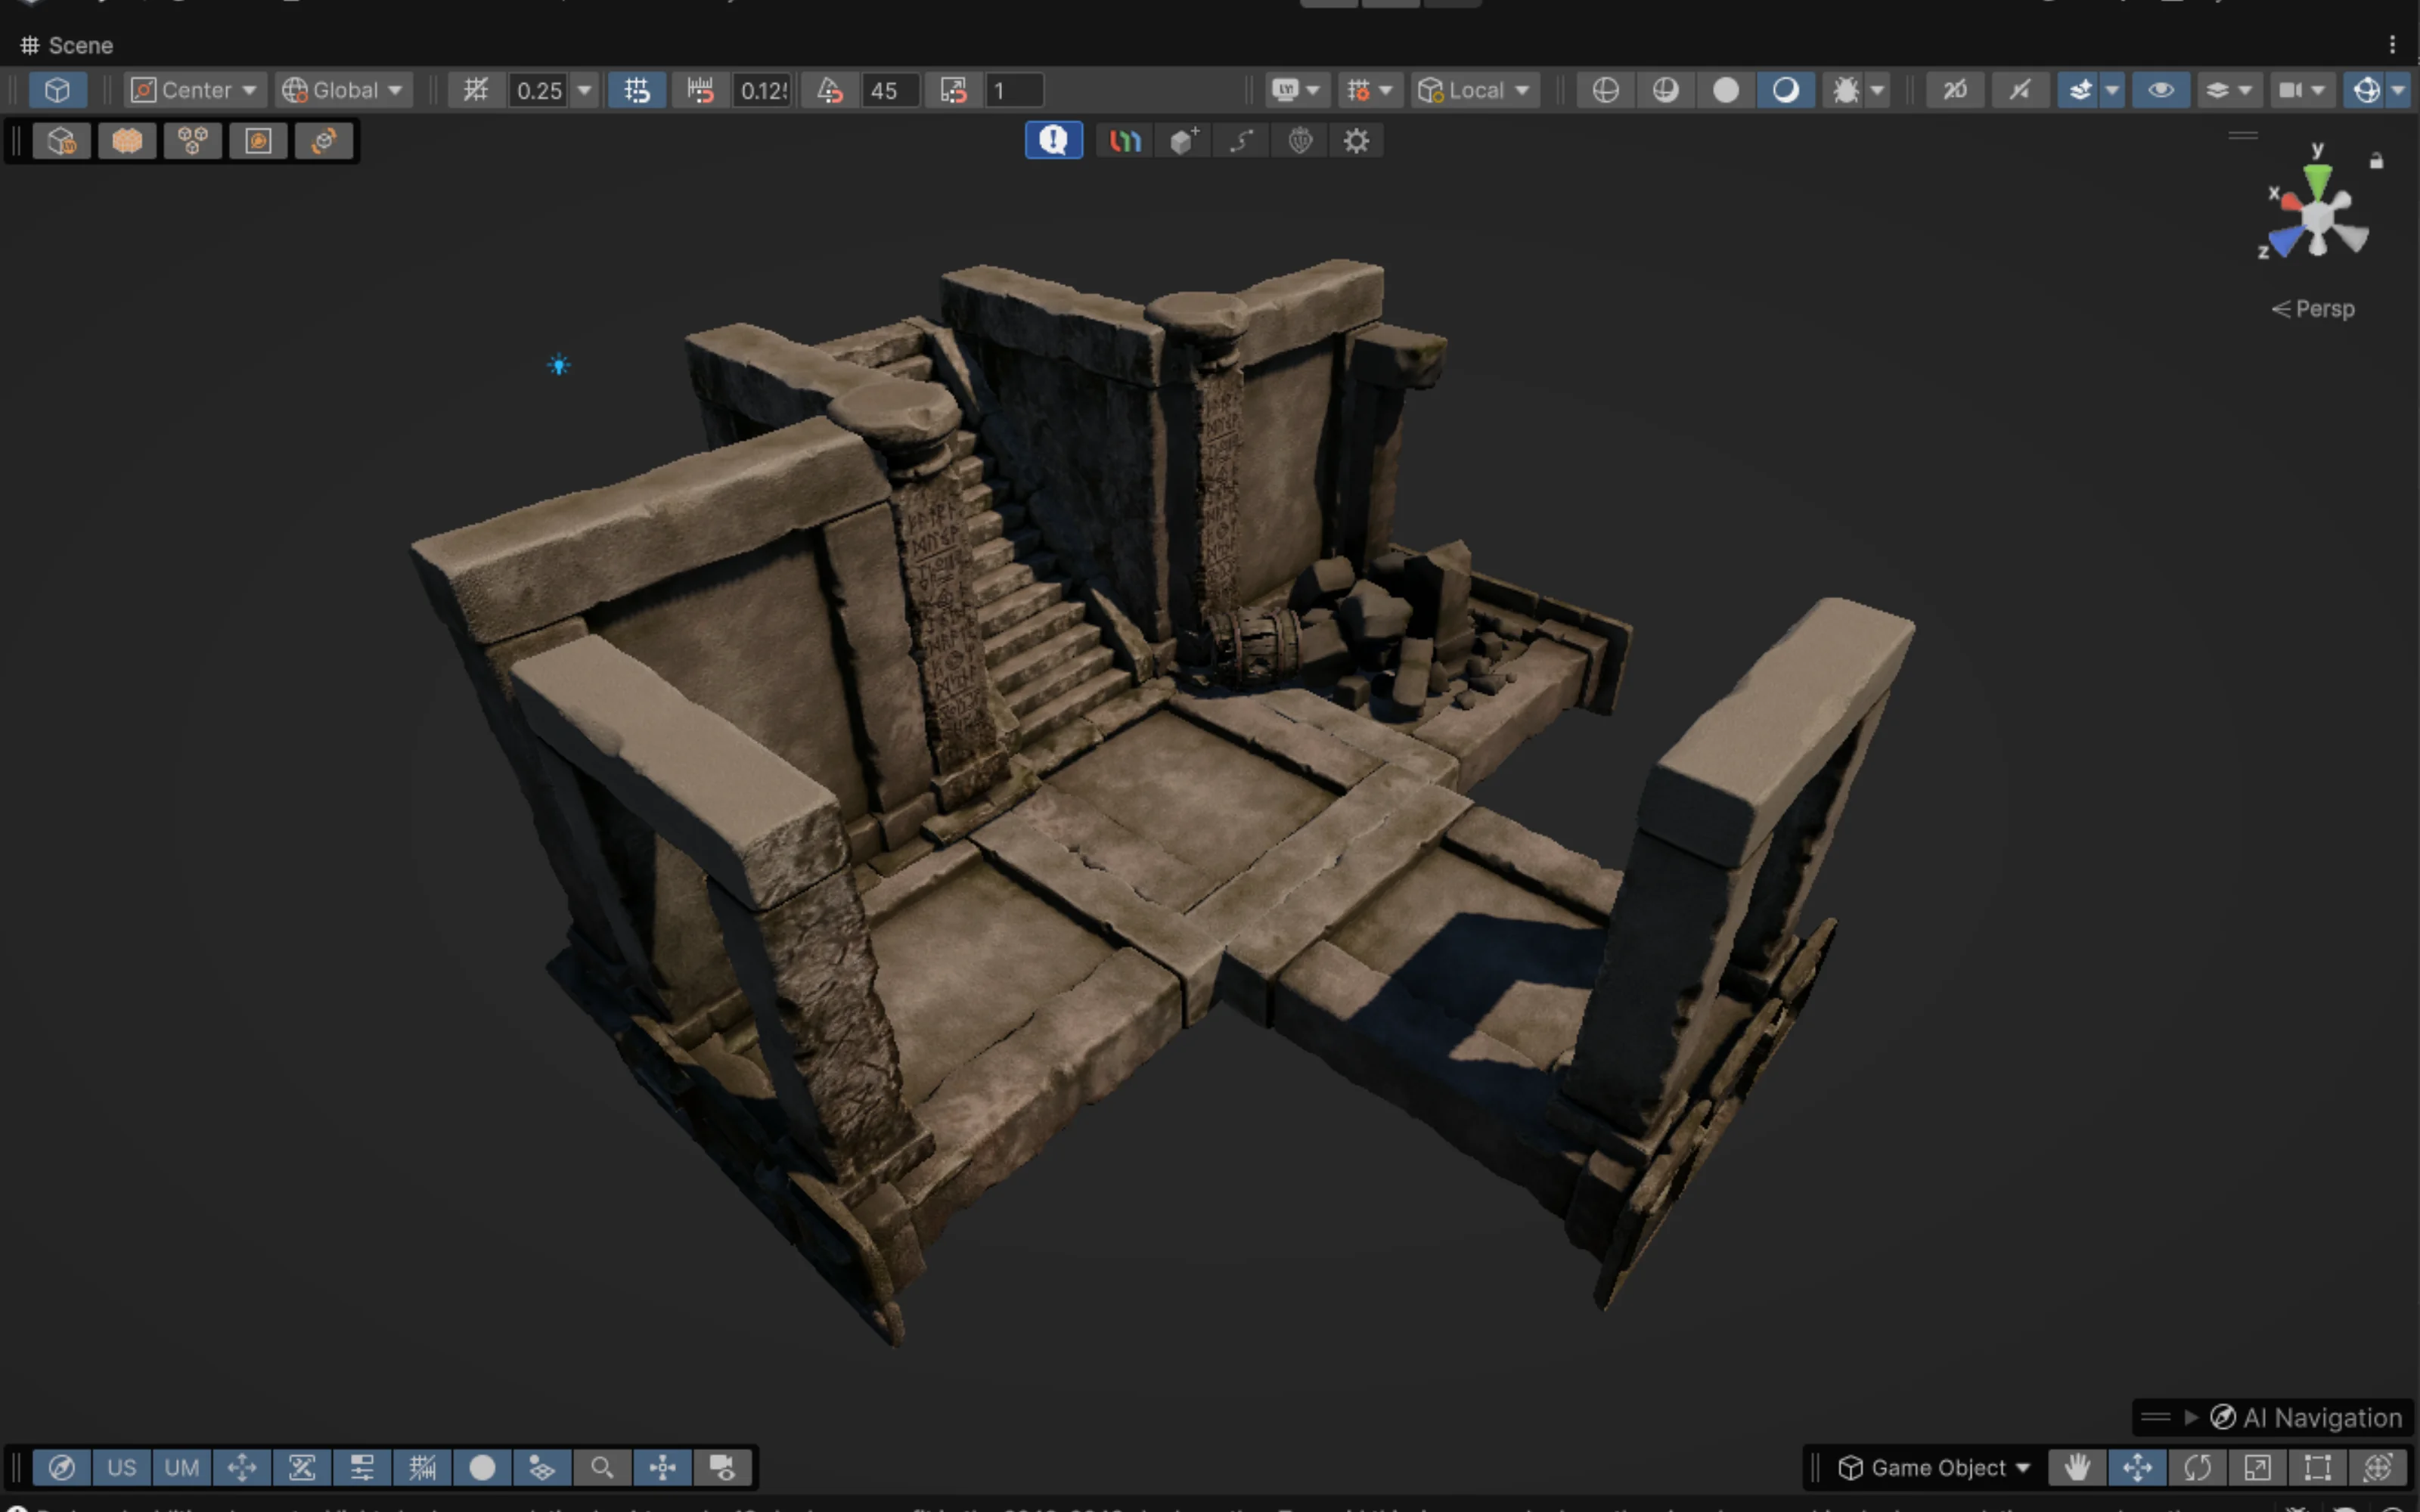
The real test of an environment kit is coherence. Use Tripo P2 and Tripo 3.1 to generate a set of objects that share one style and space — for example, an ancient stone world — then remesh to a shared budget so every piece is lean and ready to bring into a scene.
One style, one world
Generate the pieces of a single place, like weathered rock, broken pillars, and stone walls, so they read as one set instead of unrelated props.
Good topology on every piece
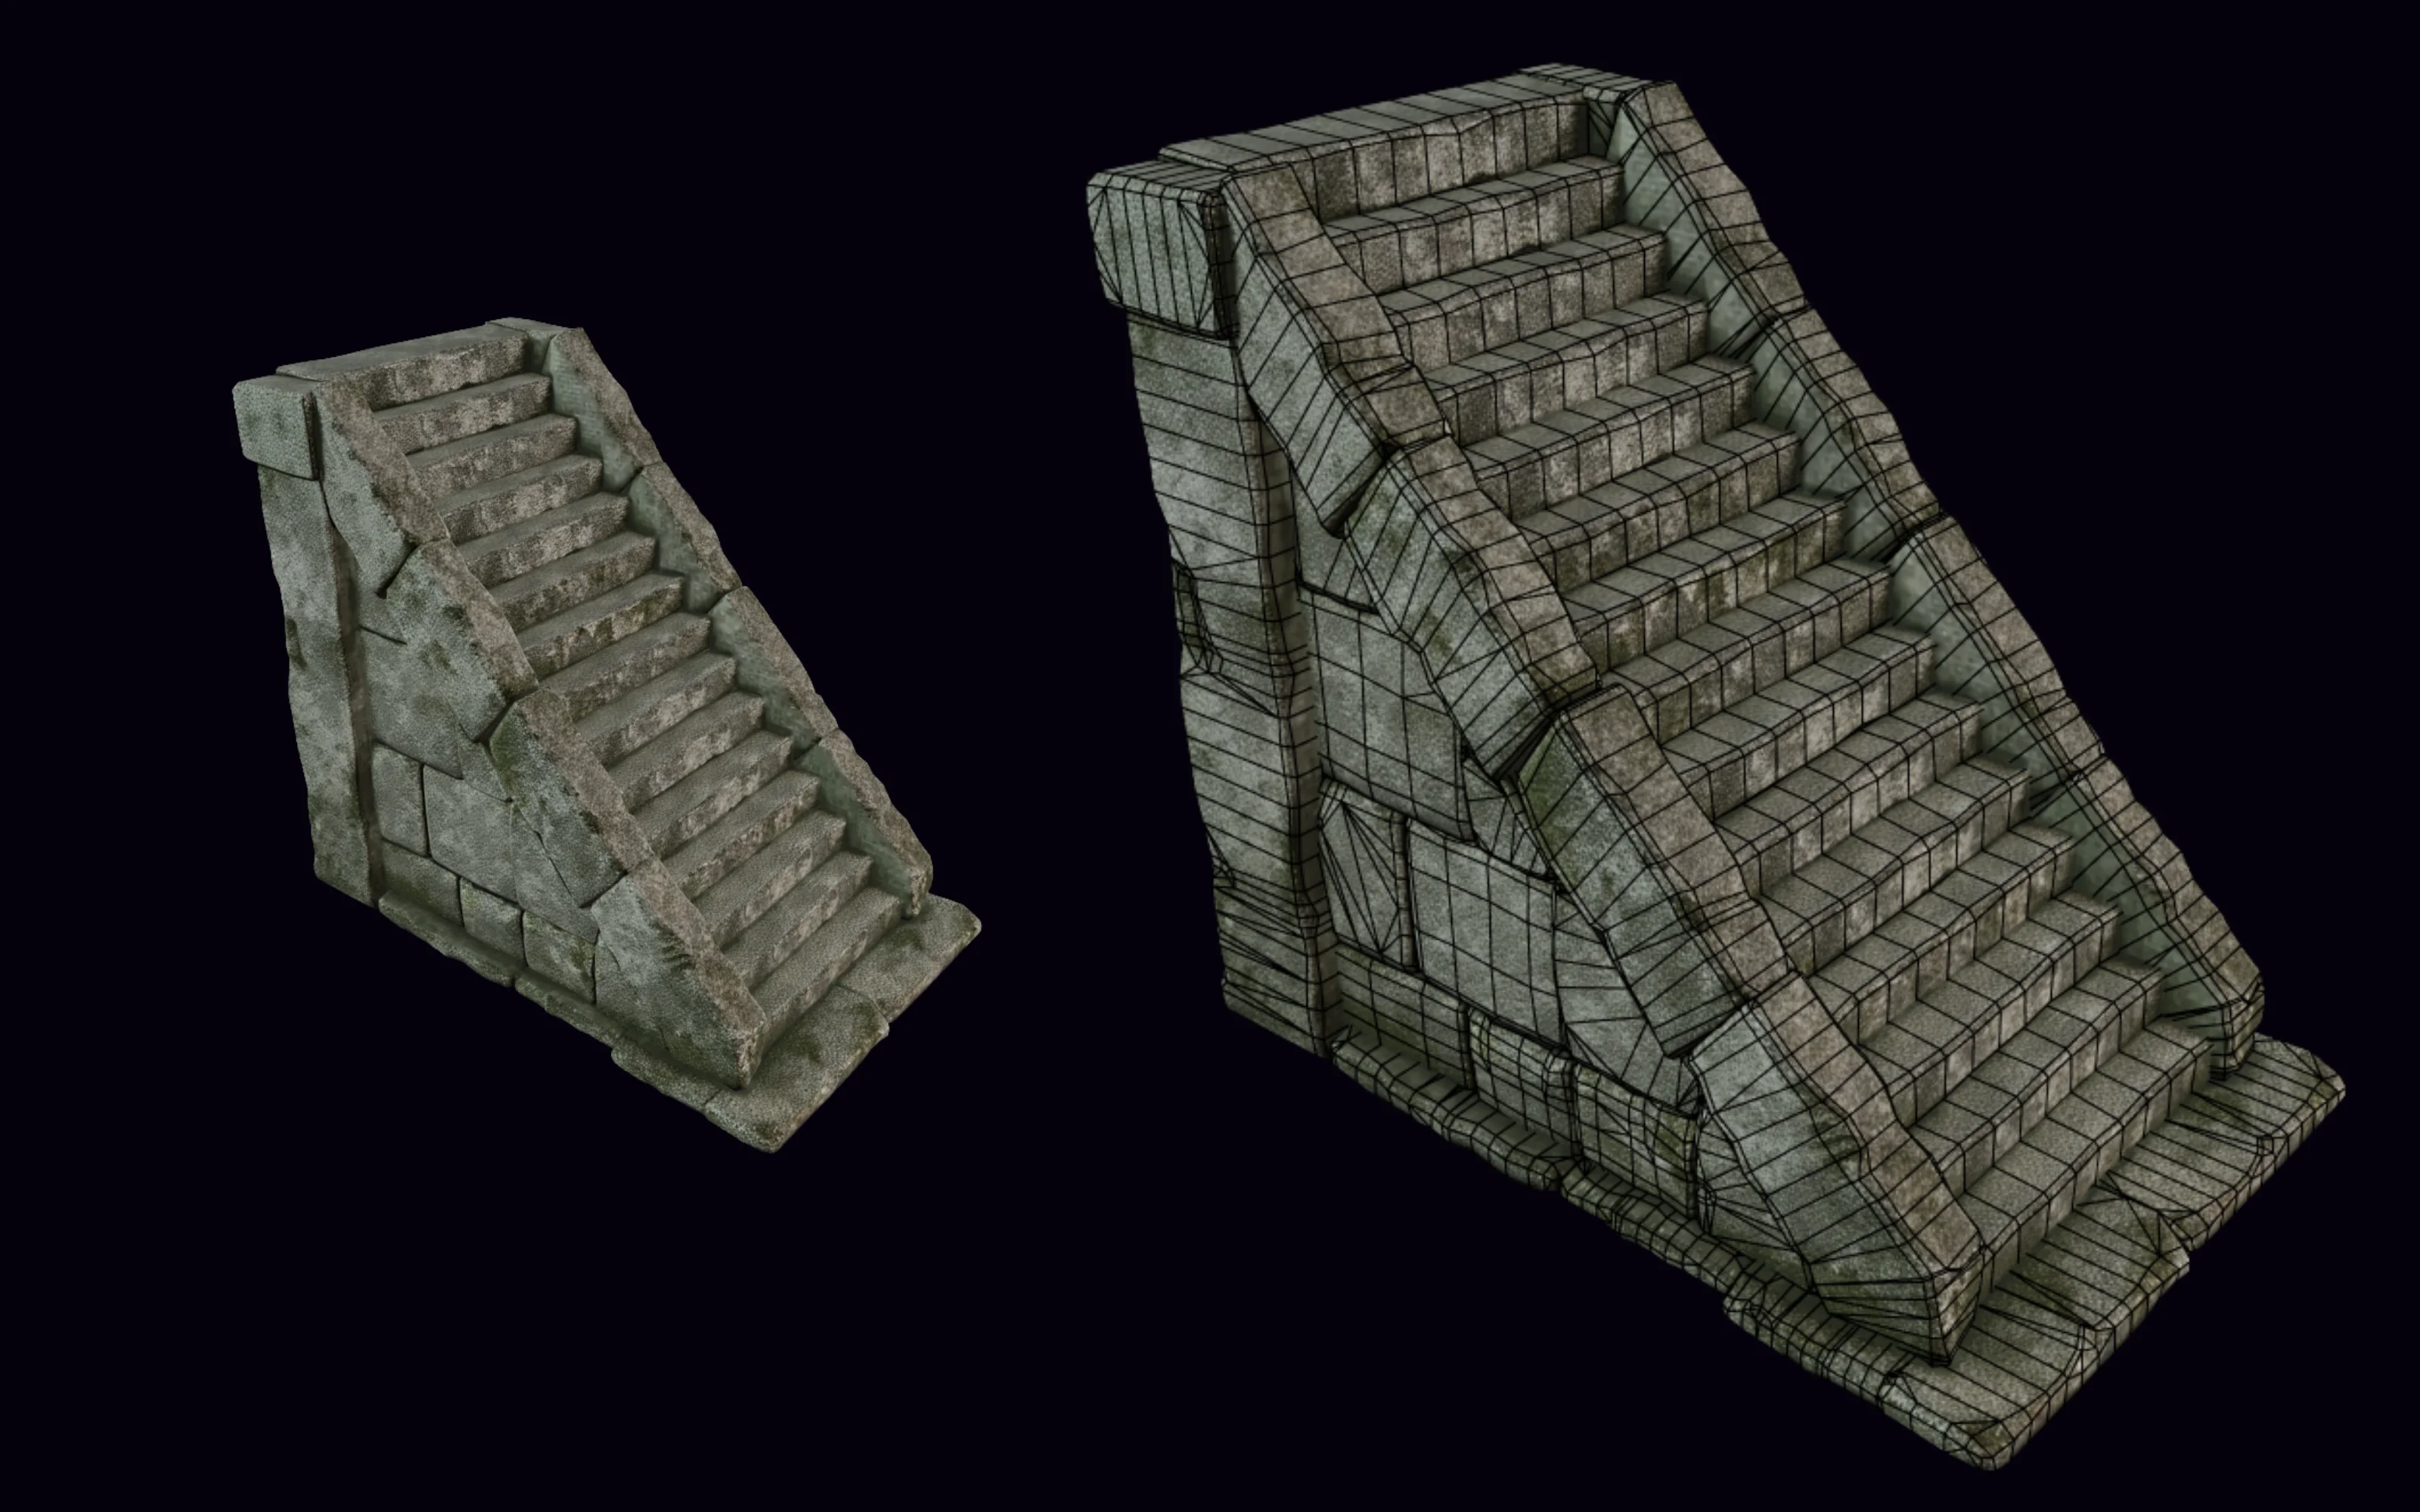
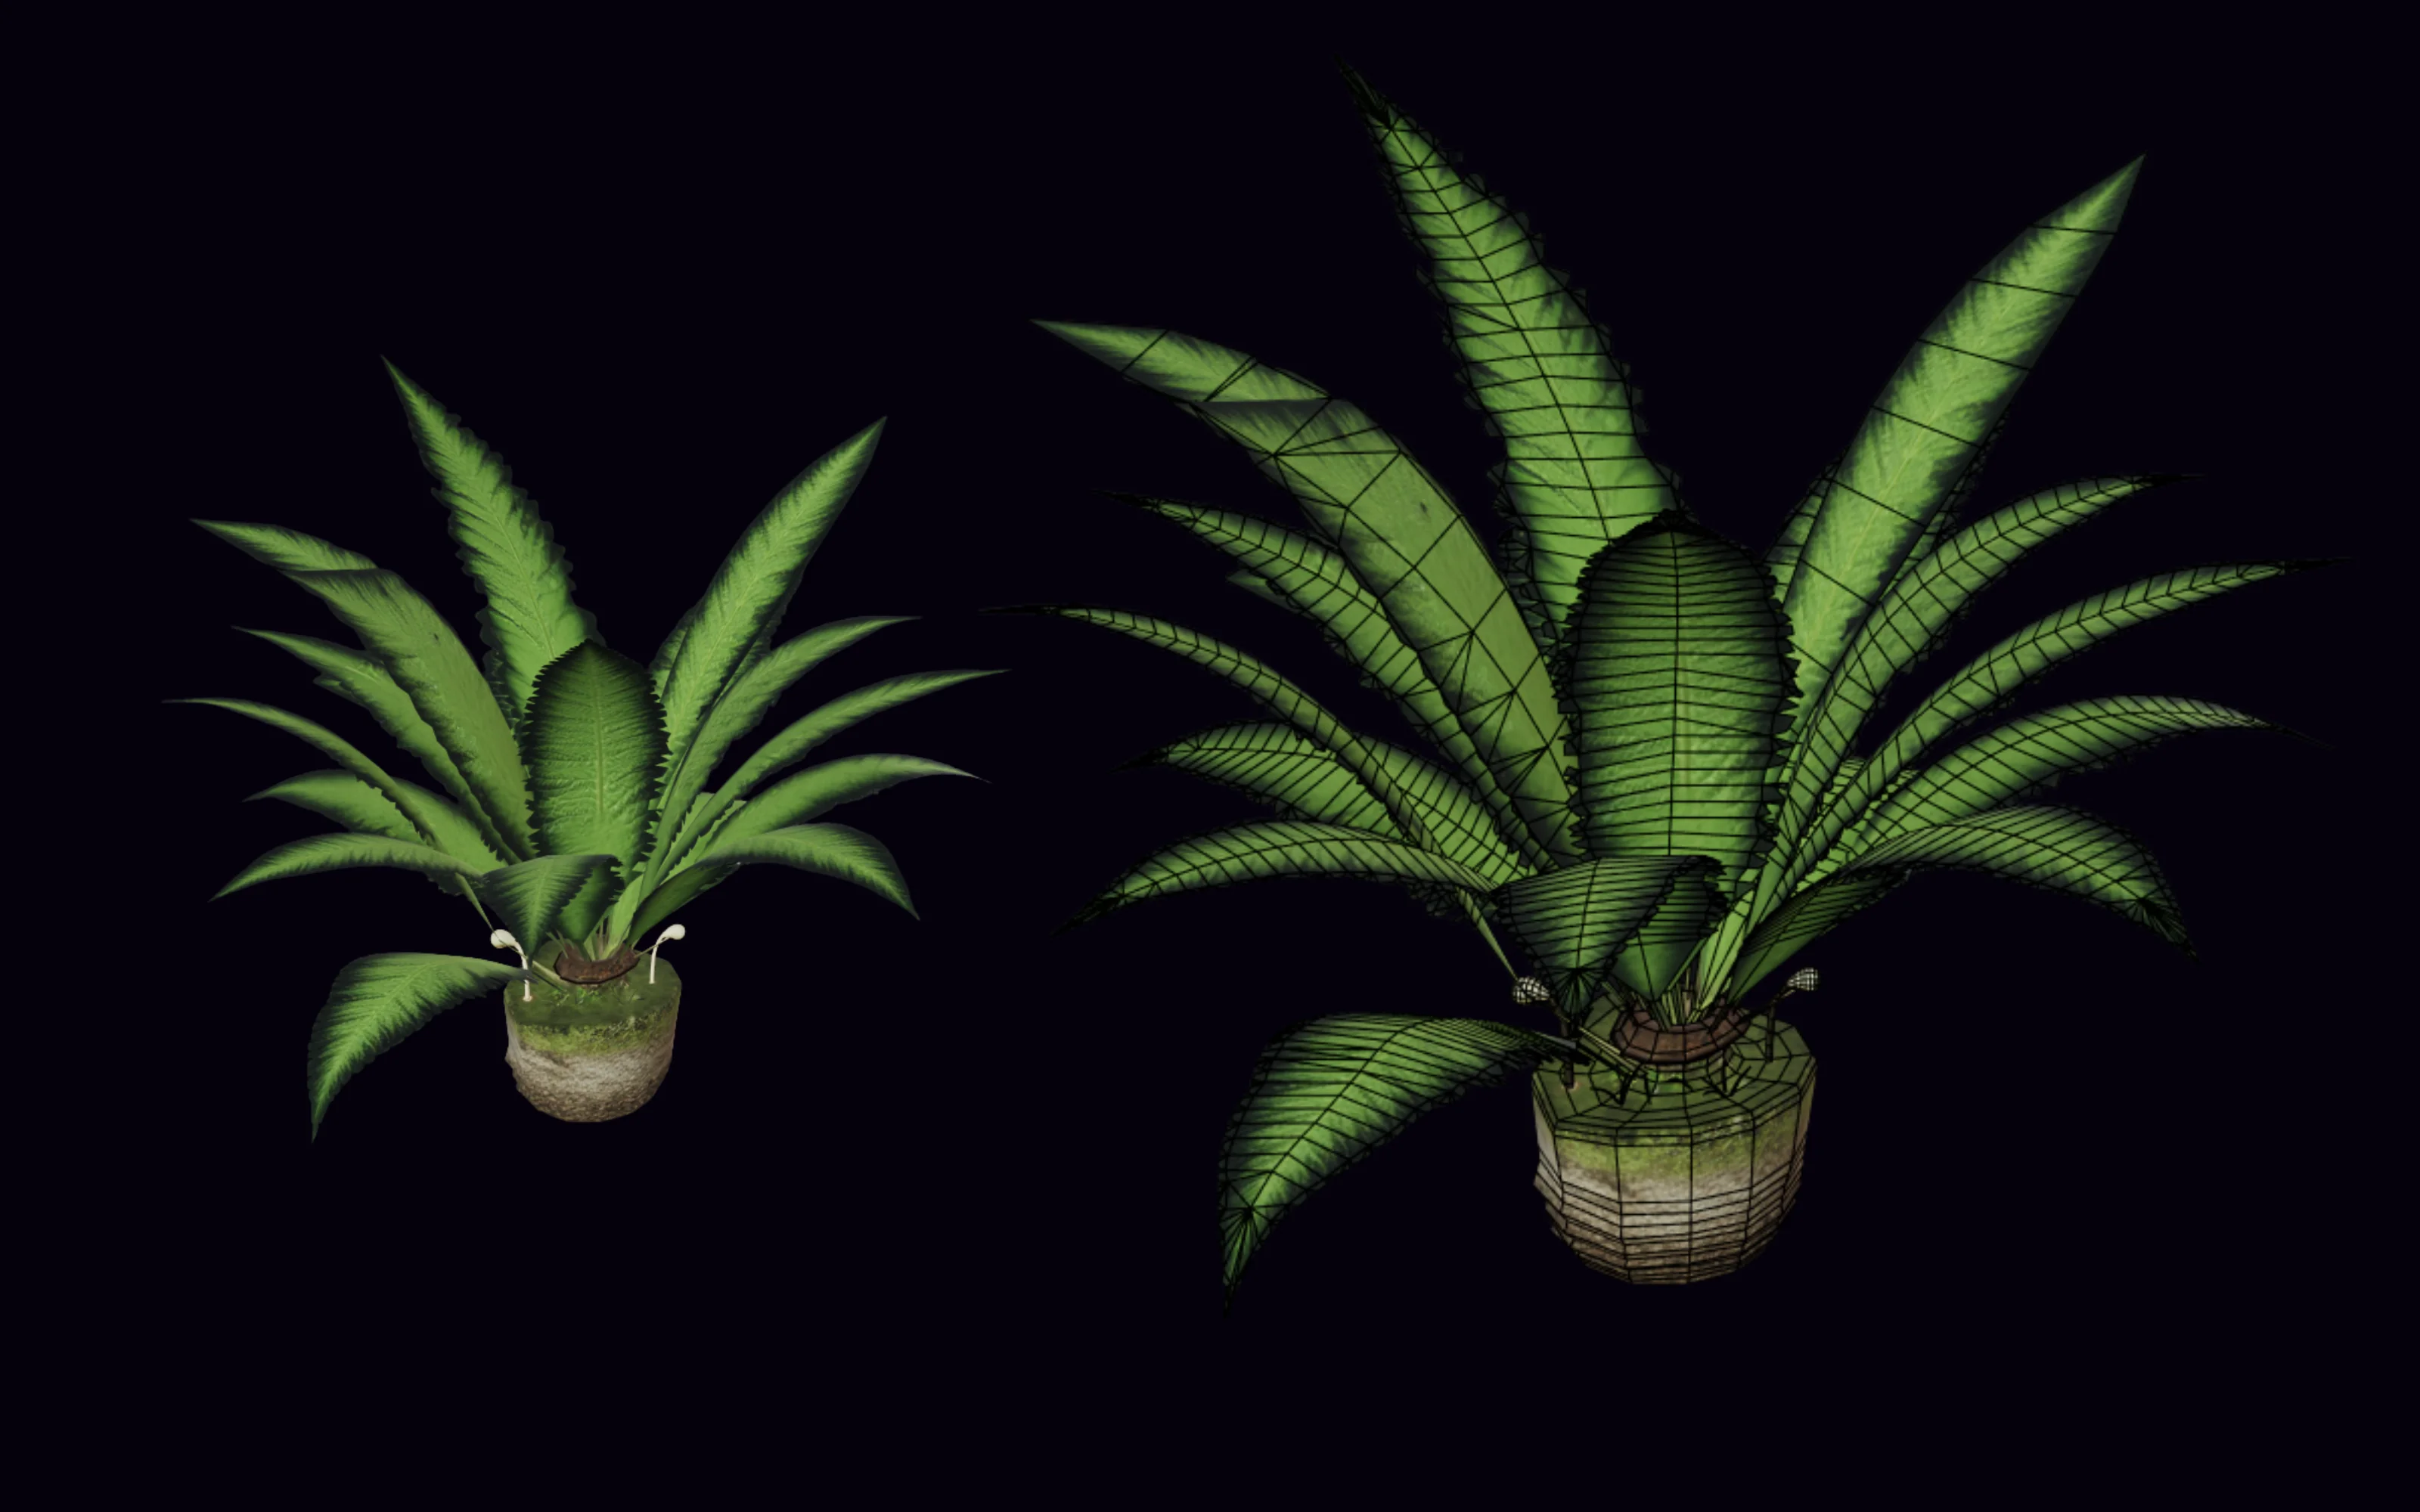
Tripo P2 comes out low-poly, and Tripo 3.1 pieces remesh with Tripo Remesh to clean topology, so every mesh in the set is lean and ready to use.
Assembled at matching scale
The set drops into the engine at consistent scale and pivots, re-textured to one palette and dressed into a scene.
How to choose for environment, step by step
STEP 01
Plan the set and its references
List the pieces the level needs, then generate reference images in PicoBerry Image Generation in one consistent style so the kit hangs together.
STEP 02
Generate on Tripo P2 and Tripo 3.1
Run the same references through both models in PicoBerry, on one credit pool. Low-poly filler on Tripo P2; detail pieces on Tripo 3.1, then remesh those with Tripo Remesh.
STEP 03
Check scale, pivots, and budget
Line the set up together. Confirm matching scale, sensible pivots, and a poly count that stays cheap across the whole kit.
STEP 04
Remesh, organize, texture, export
Remesh the Tripo 3.1 pieces with Tripo Remesh to your budget, group the kit in Collections, re-texture to one palette, then export for your engine.
Environment assets from this workflow
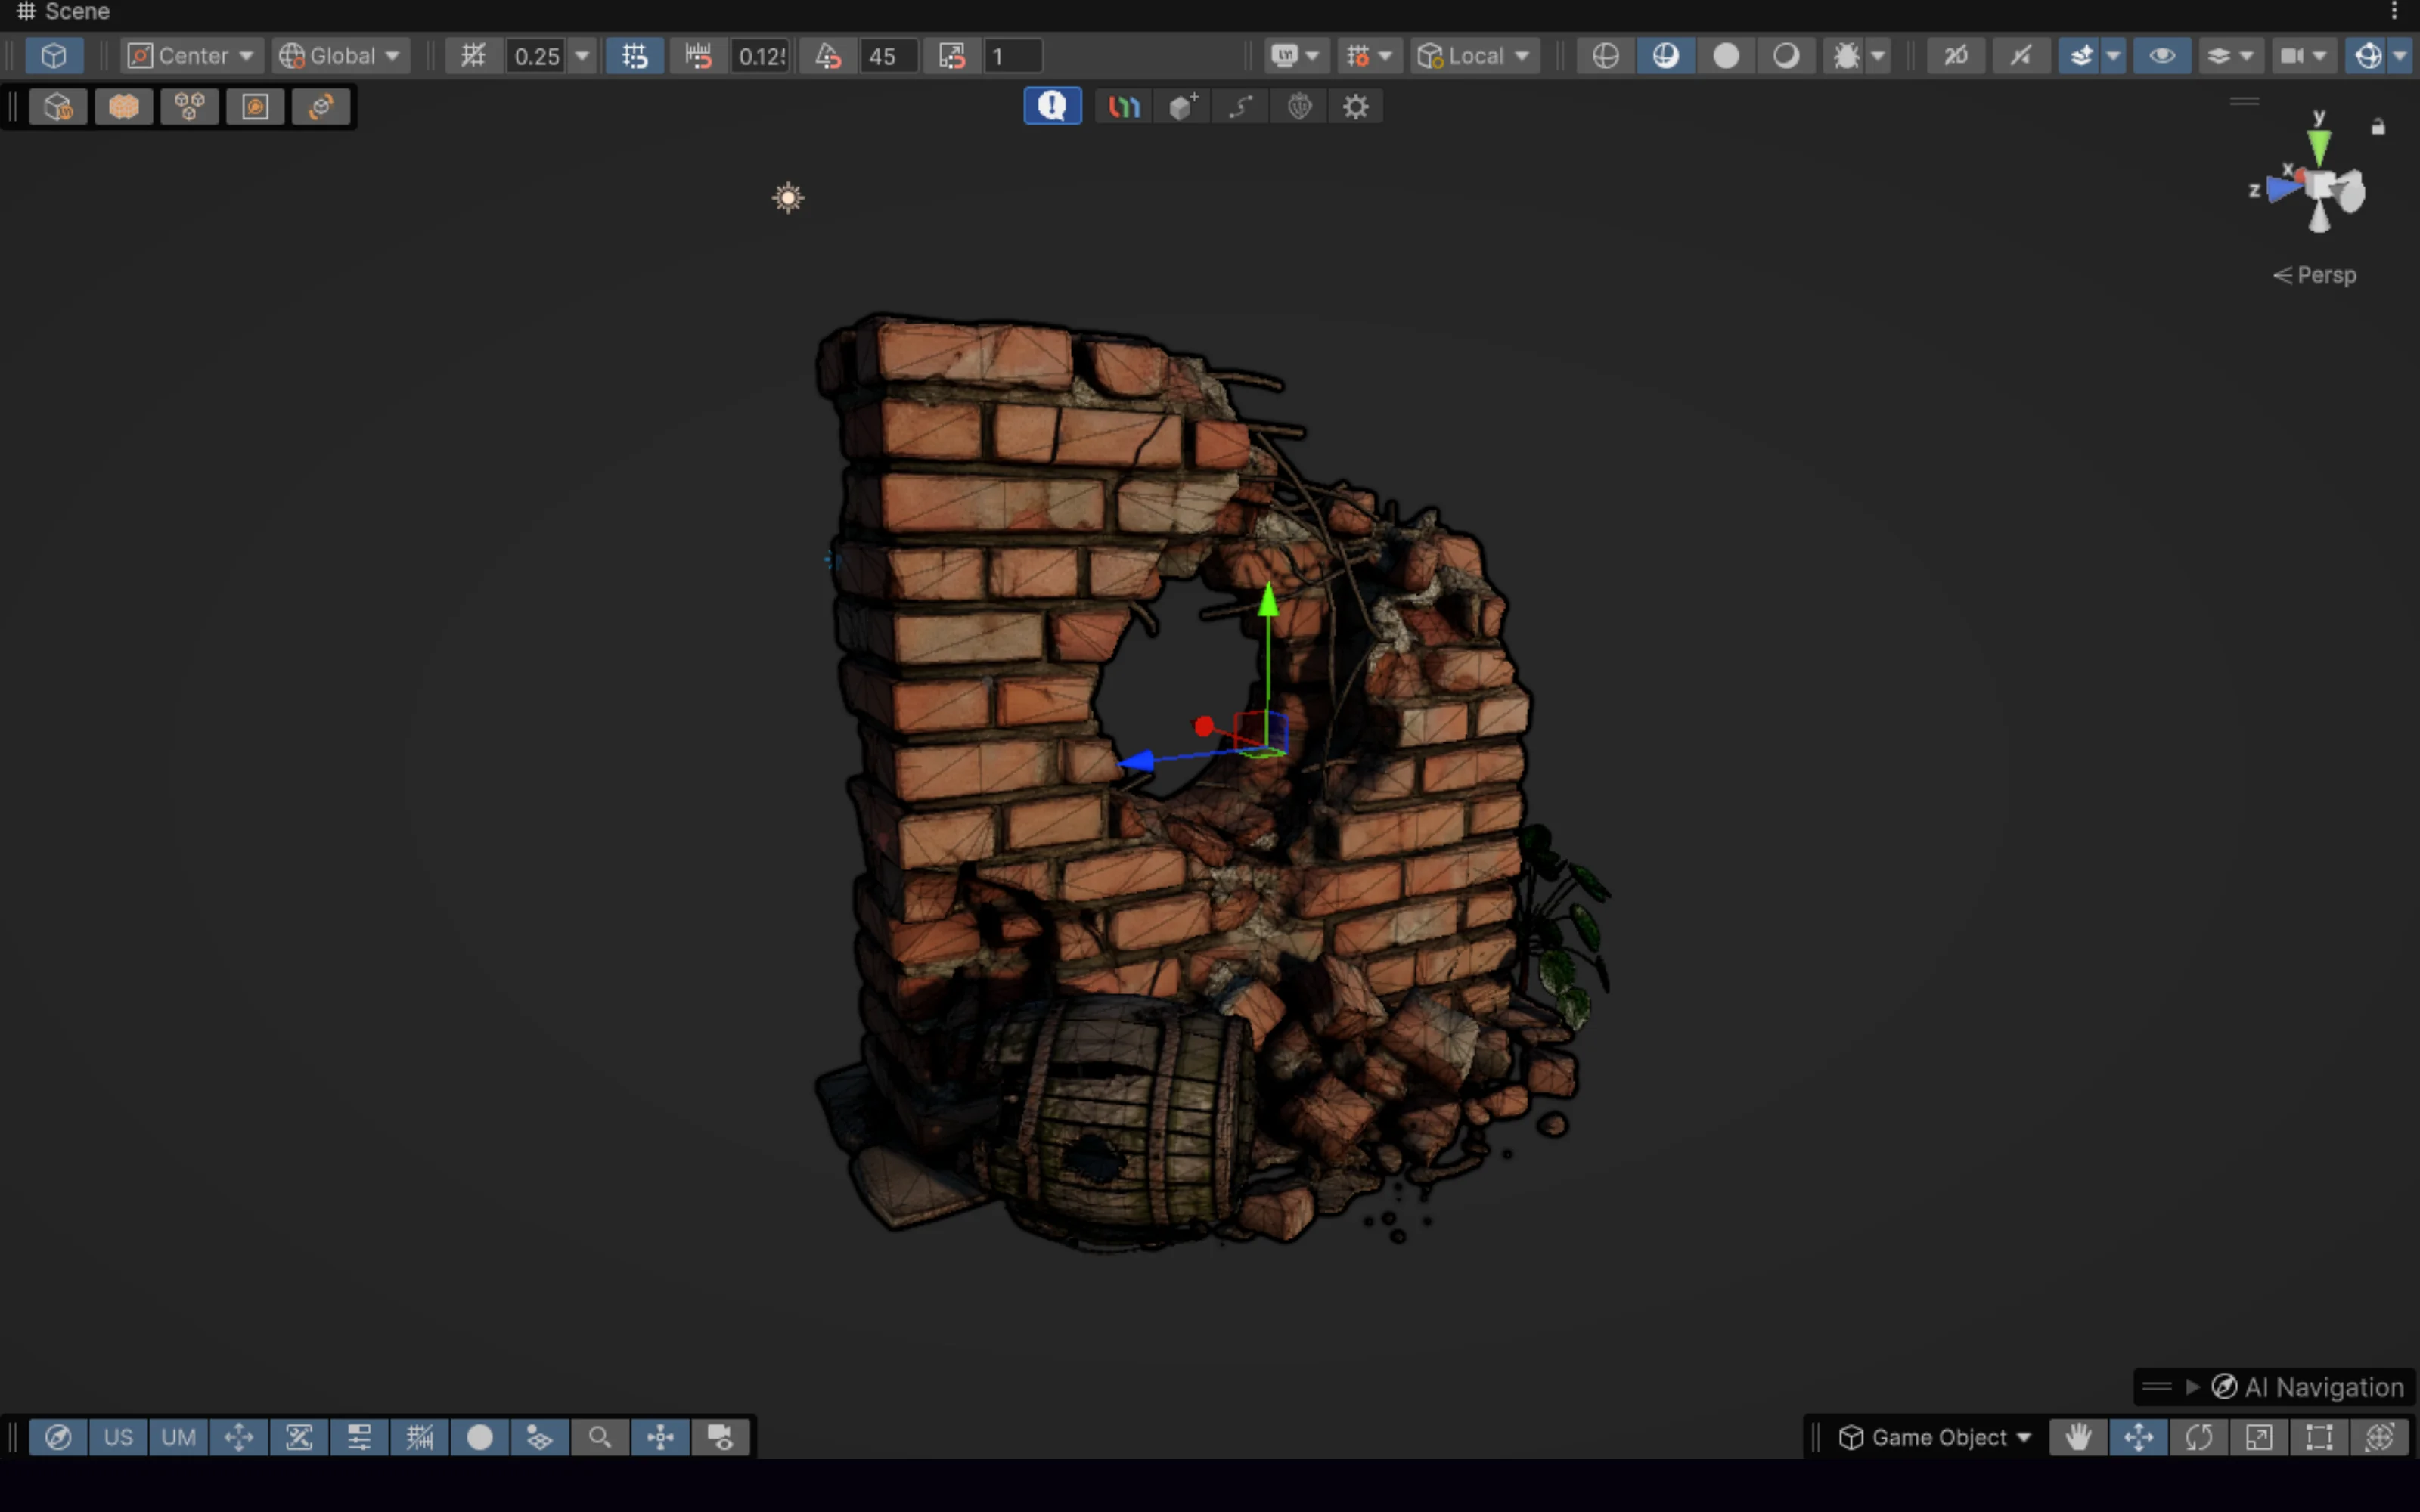
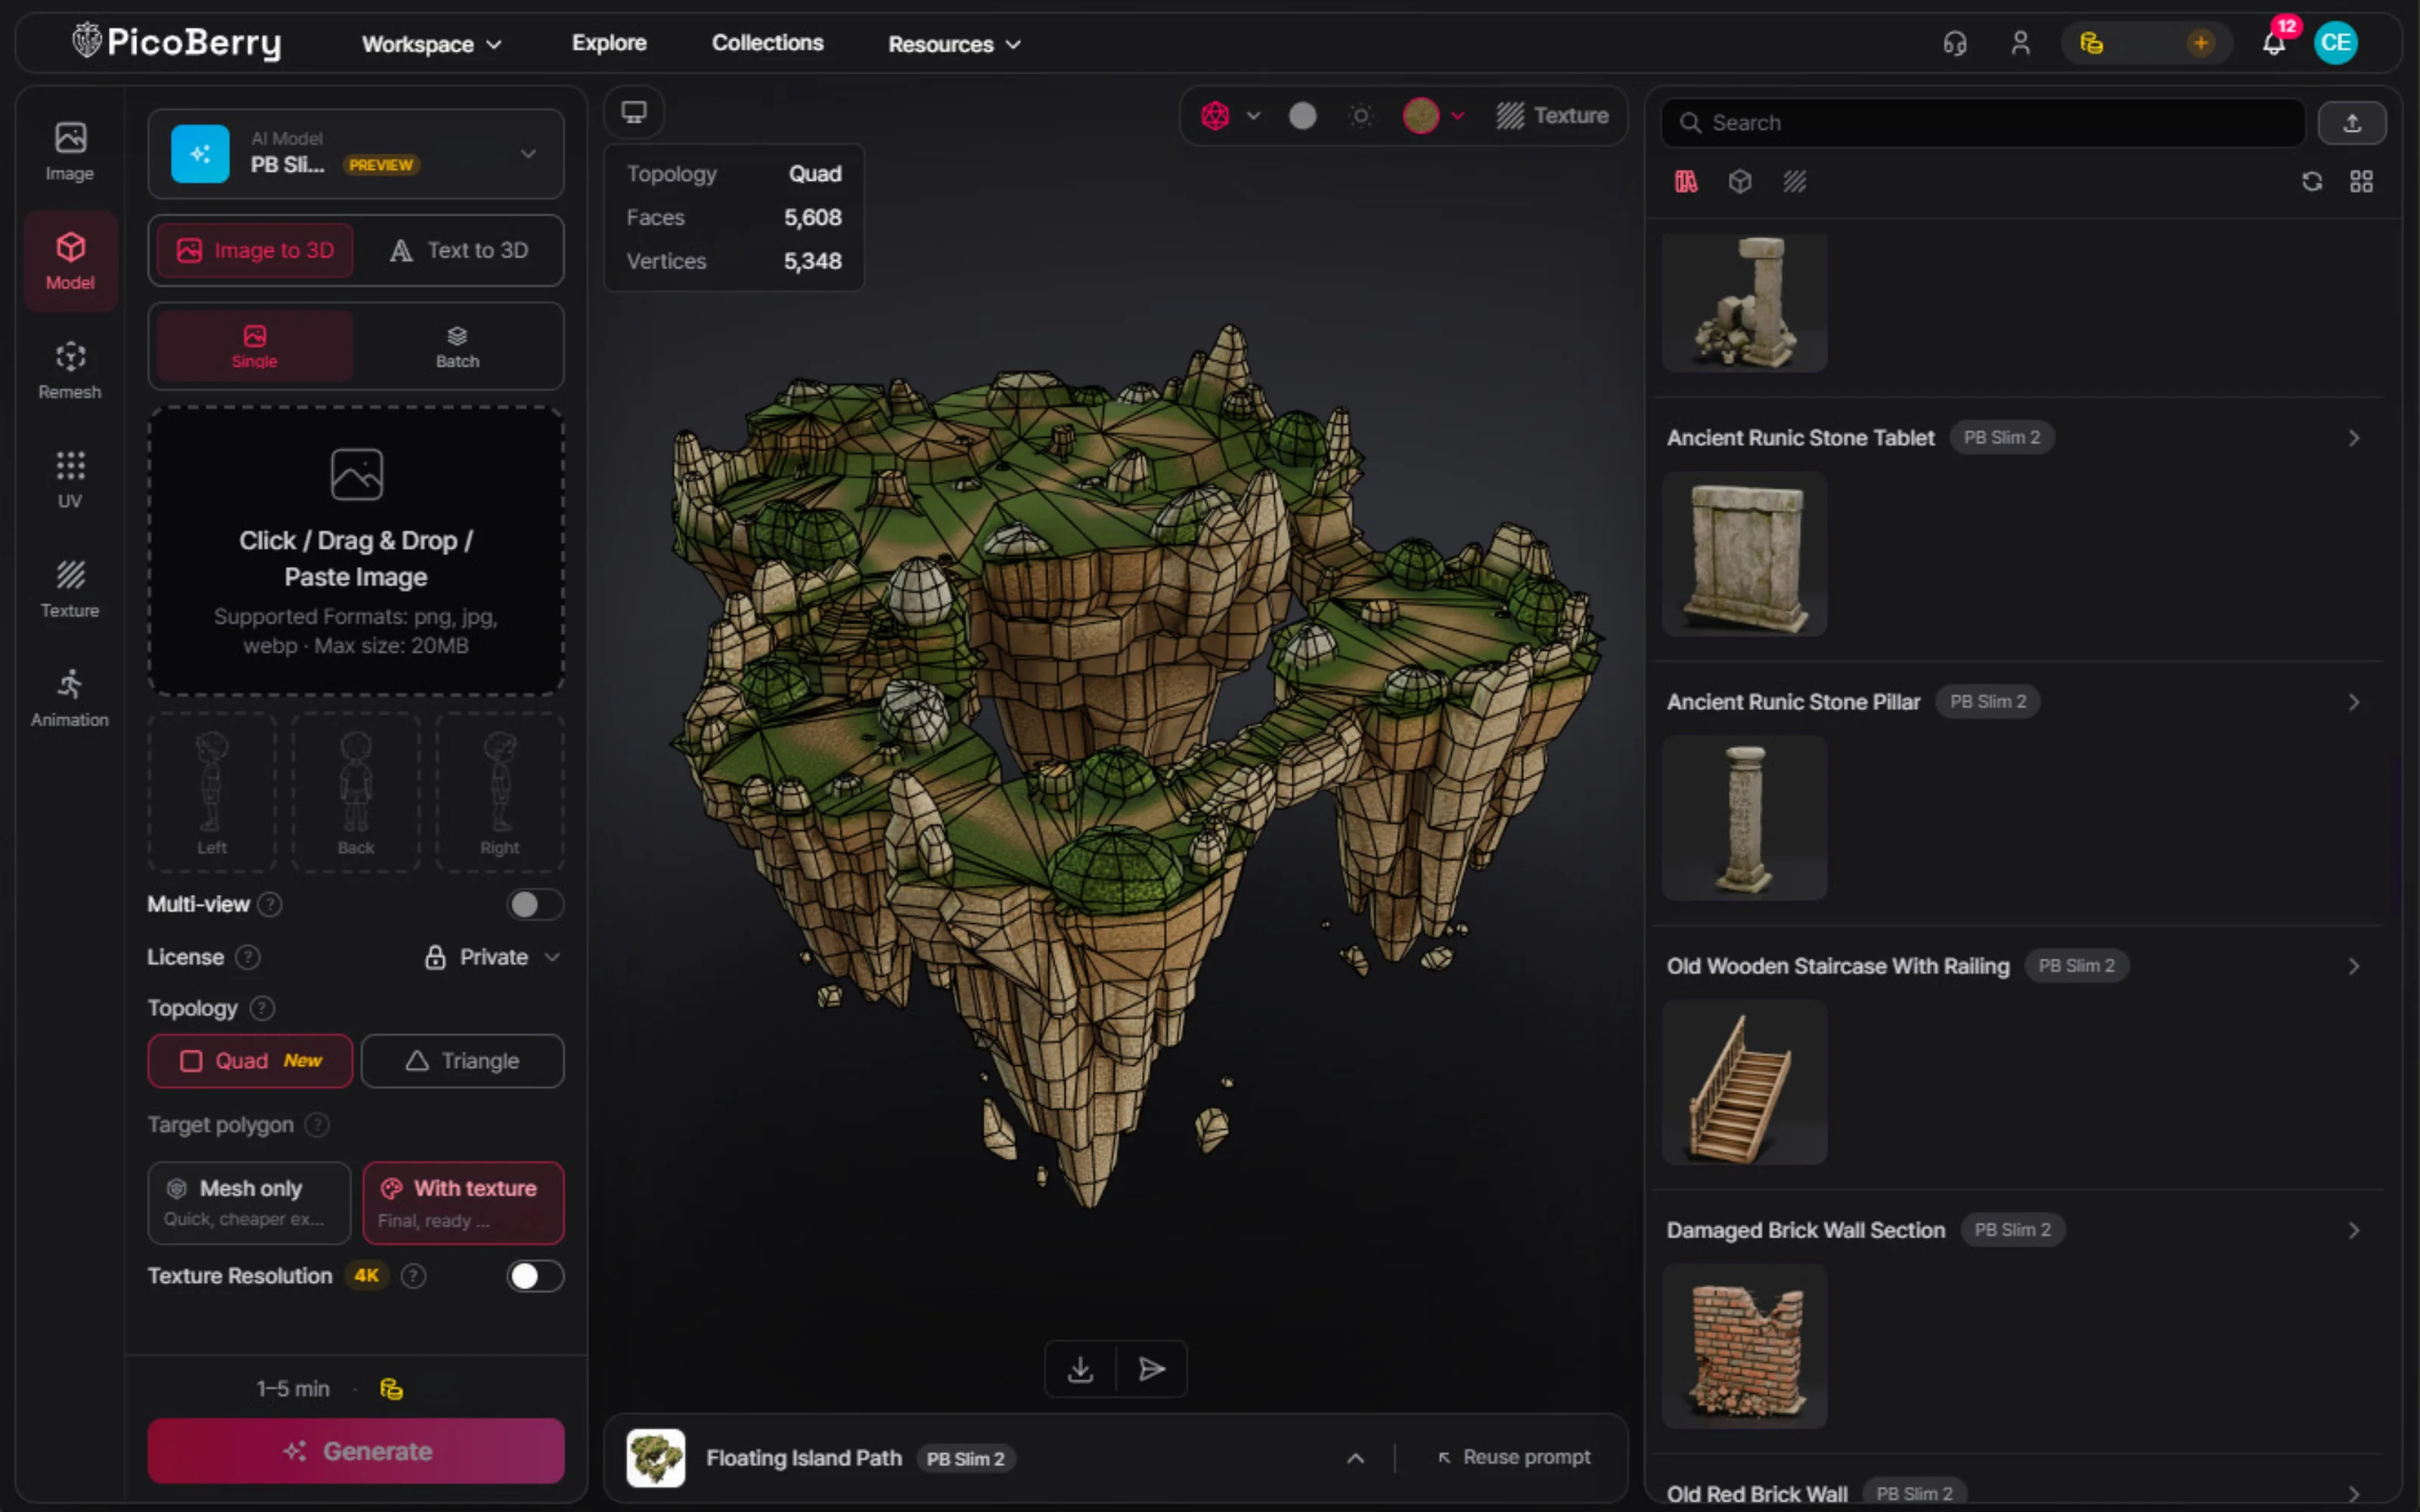
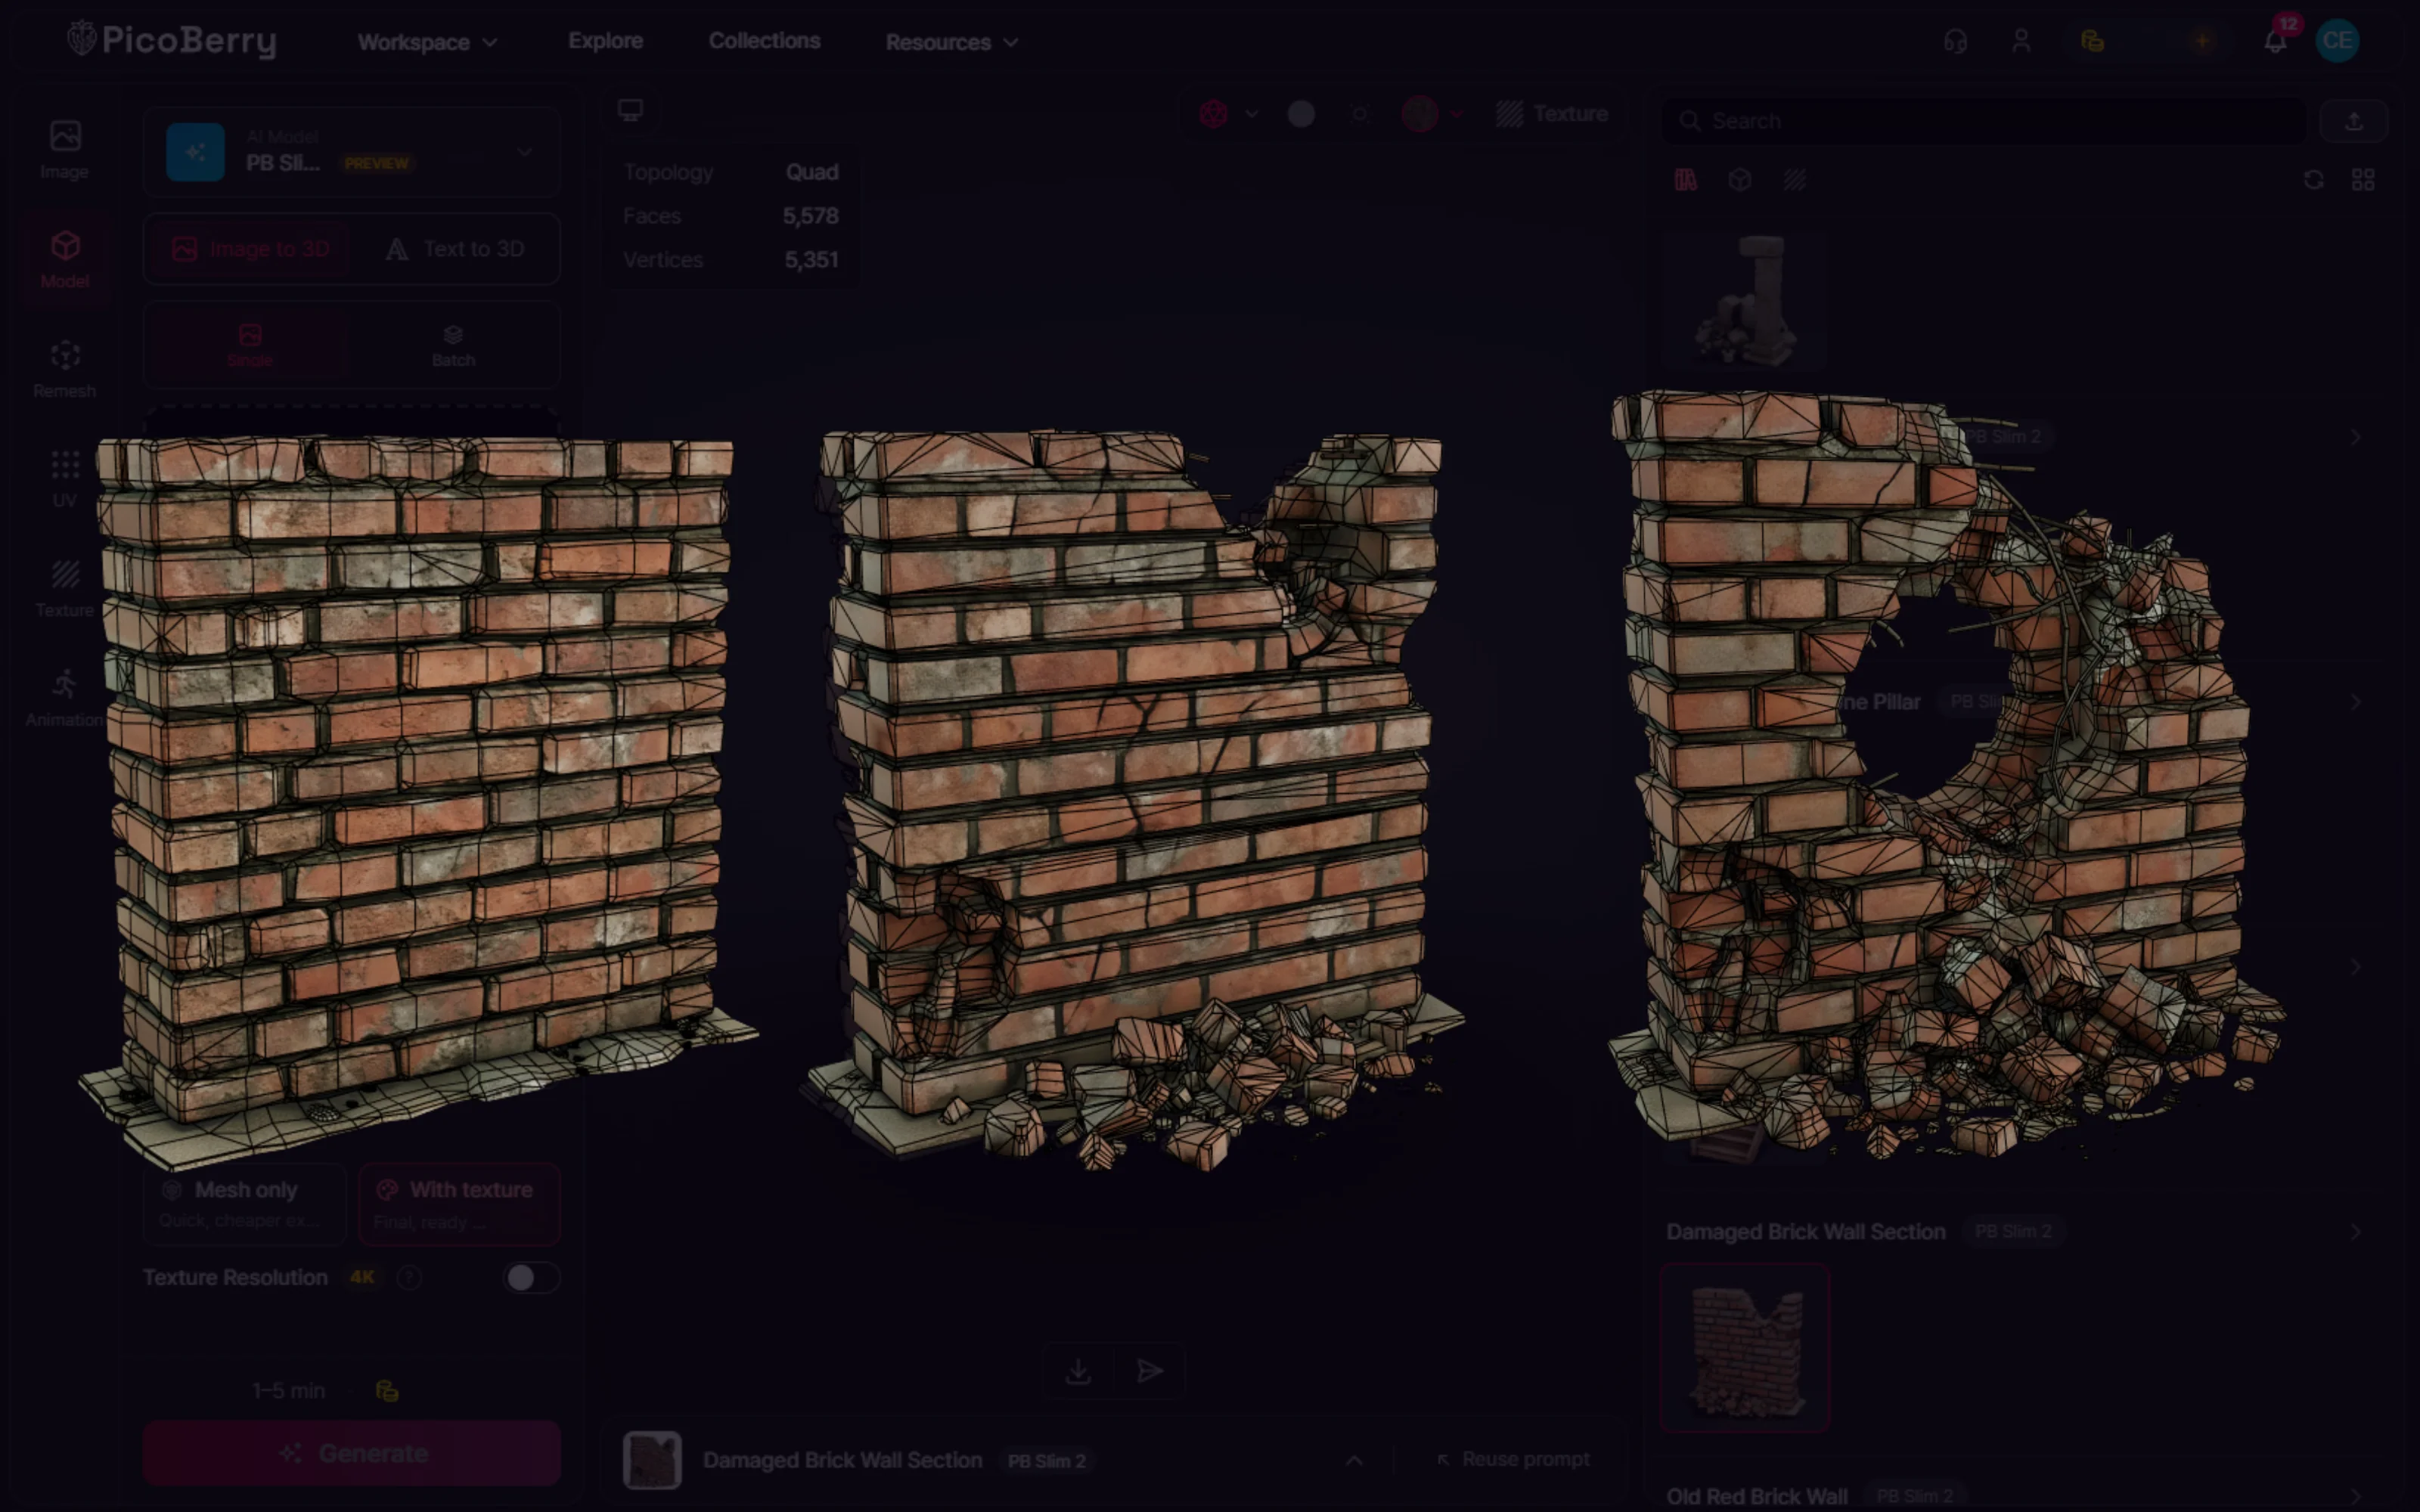
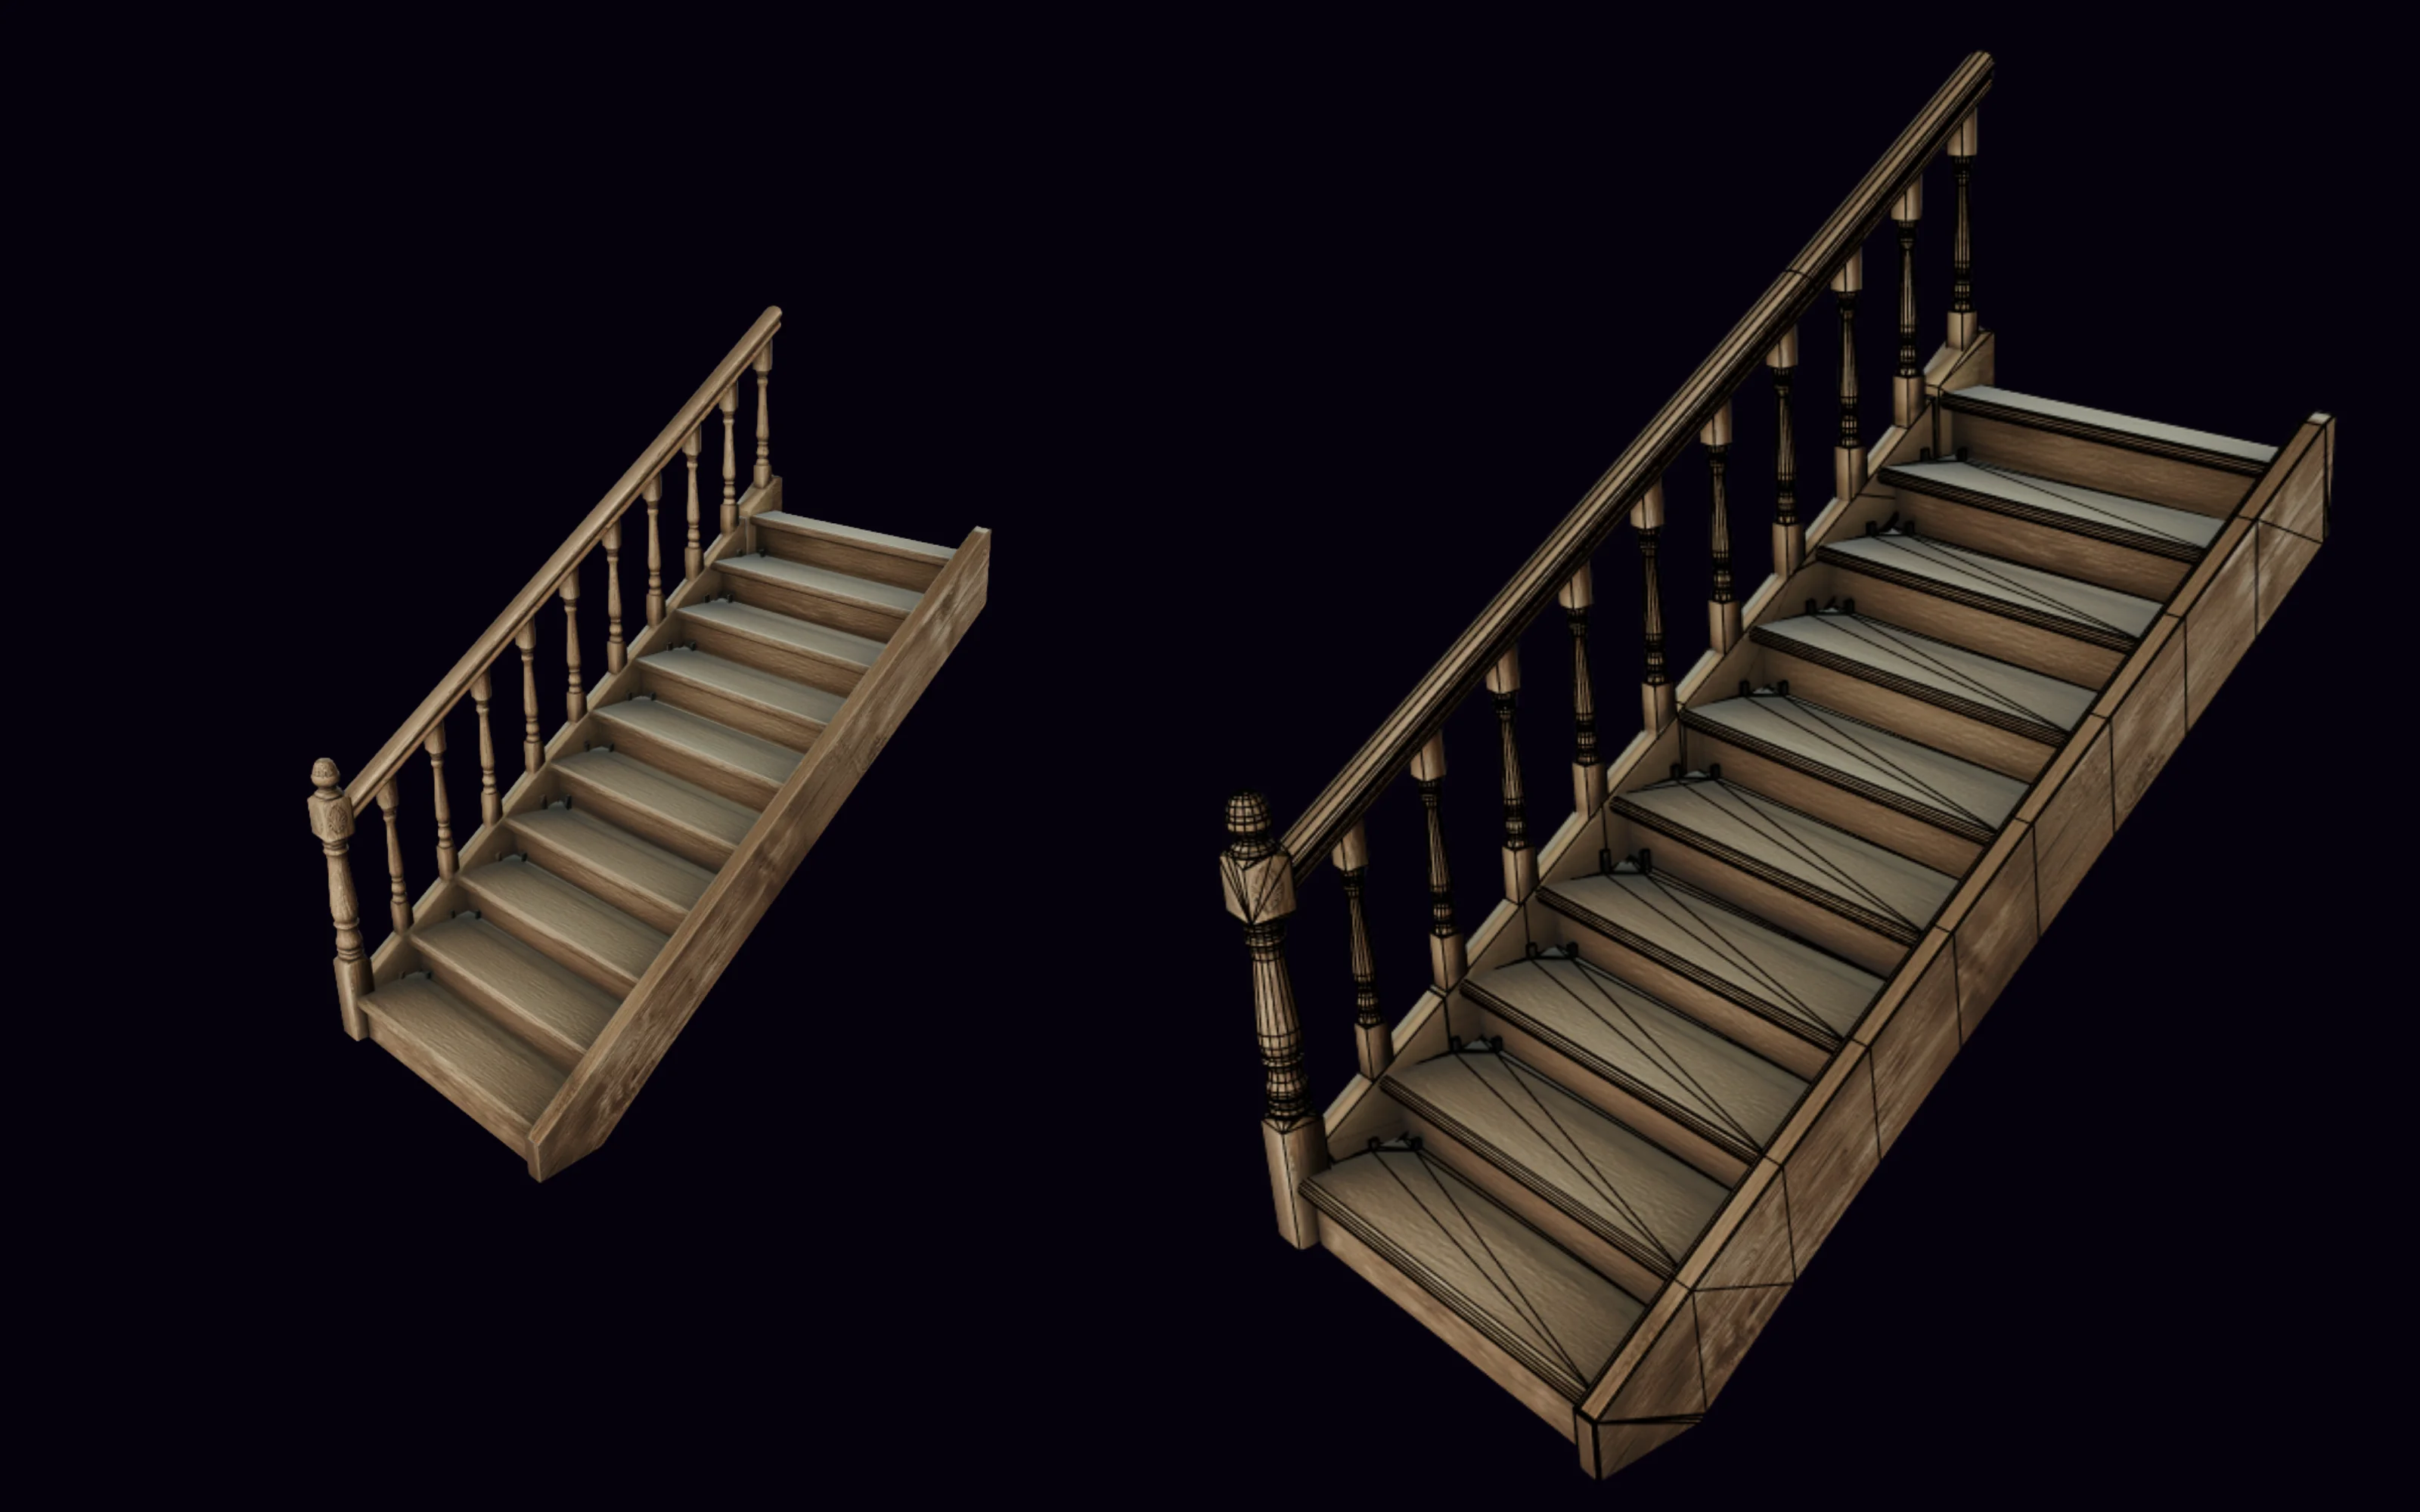
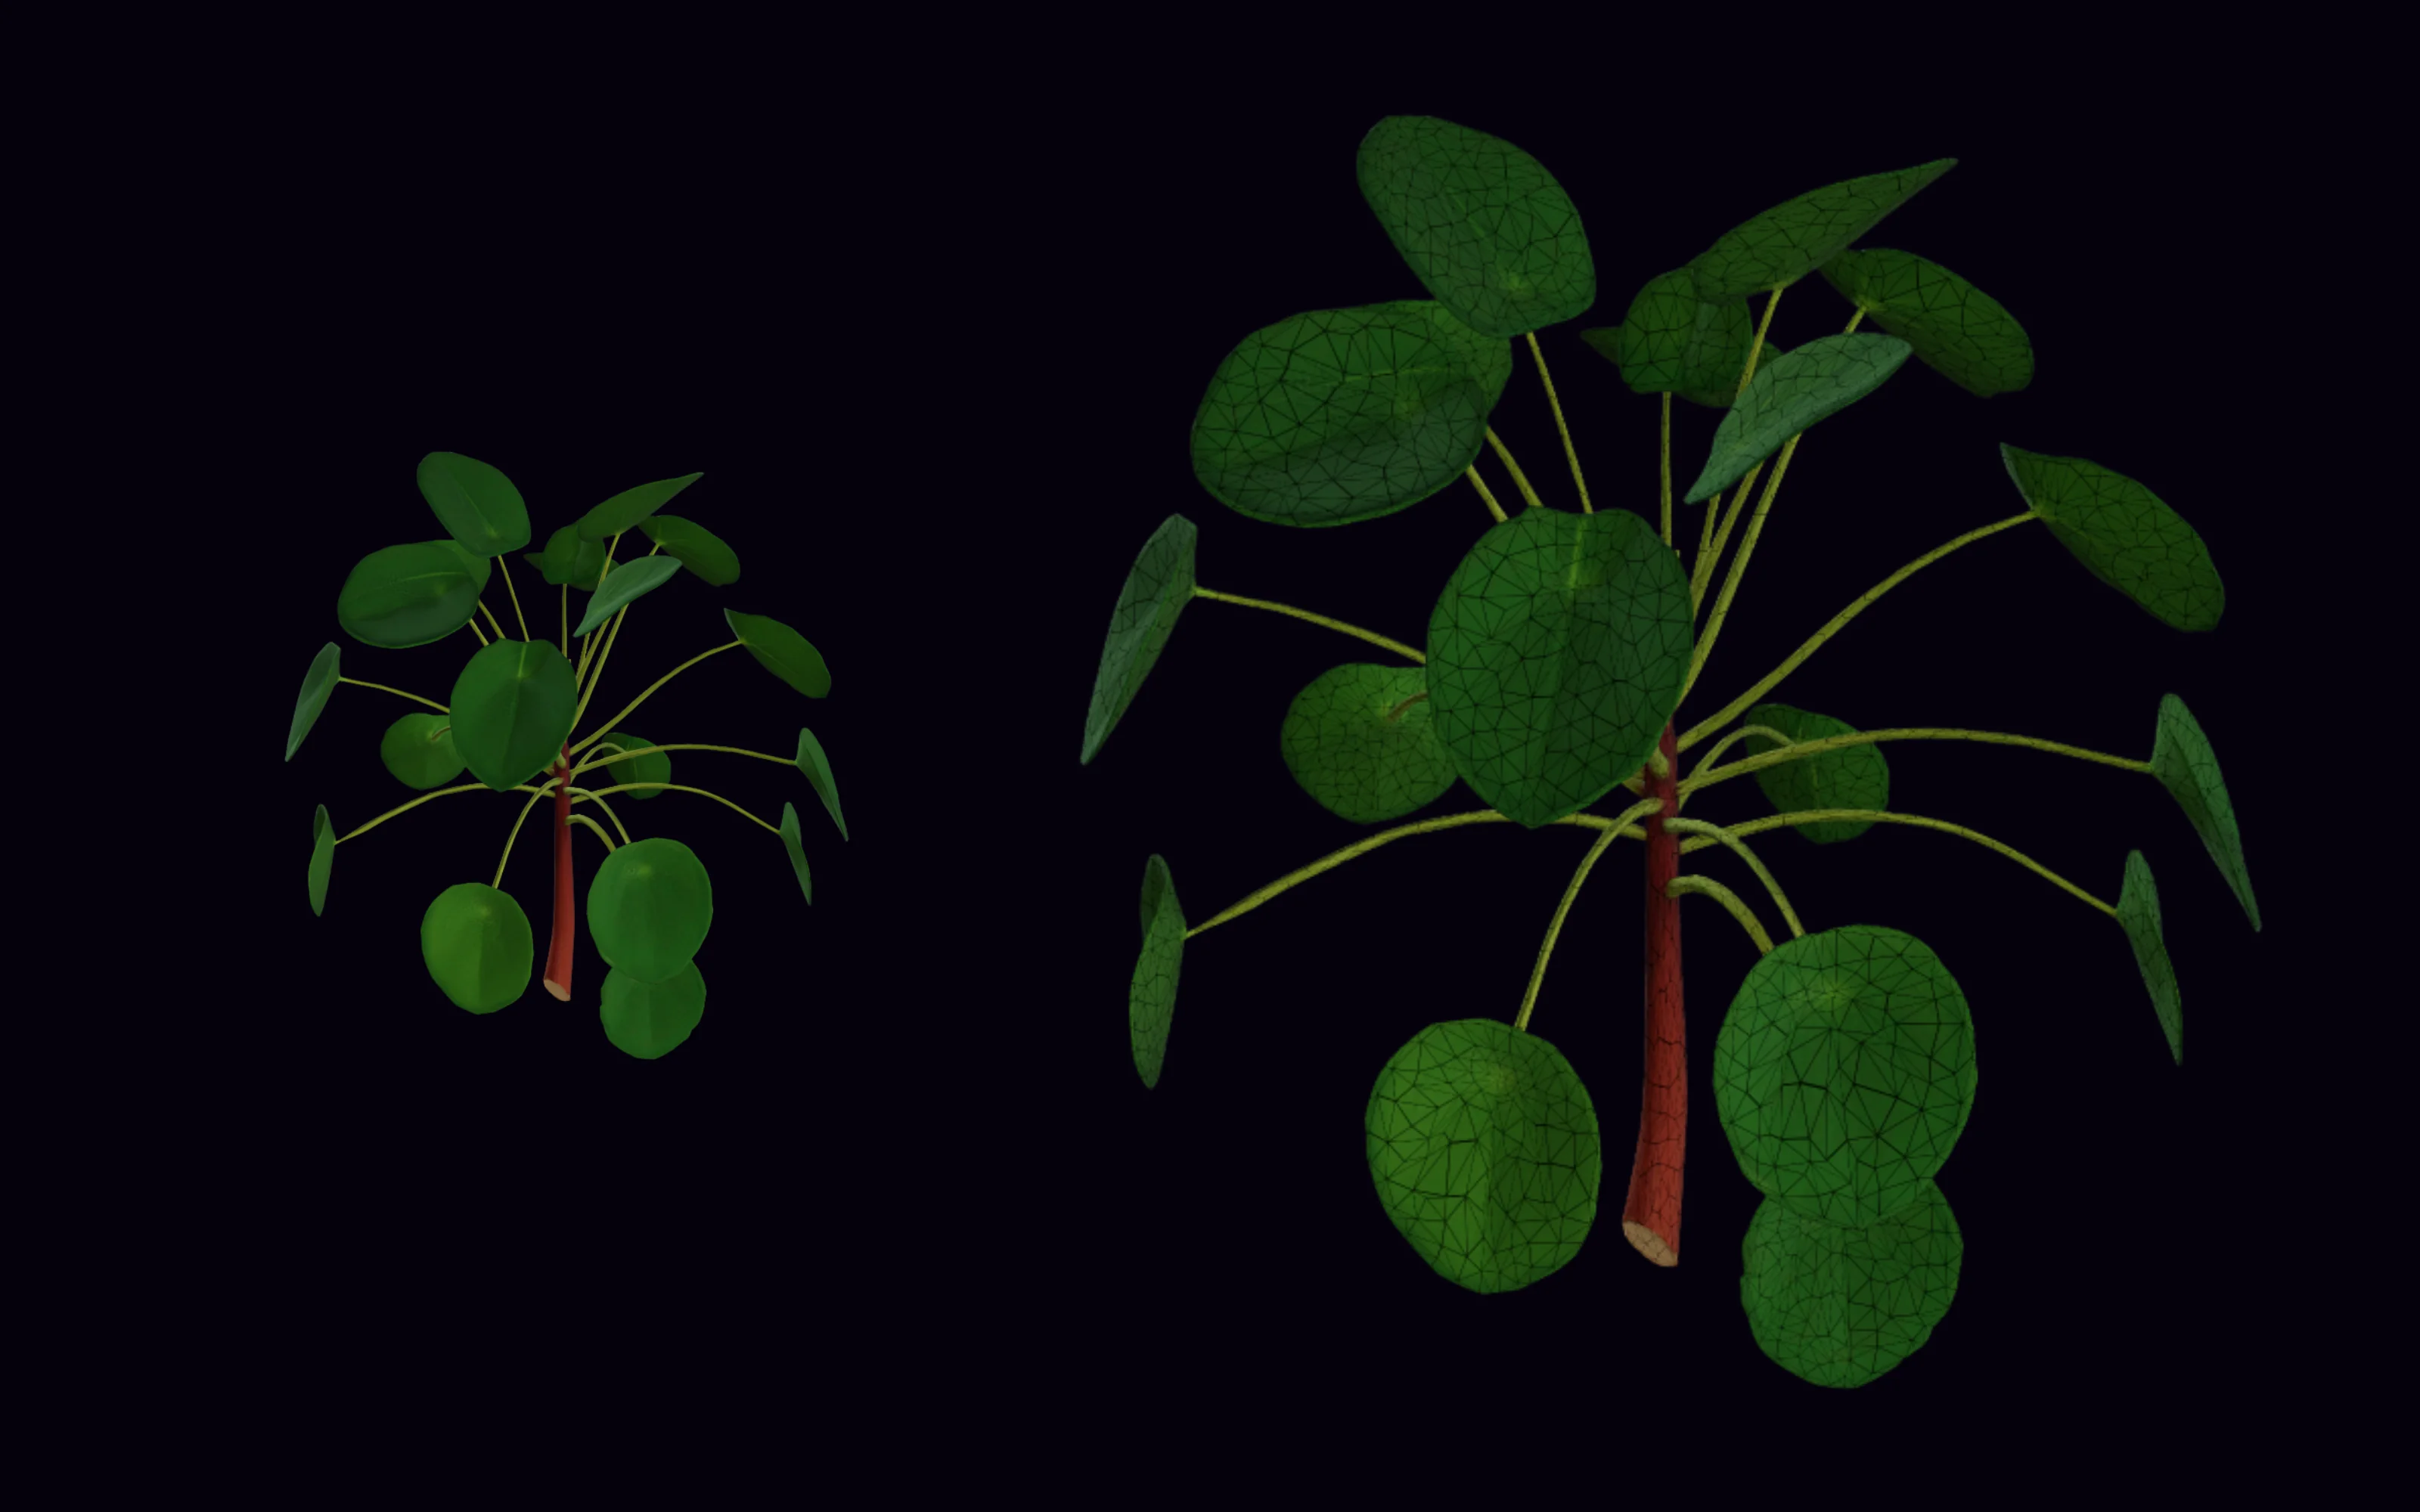
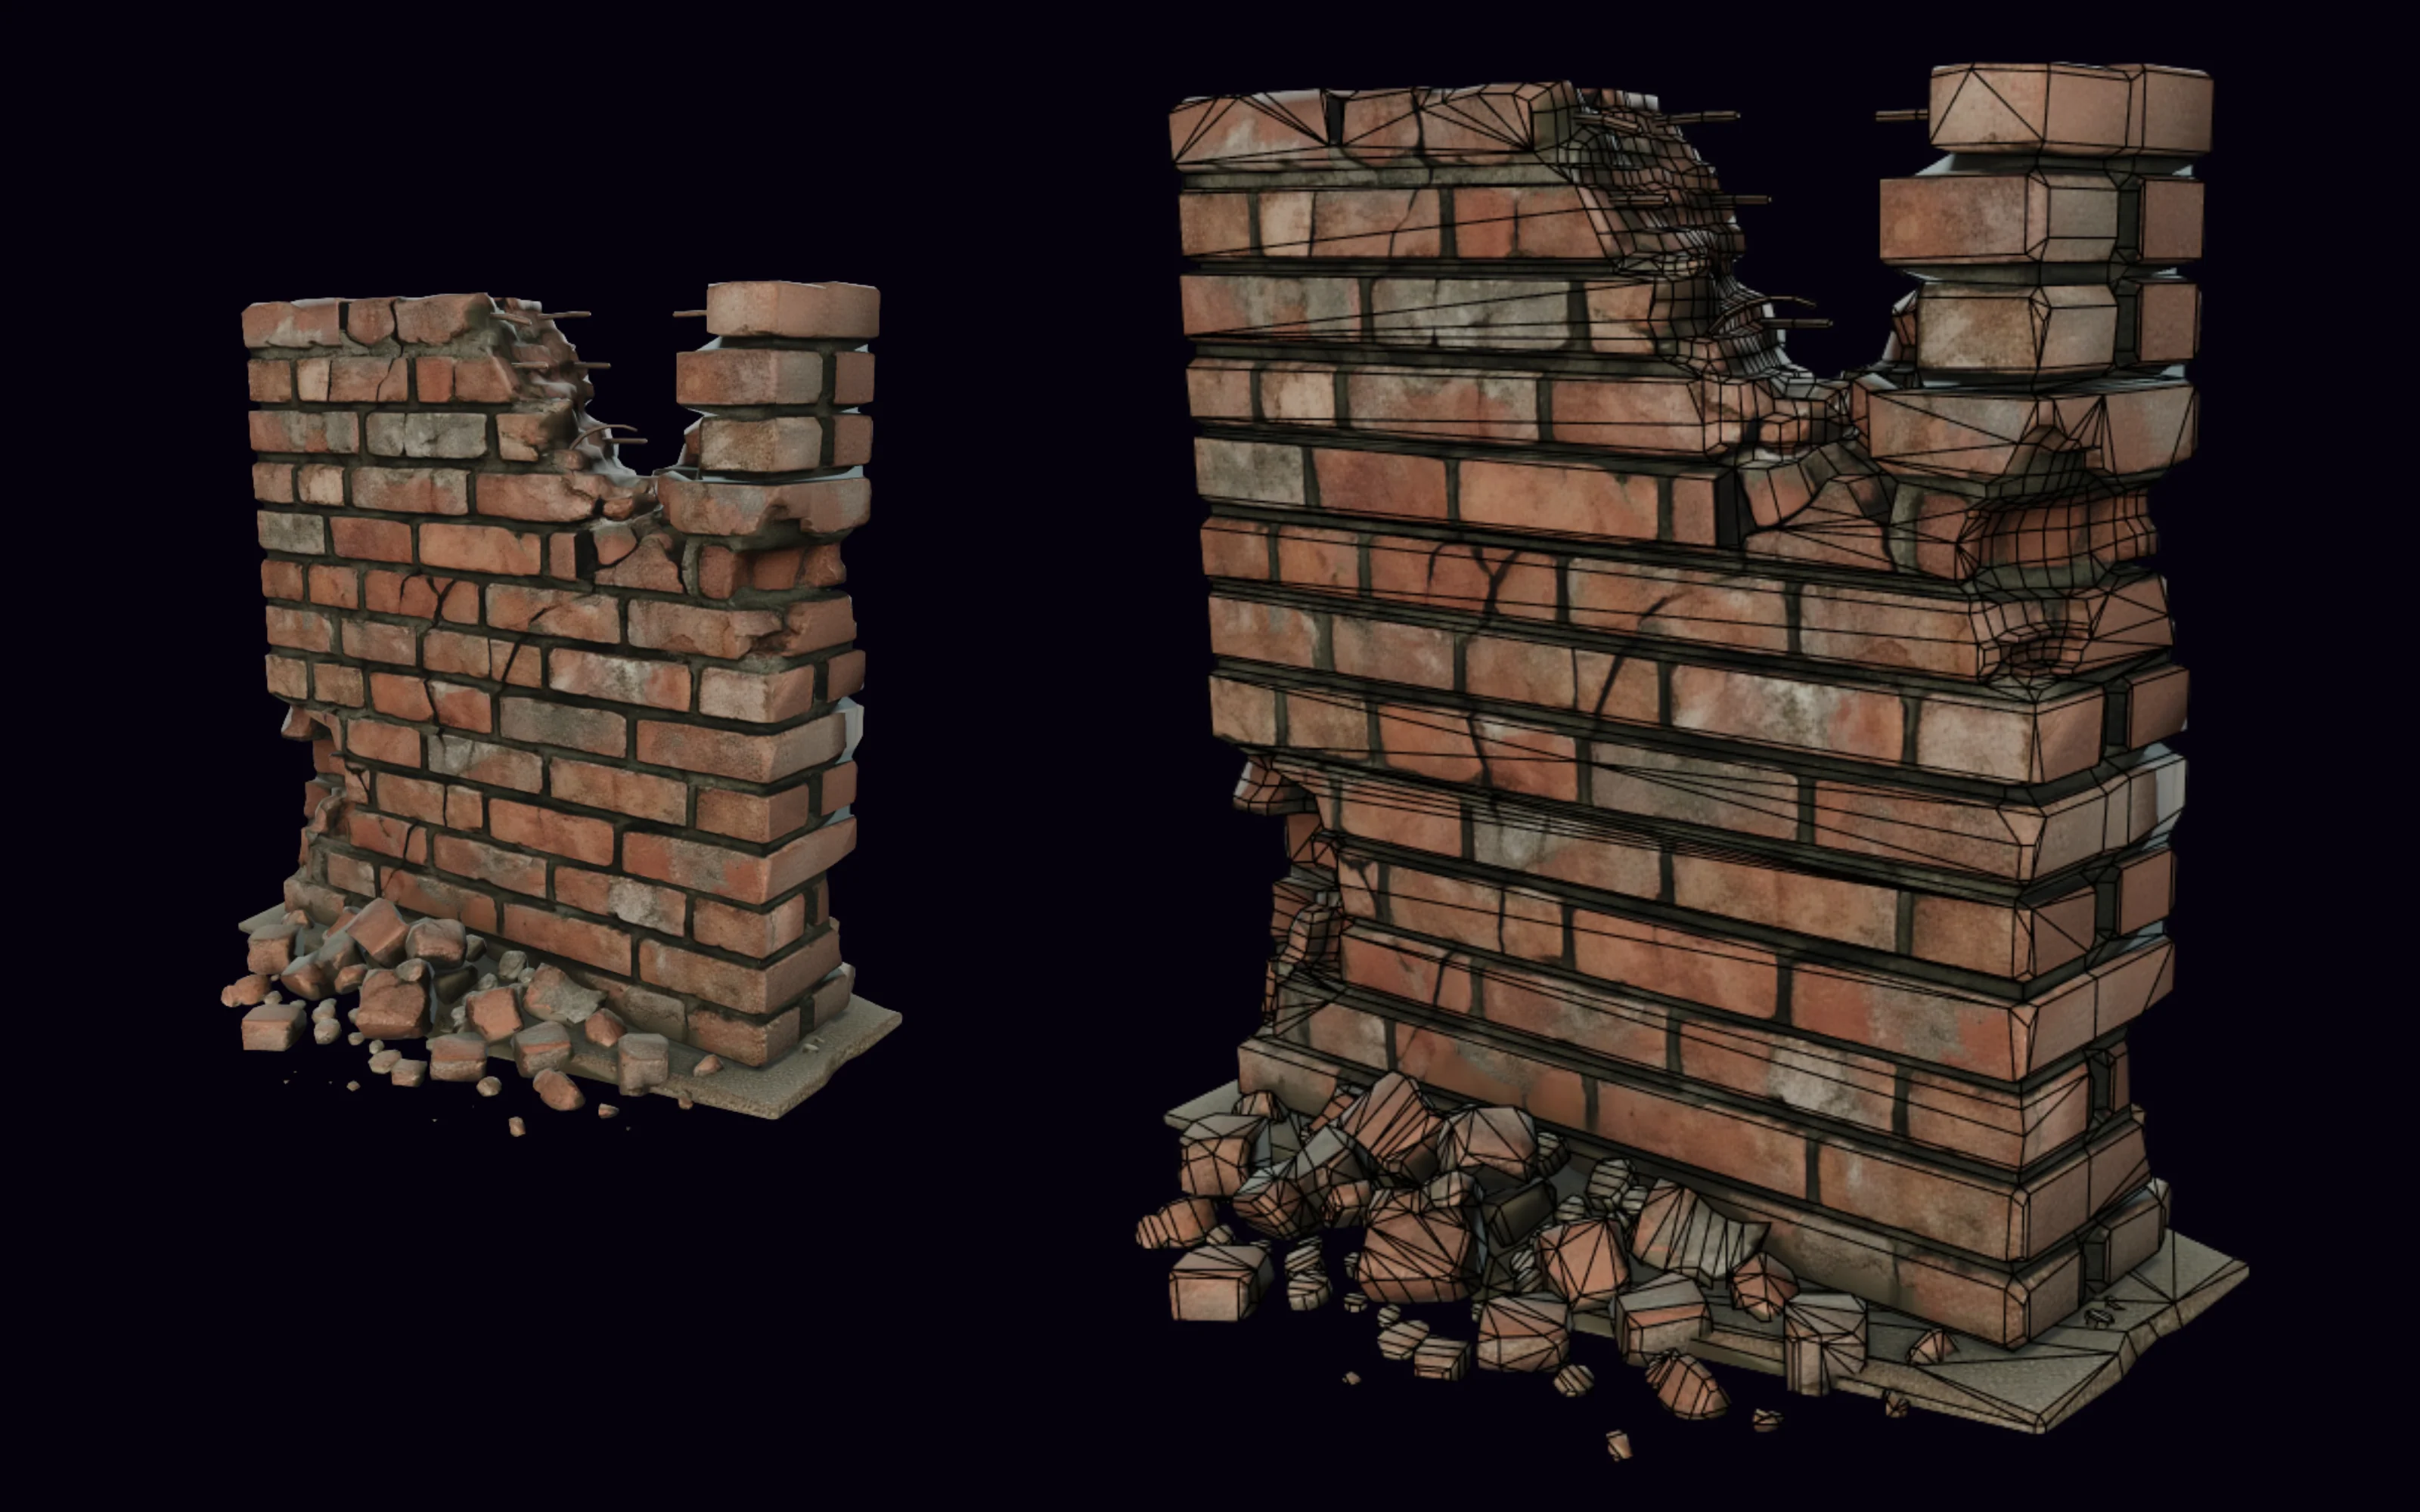
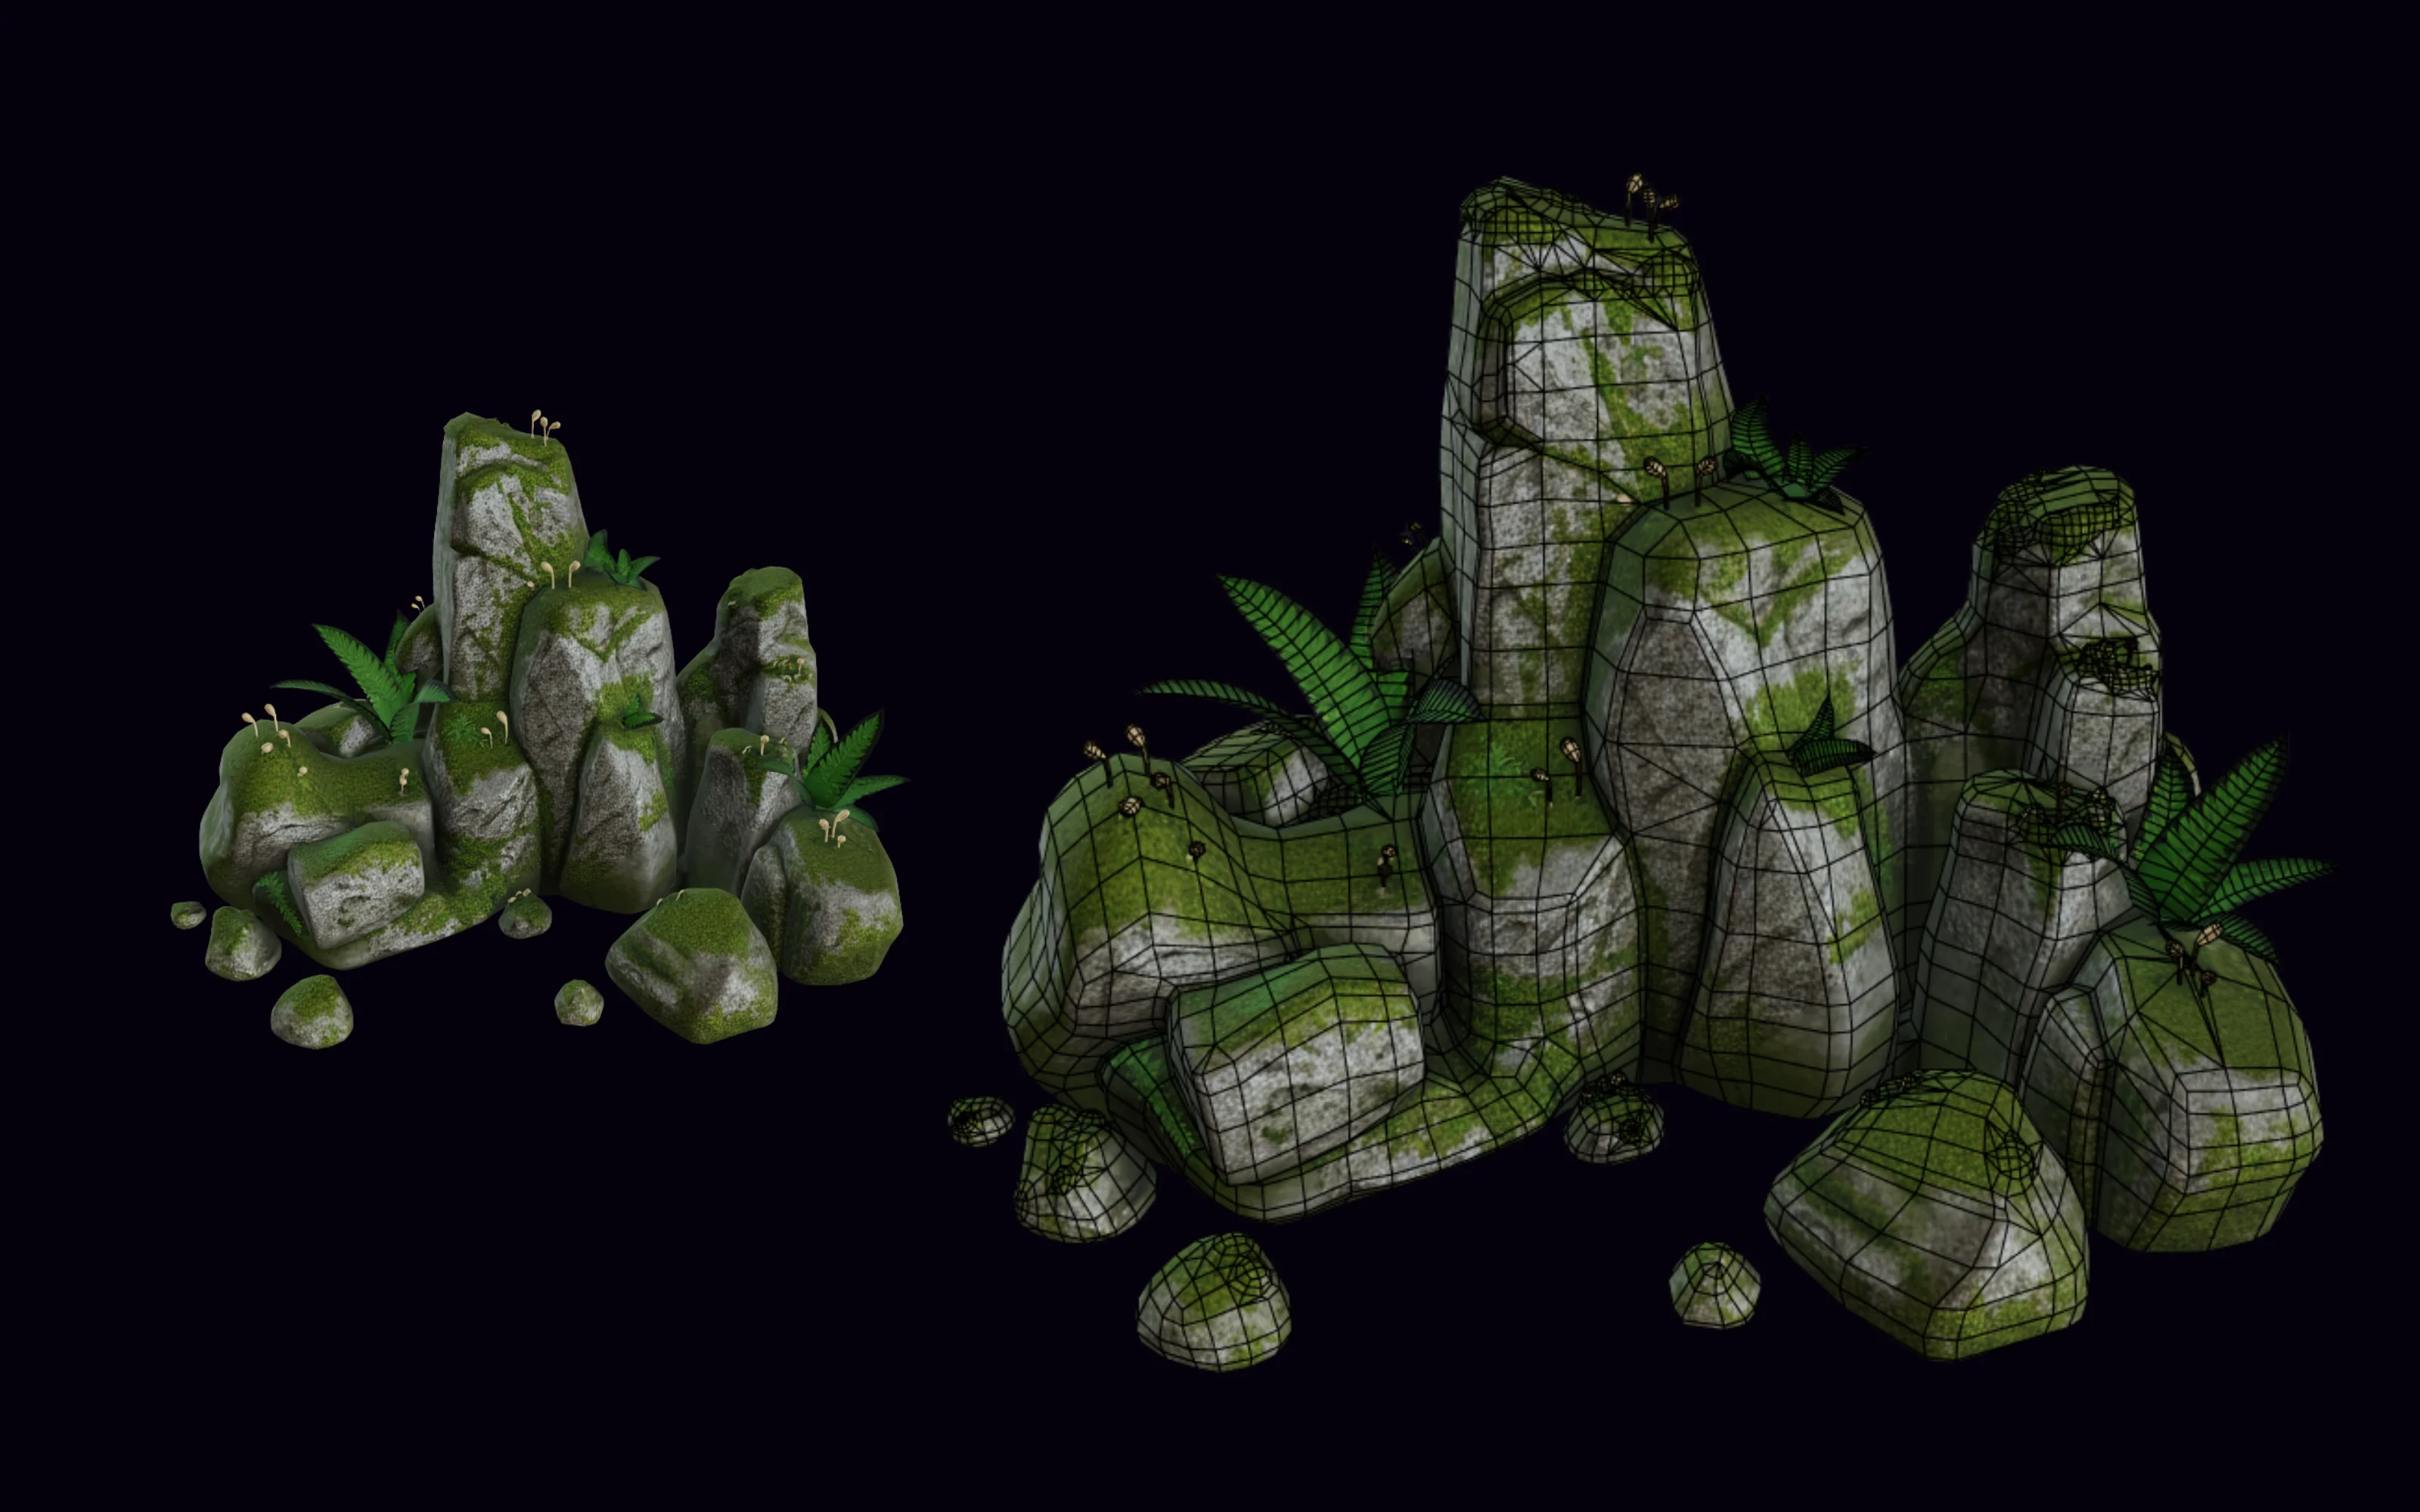
Example renders from the workflow above. Each one still needs a review against your project's standards — polygon count, UVs, collisions, and how it reads under your own lighting.
The bottom line for environment
Environment work is about a consistent set, not one hero piece. Generate references in one style, then use Tripo P2 for the low-poly bulk of the kit, and Tripo 3.1 with Tripo Remesh where a piece needs more detail, remeshed back to a lean poly budget. Keep scale, pivots, and poly budget consistent, and group the set in Collections so it stays coherent as it grows. Models change and results depend on your prompt, so treat this as a starting point to test, not a fixed ranking. The full method lives in the hub guide.
Frequently asked questions
What is the best AI 3D model for environment assets?
There isn't a fixed best, but Tripo P2 and Tripo 3.1 are strong first tries for environment sets. Use Tripo P2 for the low-poly bulk of a kit — its native-quad topology stays clean and cheap — and Tripo 3.1 with Tripo Remesh for pieces that need more detail, remeshed back to a lean poly budget. Generate the set from one image style so it stays consistent.
How do I keep a whole environment set consistent?
Generate every reference in the same image style, use the same model for pieces of the same type, and keep scale and pivots matched. Group the kit in Collections so naming, scale, and style stay aligned as you add more pieces.
How do I keep environment assets cheap to render?
Favor Tripo P2 for filler props, since it comes out low-poly, and for detail pieces generate on Tripo 3.1 and remesh with Tripo Remesh to a lean poly budget. A level uses hundreds of these assets, so a low poly count per piece is what keeps the whole scene performant.
What do I do after generating the set?
Remesh where needed, re-texture the kit to one material palette, group it in a Collection, then export GLB, FBX, or OBJ for Unity, Unreal, Godot, or Blender. Treat the generated pieces as starting candidates to review, not finished assets.
Environment sets across Models
Generate the same references on a couple of models in PicoBerry, compare scale and budget, then organize the winner into a consistent kit.