Launch Event50% off annual plans · free Nano Banana images · Premium Templates with Max yearlySee the offer
Meshy 6 Low Polyends Oct 29 · continue with Meshy T2.5Try T2.5
Guide · Stylized props
Best AI 3D model for stylized props
Barrels, crates, plants, tools, pickups: the readable, low-poly objects that fill a stylized game. Great props start with a great image, then the right model. Here is the workflow and the models to try first.
Try first for propsTripo P1Tripo P2then compare onsilhouettetopologytexture
How do you make stylized game props with AI?
Start from a strong reference image — generate one in PicoBerry Image Generation or bring your own art — then run the same reference through Tripo P1 and Tripo P2. Judge the silhouette first: a prop has to read at a glance, before any detail matters. Then compare the wireframes and keep the mesh that needs the least cleanup, because props are made in bulk and the cleanup cost multiplies. If a prop genuinely needs more form than P1 and P2 give, generate with Tripo 3.1 and bring the topology back down with Tripo Remesh. Finish by re-texturing to one palette and exporting GLB, FBX, or OBJ for your engine.
What matters most for props
The six criteria from the hub, weighted for stylized props. These are the three that decide a prop the fastest.
Silhouette read
A prop has to be recognizable at a glance and in-hand. Judge the outline first, before texture, before detail.
Clean low-poly topology
Props are made in bulk. A tidy, low-poly mesh that remeshes and UVs quickly beats a denser, "nicer" blob.
Stylized texture fit
Flat, hand-painted-looking materials should match your art direction, not photoreal detail that fights a stylized set.
Models to try first for props
Reasonable starting candidates to test, not fixed winners. Run the same image across them and judge the results. The lineup evolves, so check the current model picker in PicoBerry.
Candidate A
Tripo P1
A low-poly, mesh-first model with built-in topology features. A strong first try for stylized props: clean, low-poly meshes that stay detailed where it counts.
Check: silhouette read and how little cleanup the mesh needs.
Candidate B
Tripo P2
The newer P-series model, same low-poly benefits. Run it head to head with Tripo P1 on the same image; one often reads better for a given prop.
Check: which of the two gives the cleaner silhouette and topology.
If you need more detail
Tripo 3.1 + Tripo Remesh
When a prop needs more form or surface than Tripo P1 and P2 give, generate with Tripo 3.1 and remesh with Tripo Remesh. You get the added detail with topology brought back to a lean polygon count.
Check: that the detail survives the remesh to your polygon count.
The same prop across models
A like-for-like test: one prop prompt, a couple of models, judged on silhouette, topology, and texture. This is the evidence behind the recommendation above.
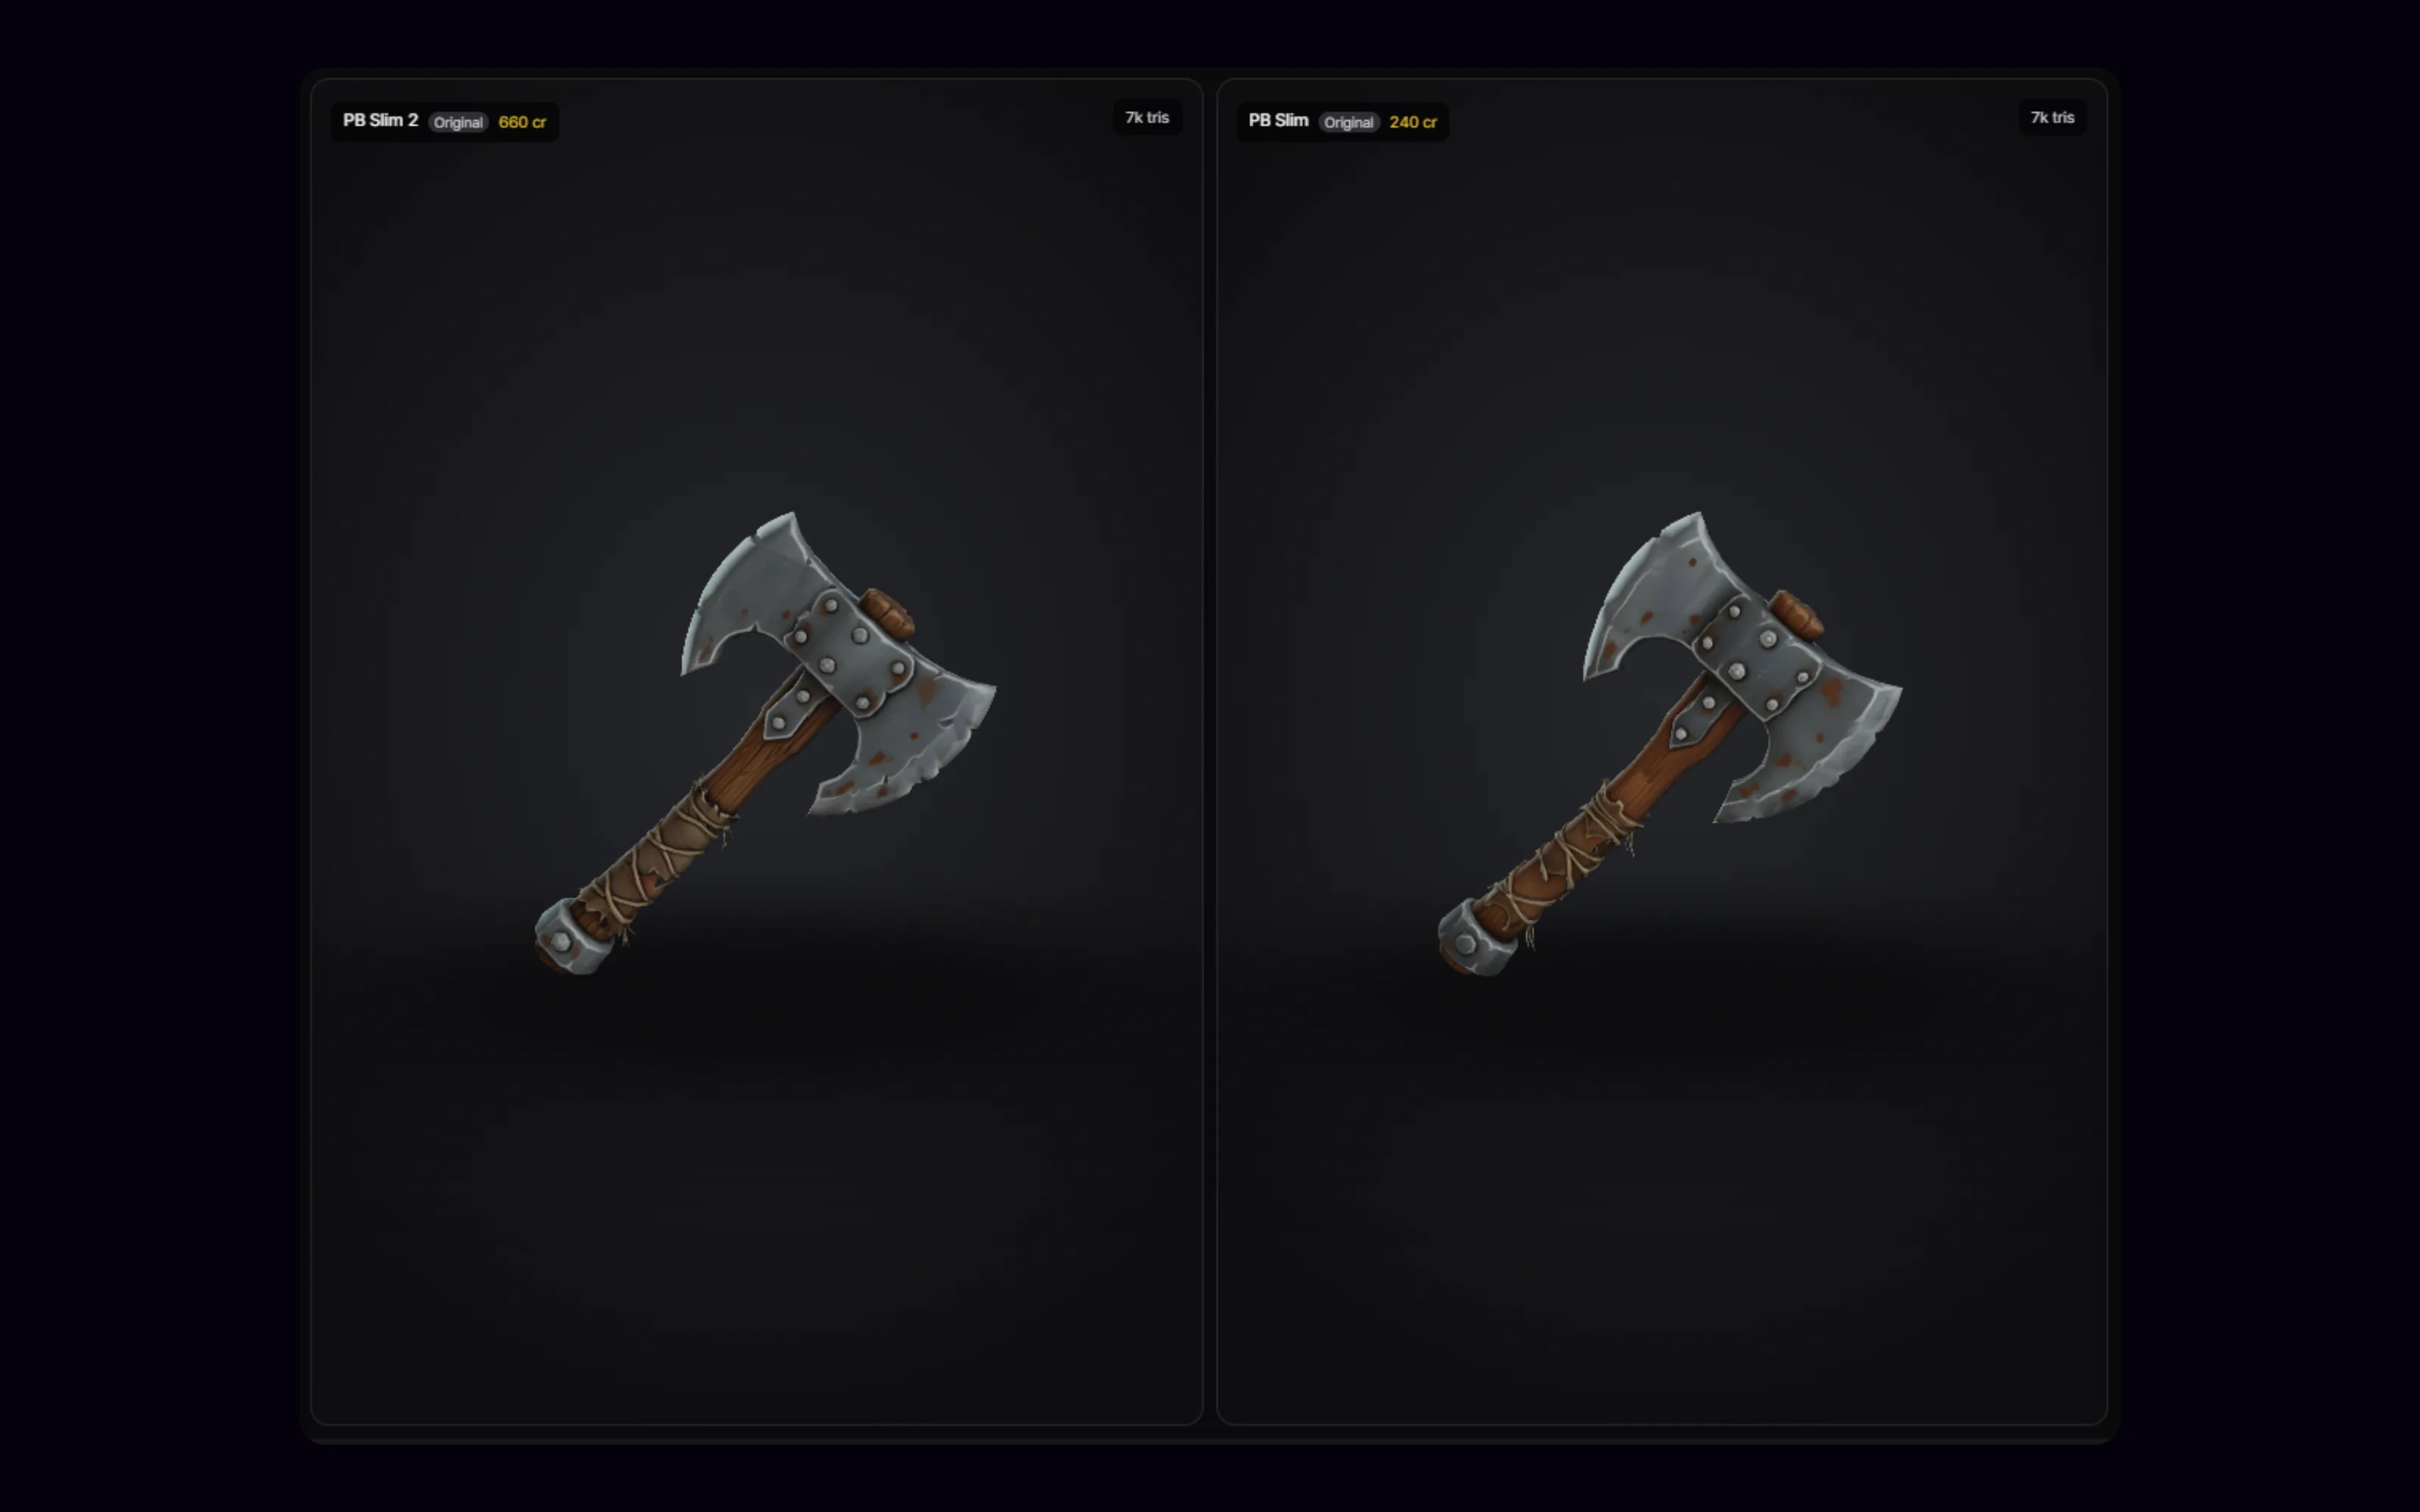
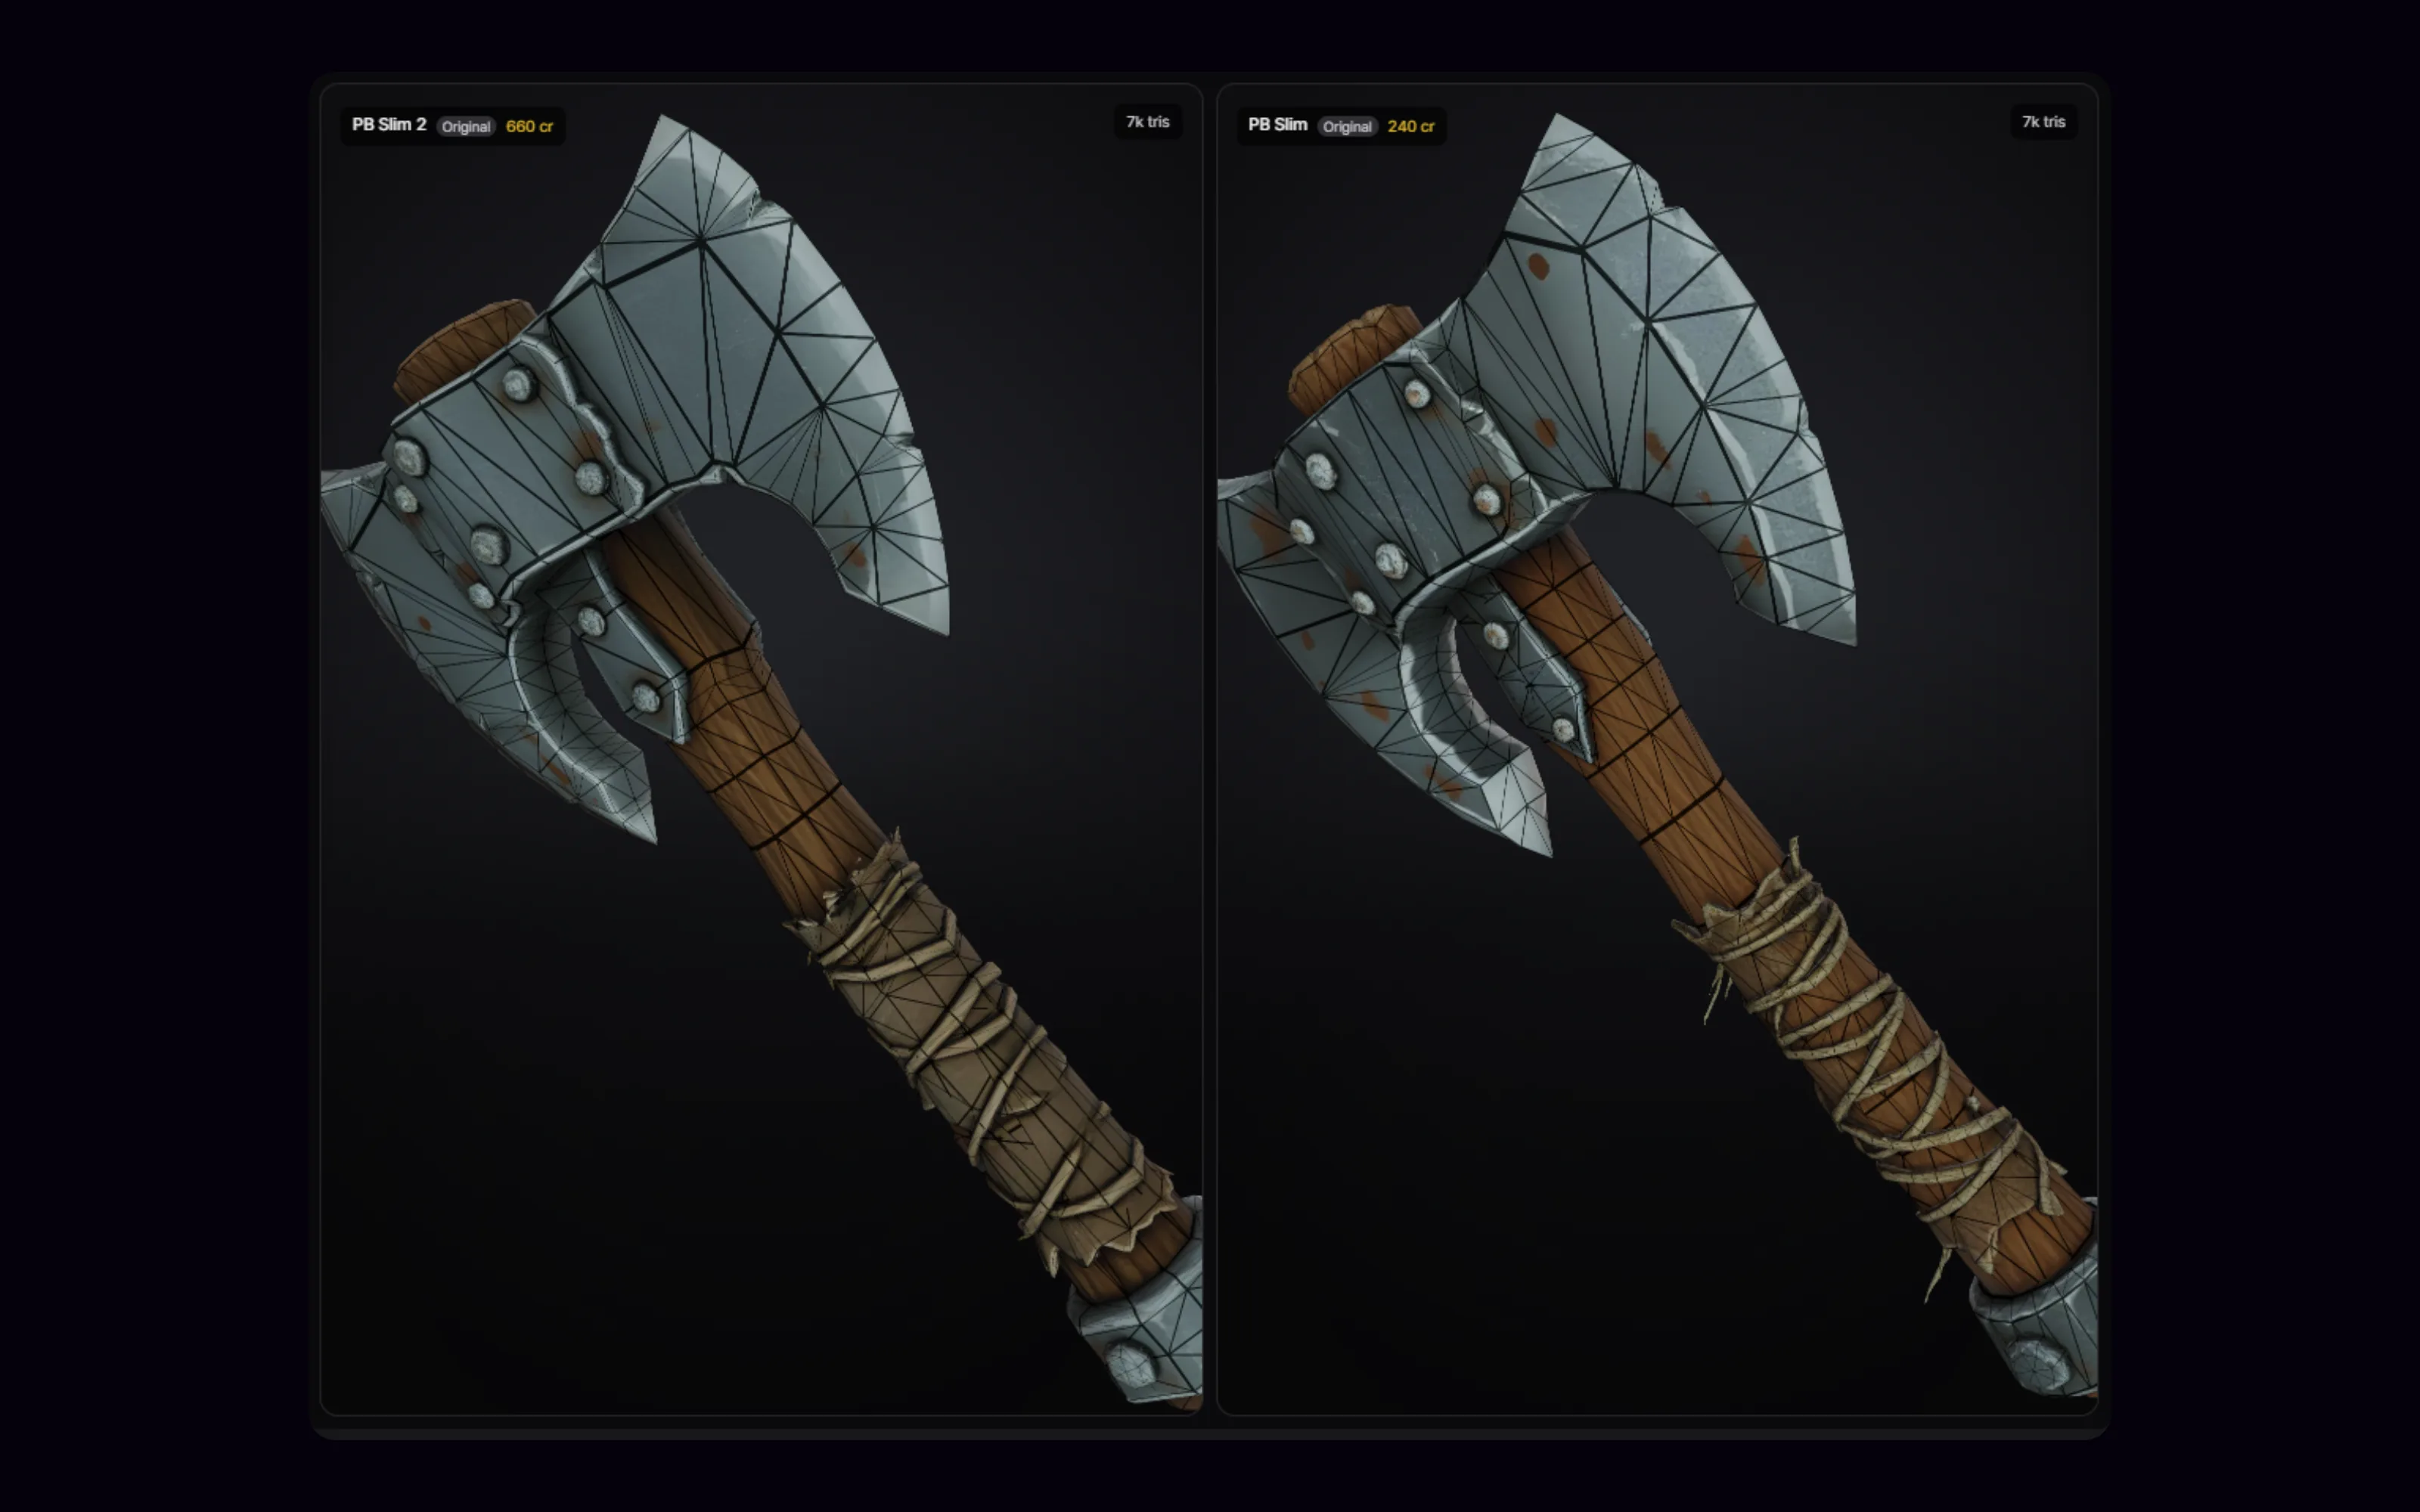
Same prompt, two models
One prop, two candidates, so the difference in silhouette and cleanliness is visible, not asserted.
Measured: both at 7k triangles — the same budget, so what separates them is the shape and the wireframe, not the count.
Topology for a bulk set
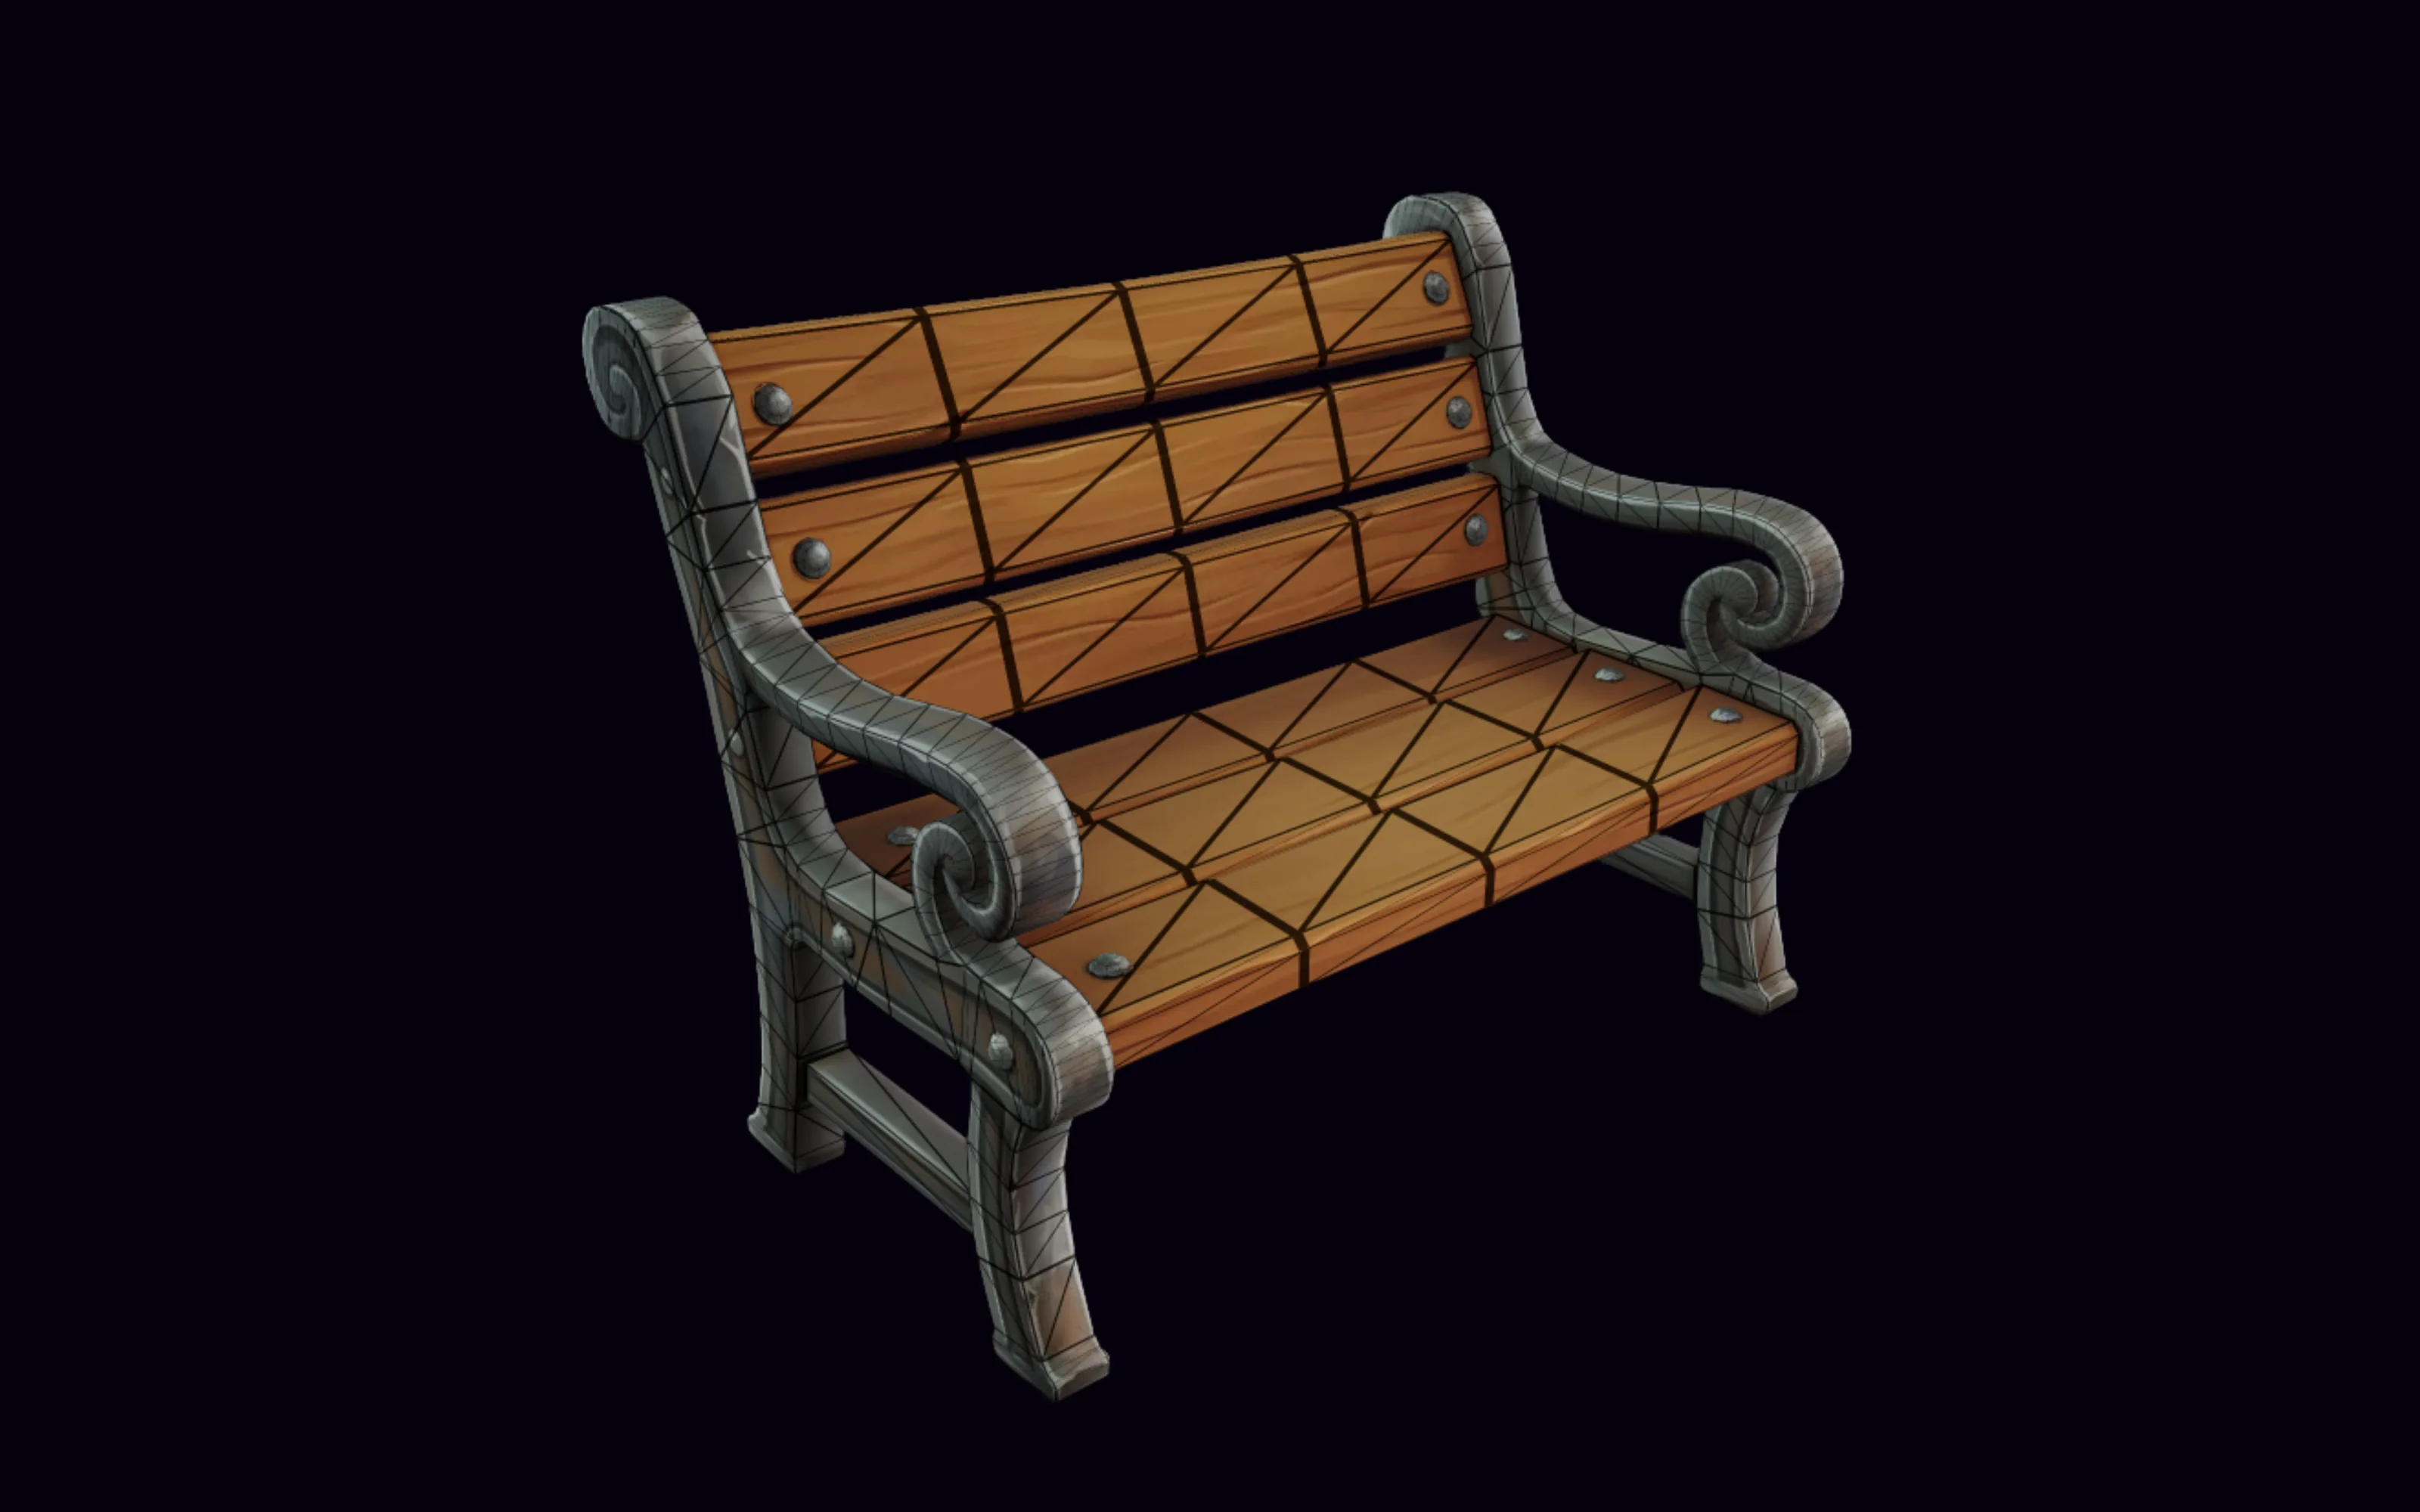
The wireframes reveal which result will remesh and UV faster for a bulk prop set.
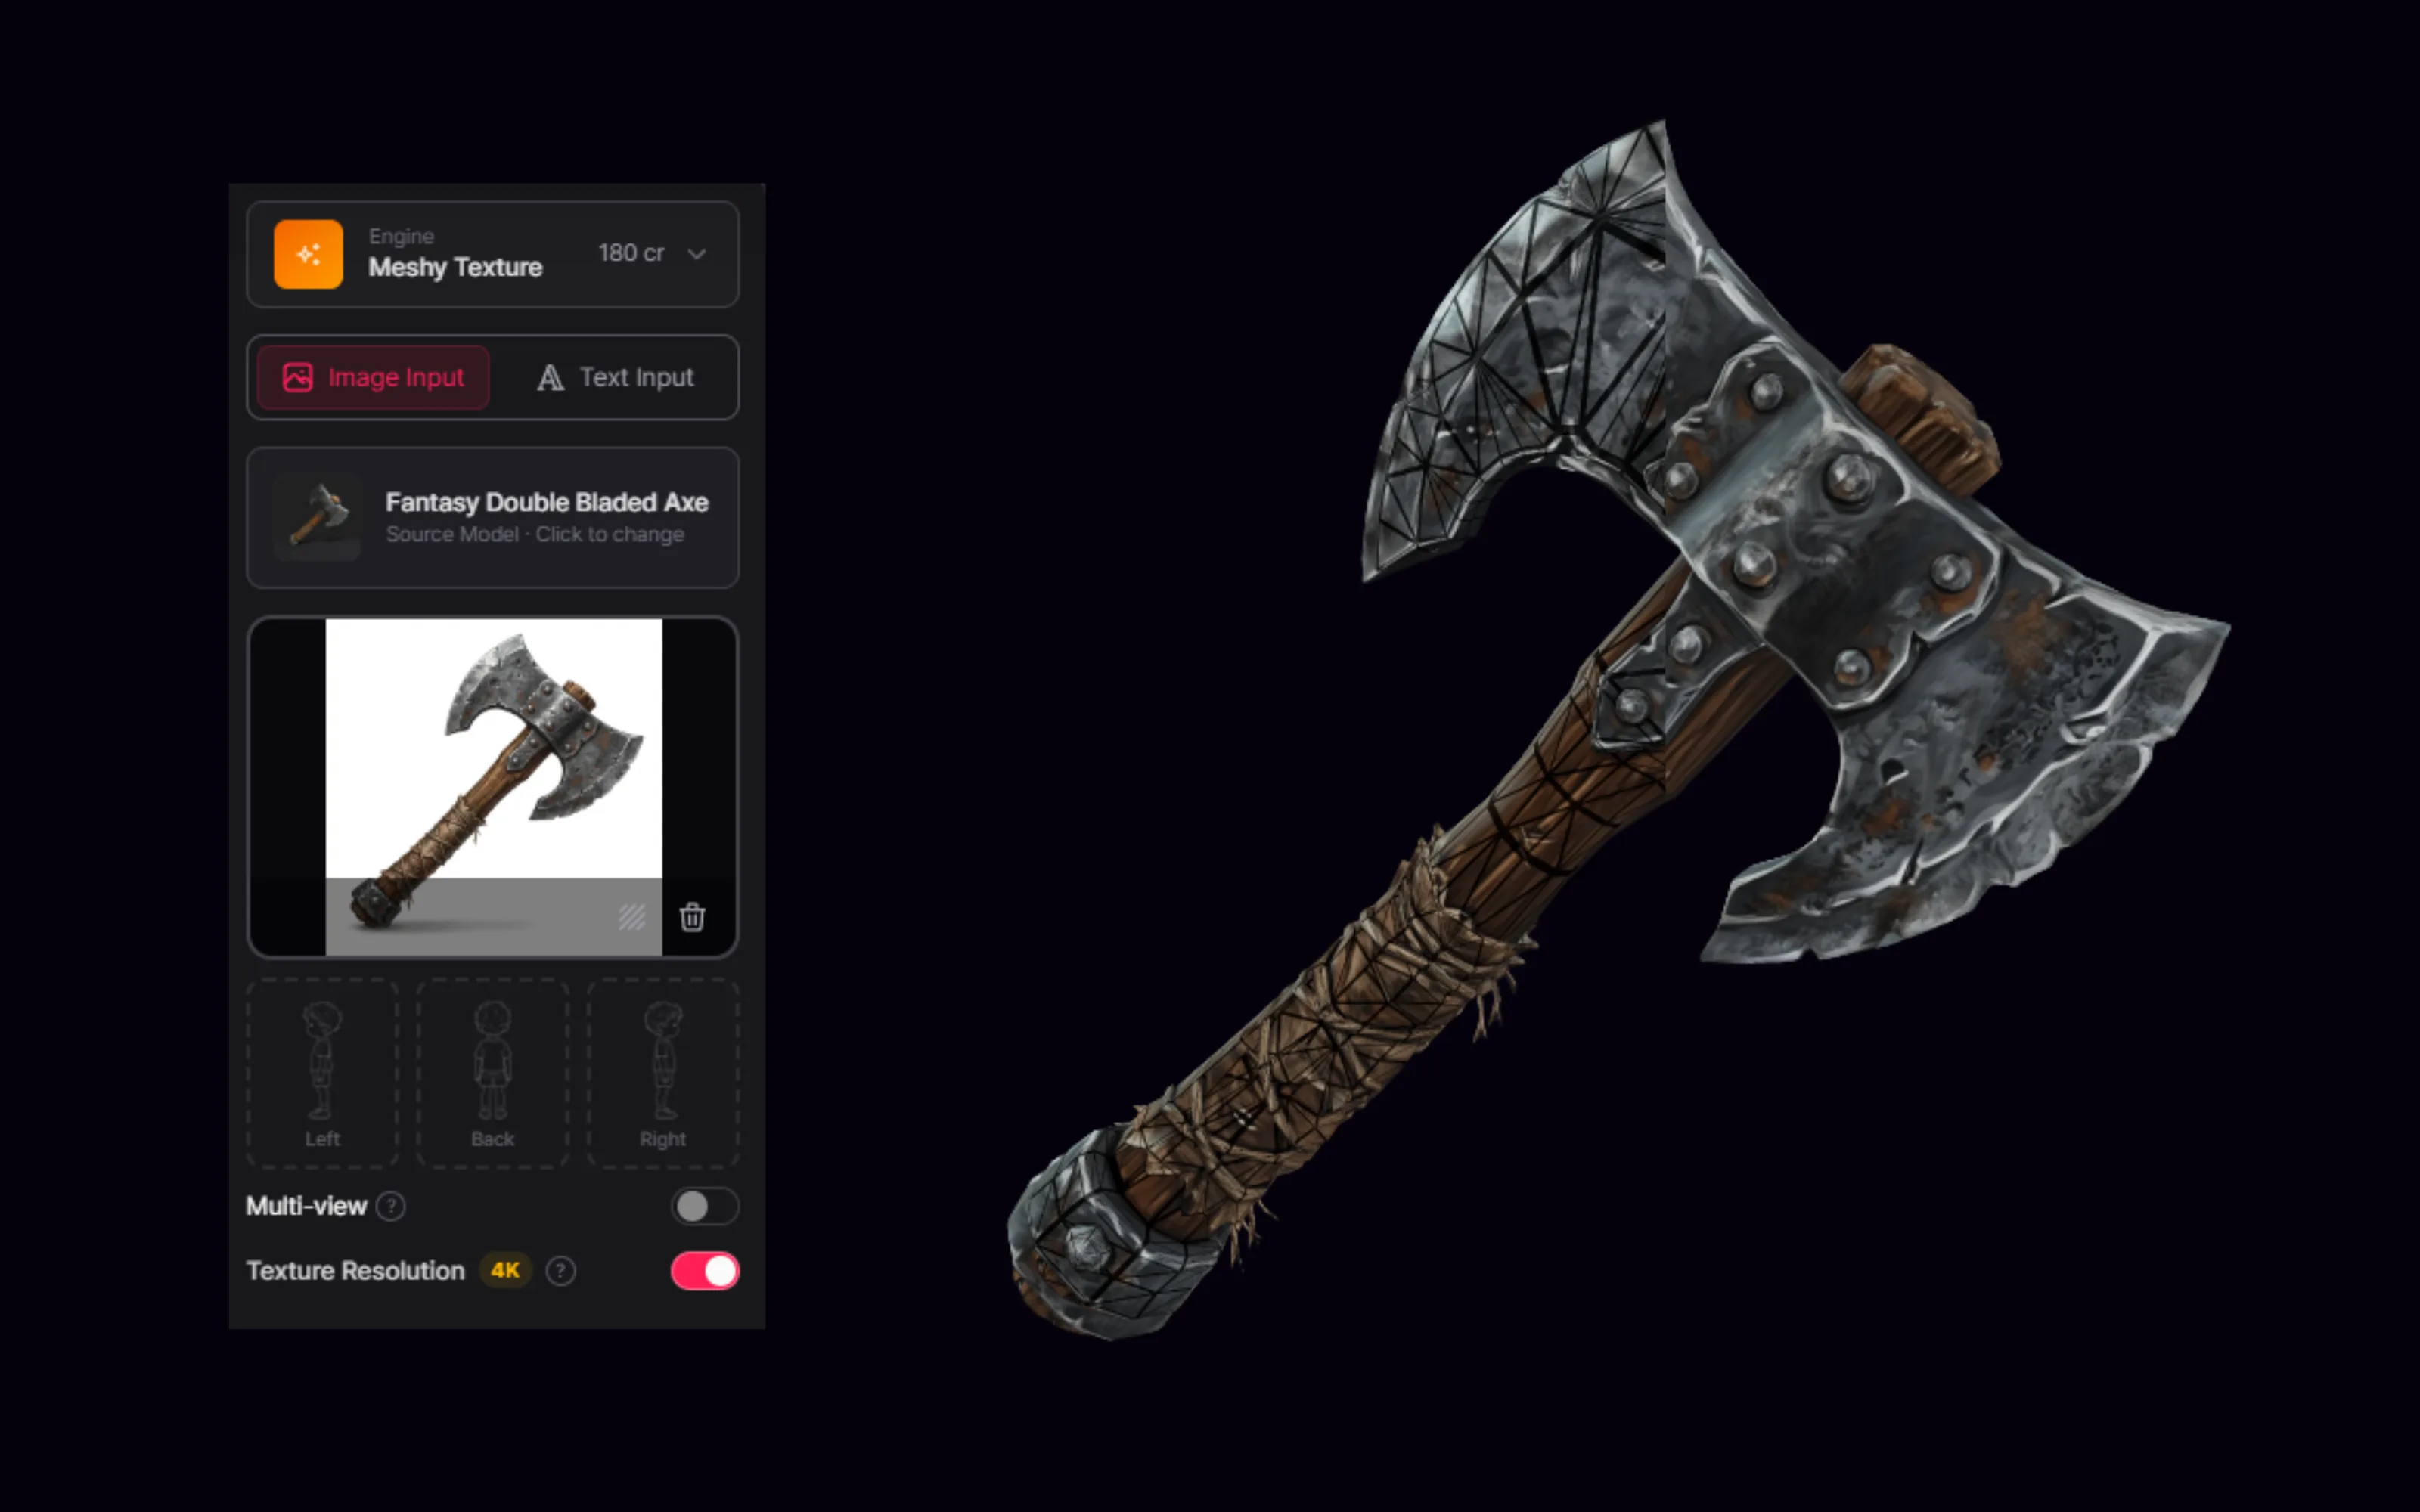
Chosen prop re-textured and refined
The winning candidate re-textured to your style, then remeshed and ready for your set.
How to choose for props, step by step
STEP 01
Start with a great image
Generate your reference art in PicoBerry Image Generation, or bring your own hand-drawn or rendered artwork. A strong image is the foundation of a good prop.
STEP 02
Generate on Tripo P1 and Tripo P2
Run the same image through both P-series models in PicoBerry, on one credit pool, so the comparison is fair. Tripo P1 is the cheaper of the two, so start there and bring in Tripo P2 as the second opinion when the first read is not good enough.
STEP 03
Compare silhouette and topology
Judge the read first, then the wireframe. Keep the one that needs the least cleanup.
STEP 04
Refine, or add detail
Need more detail? Generate with Tripo 3.1 and remesh with Tripo Remesh. Otherwise remesh, re-texture, and export for your engine.
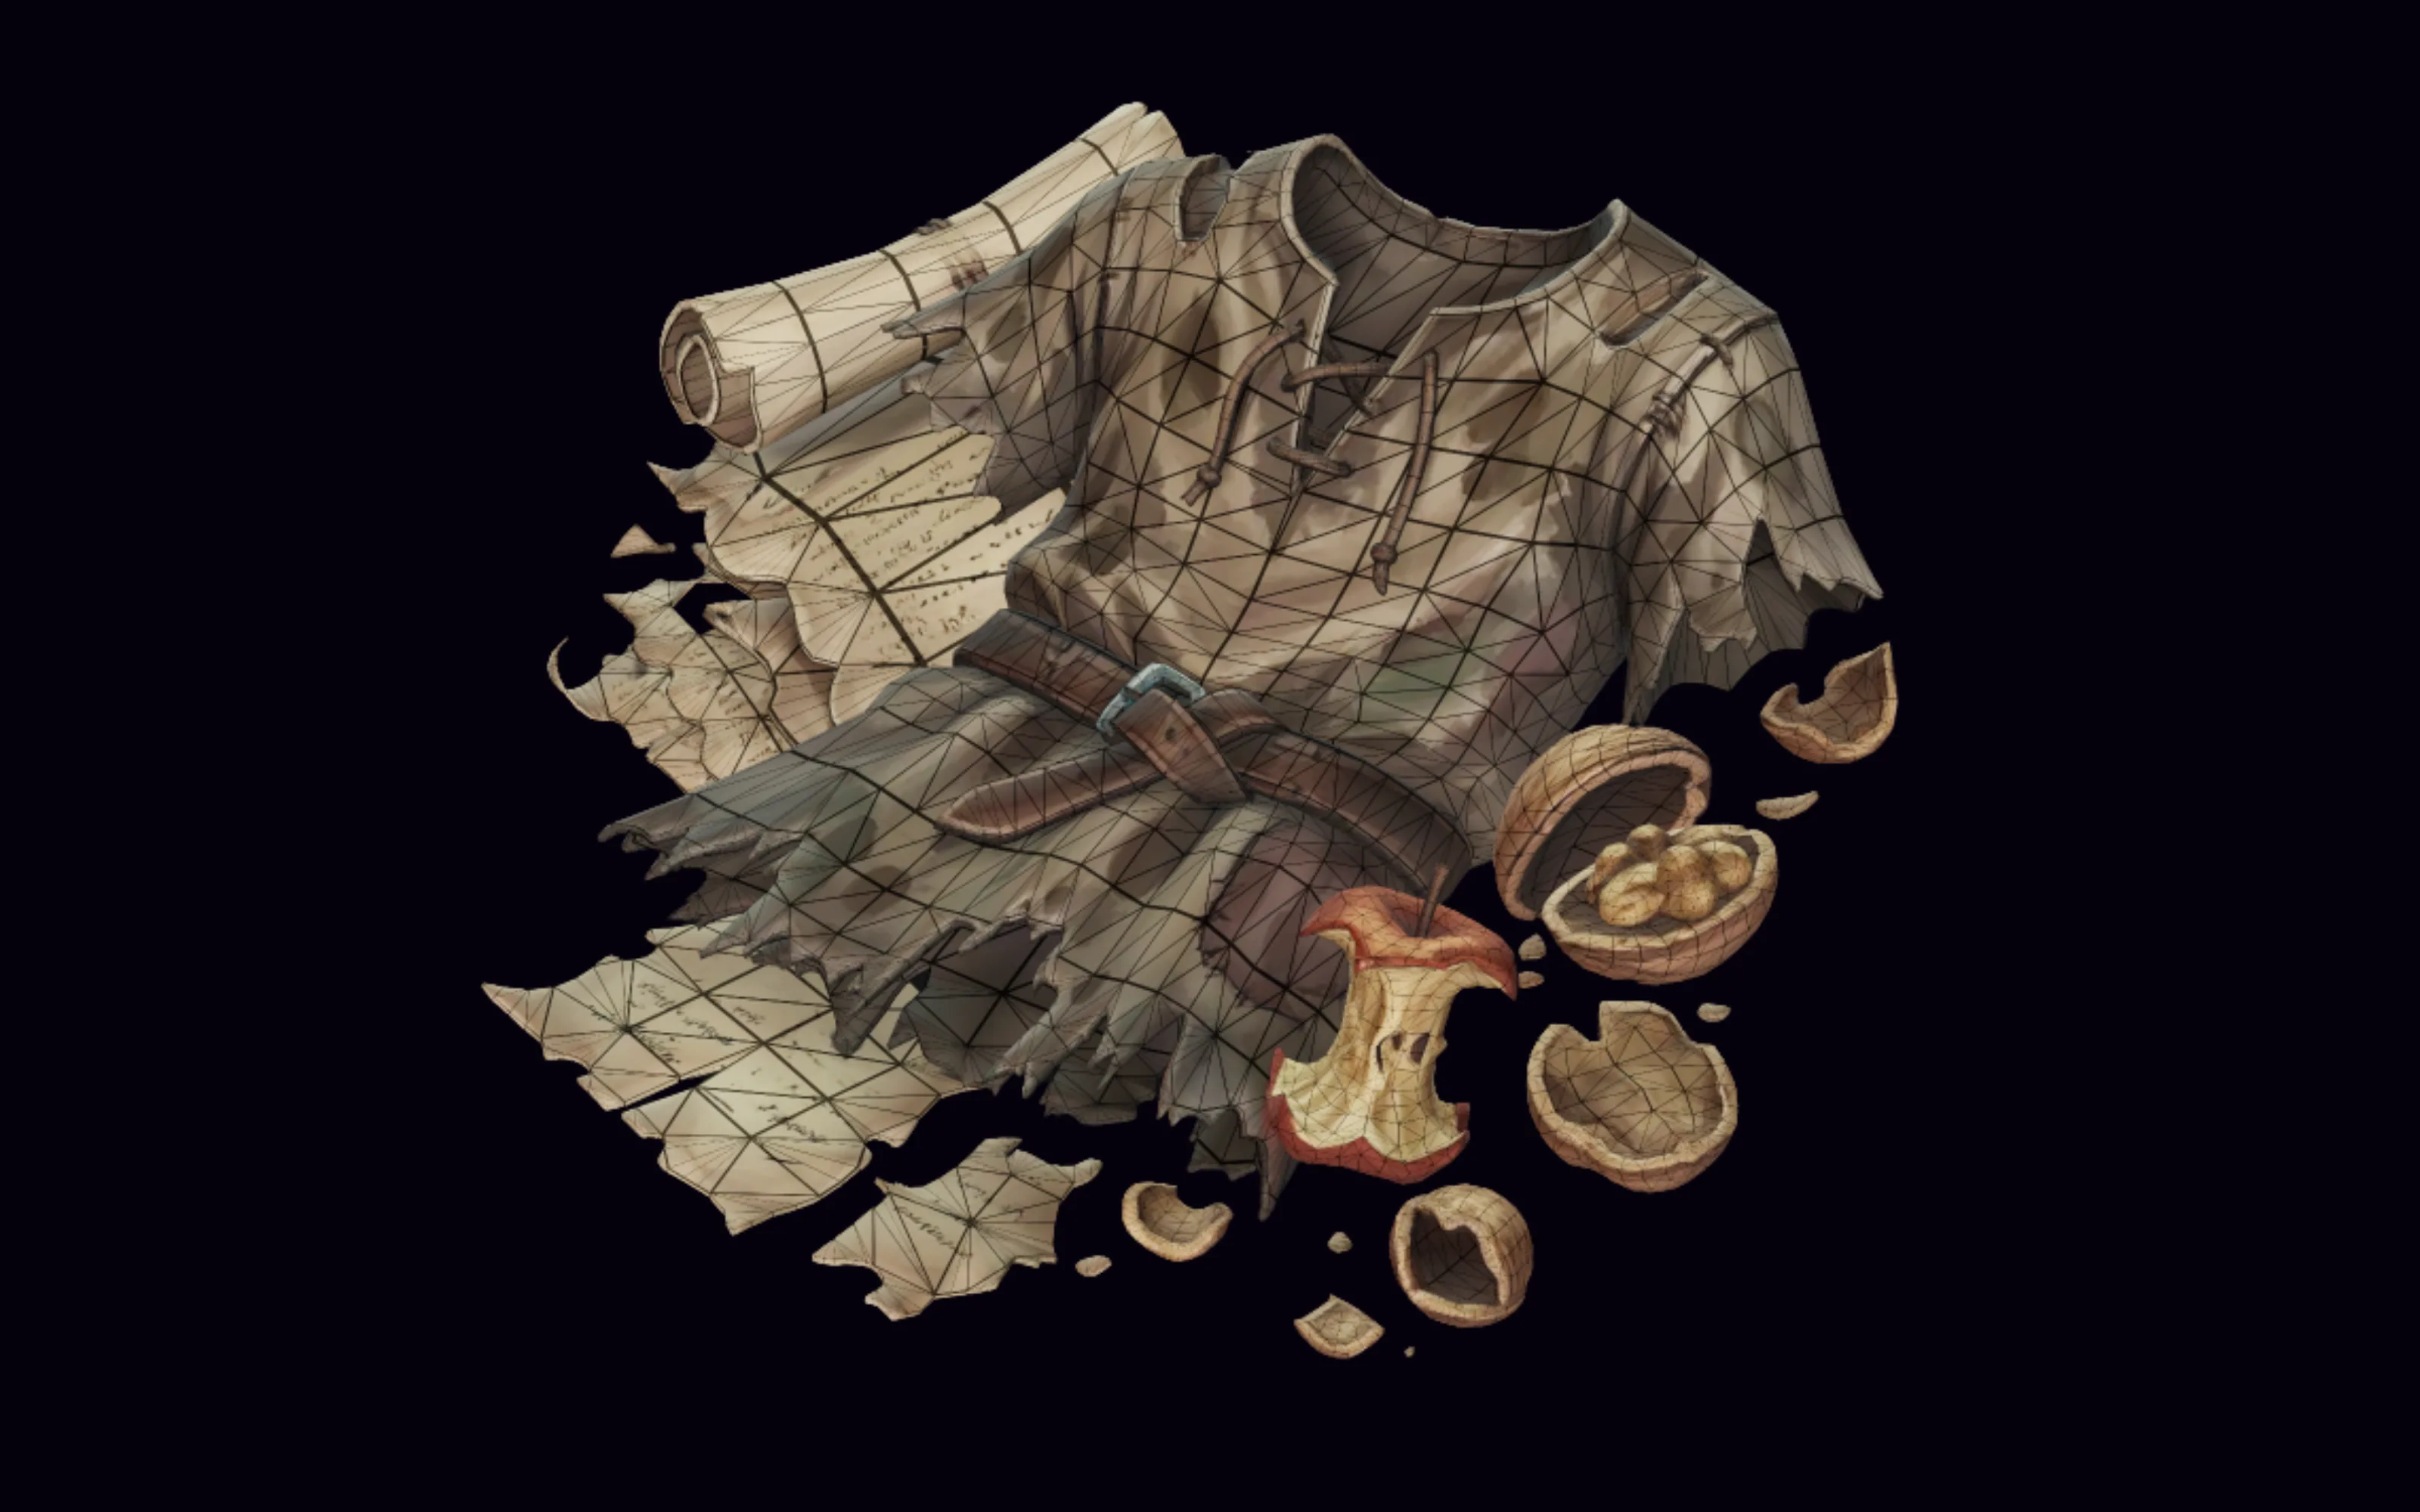
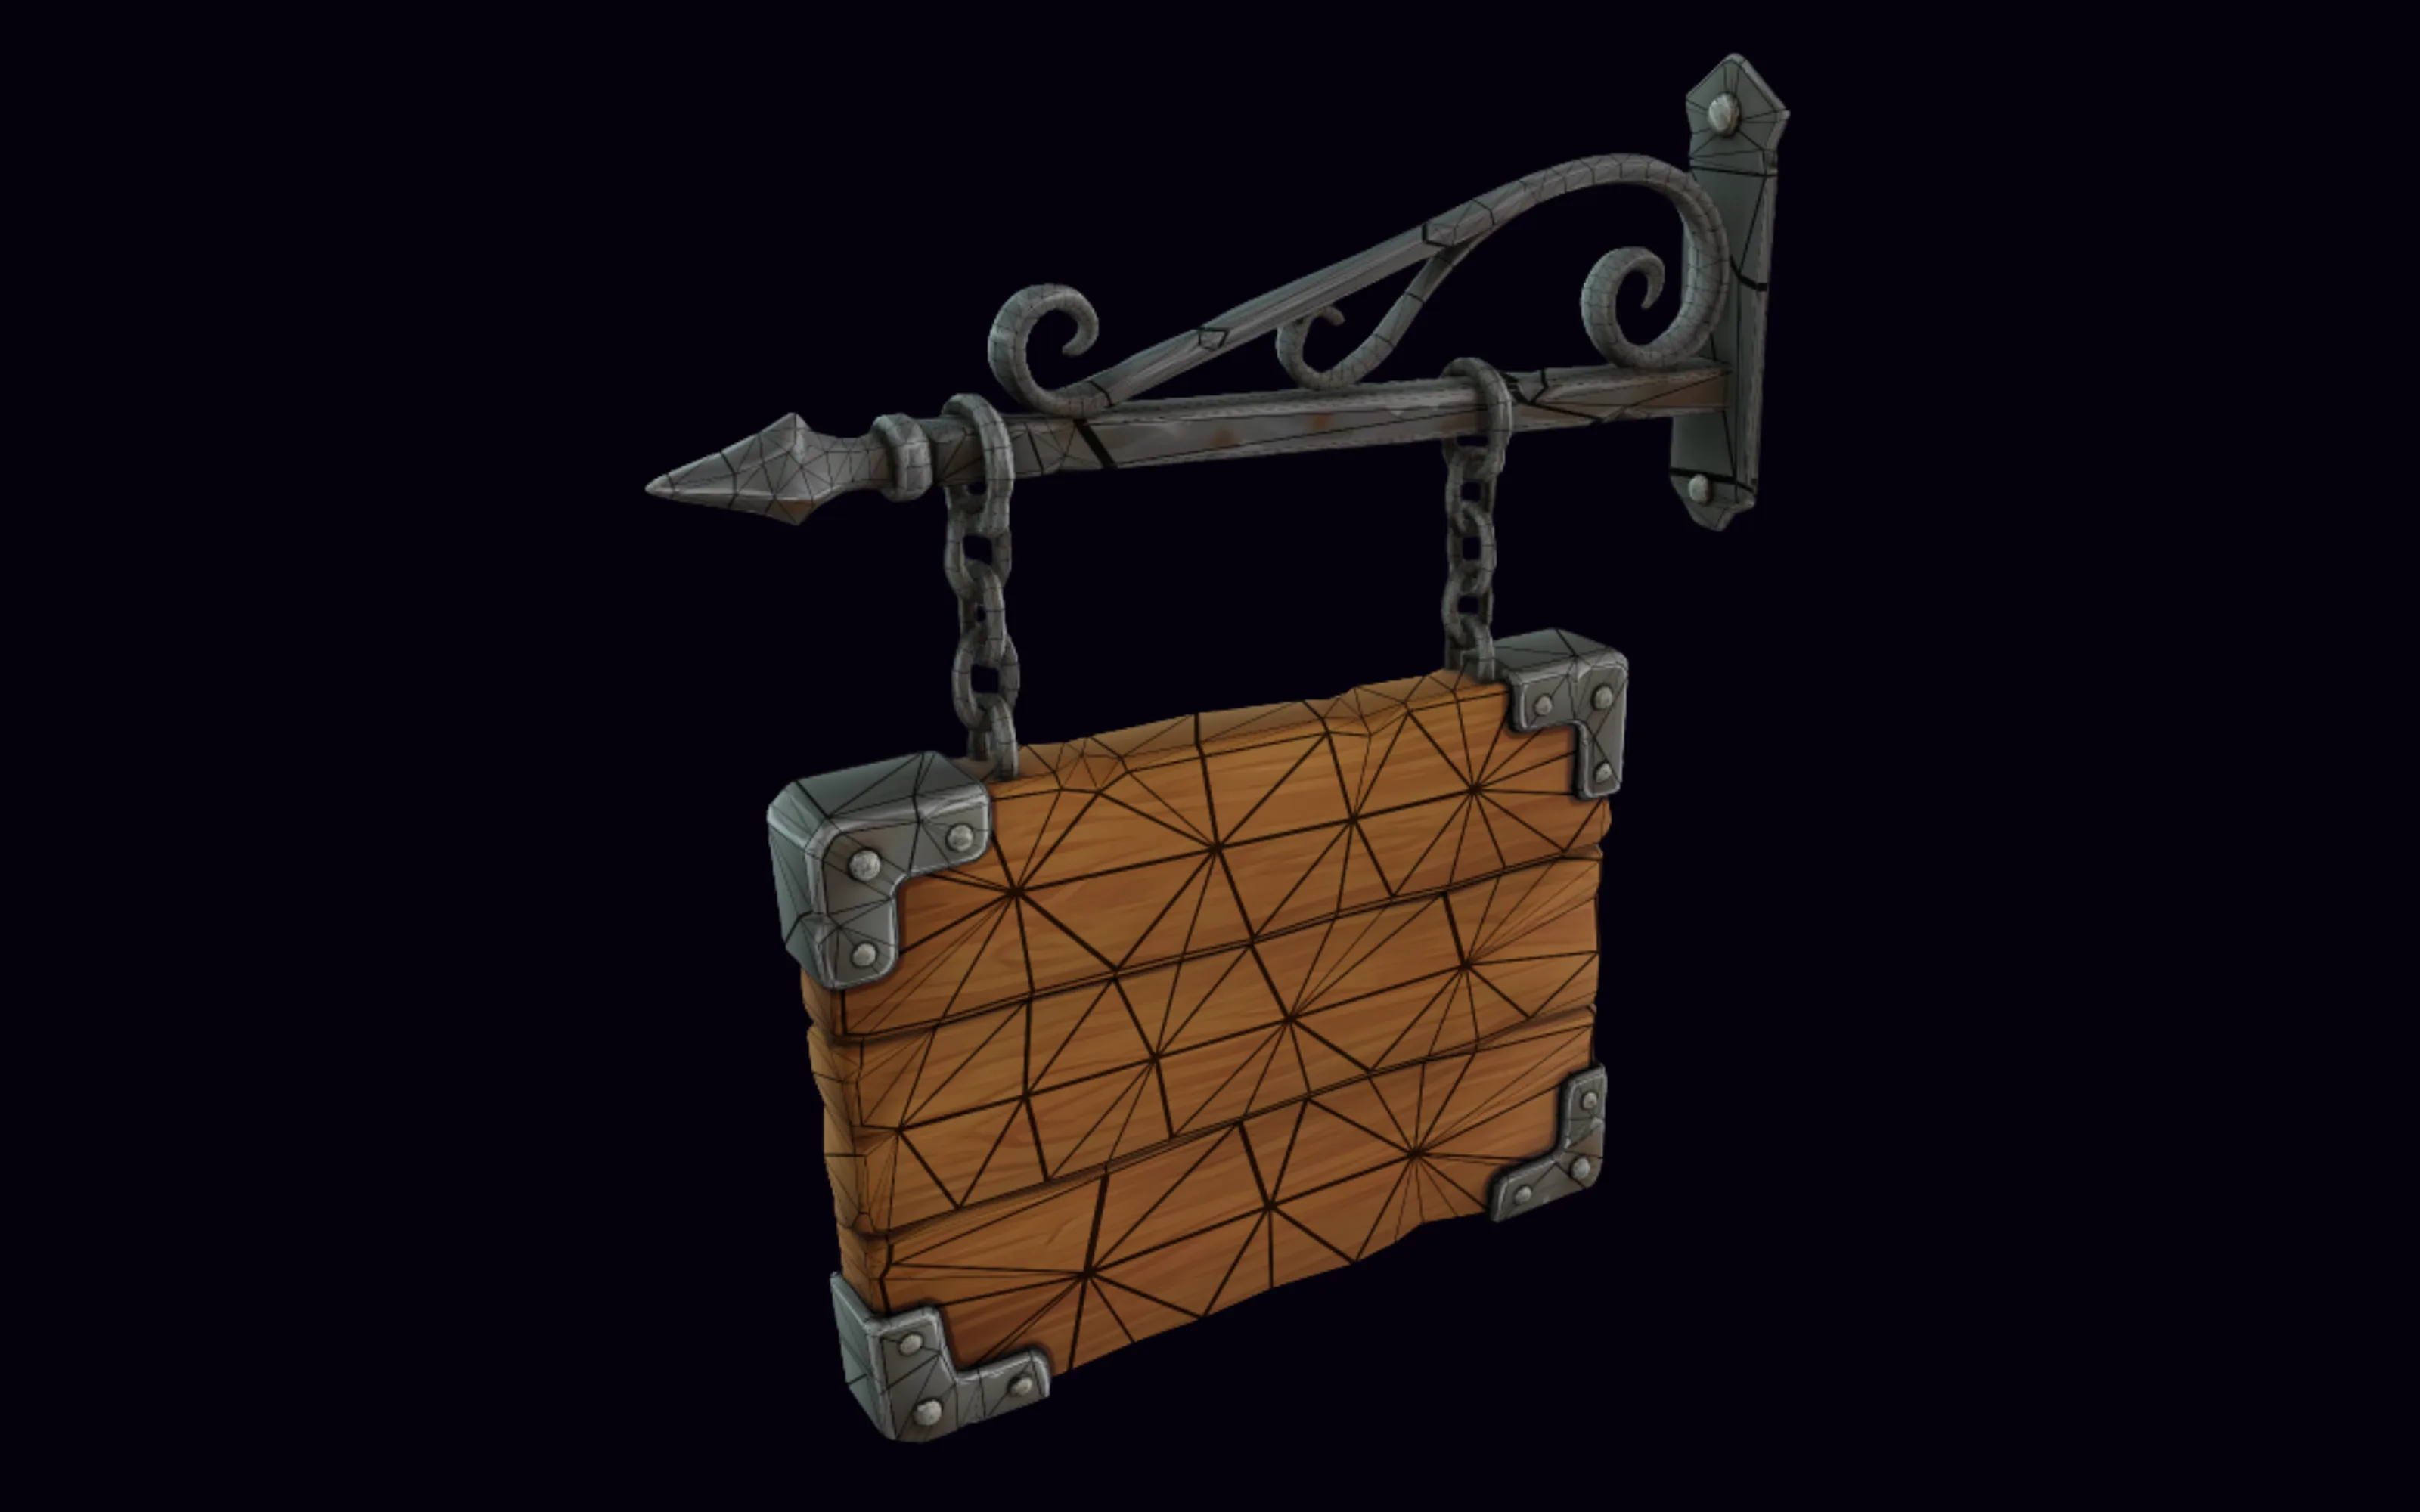
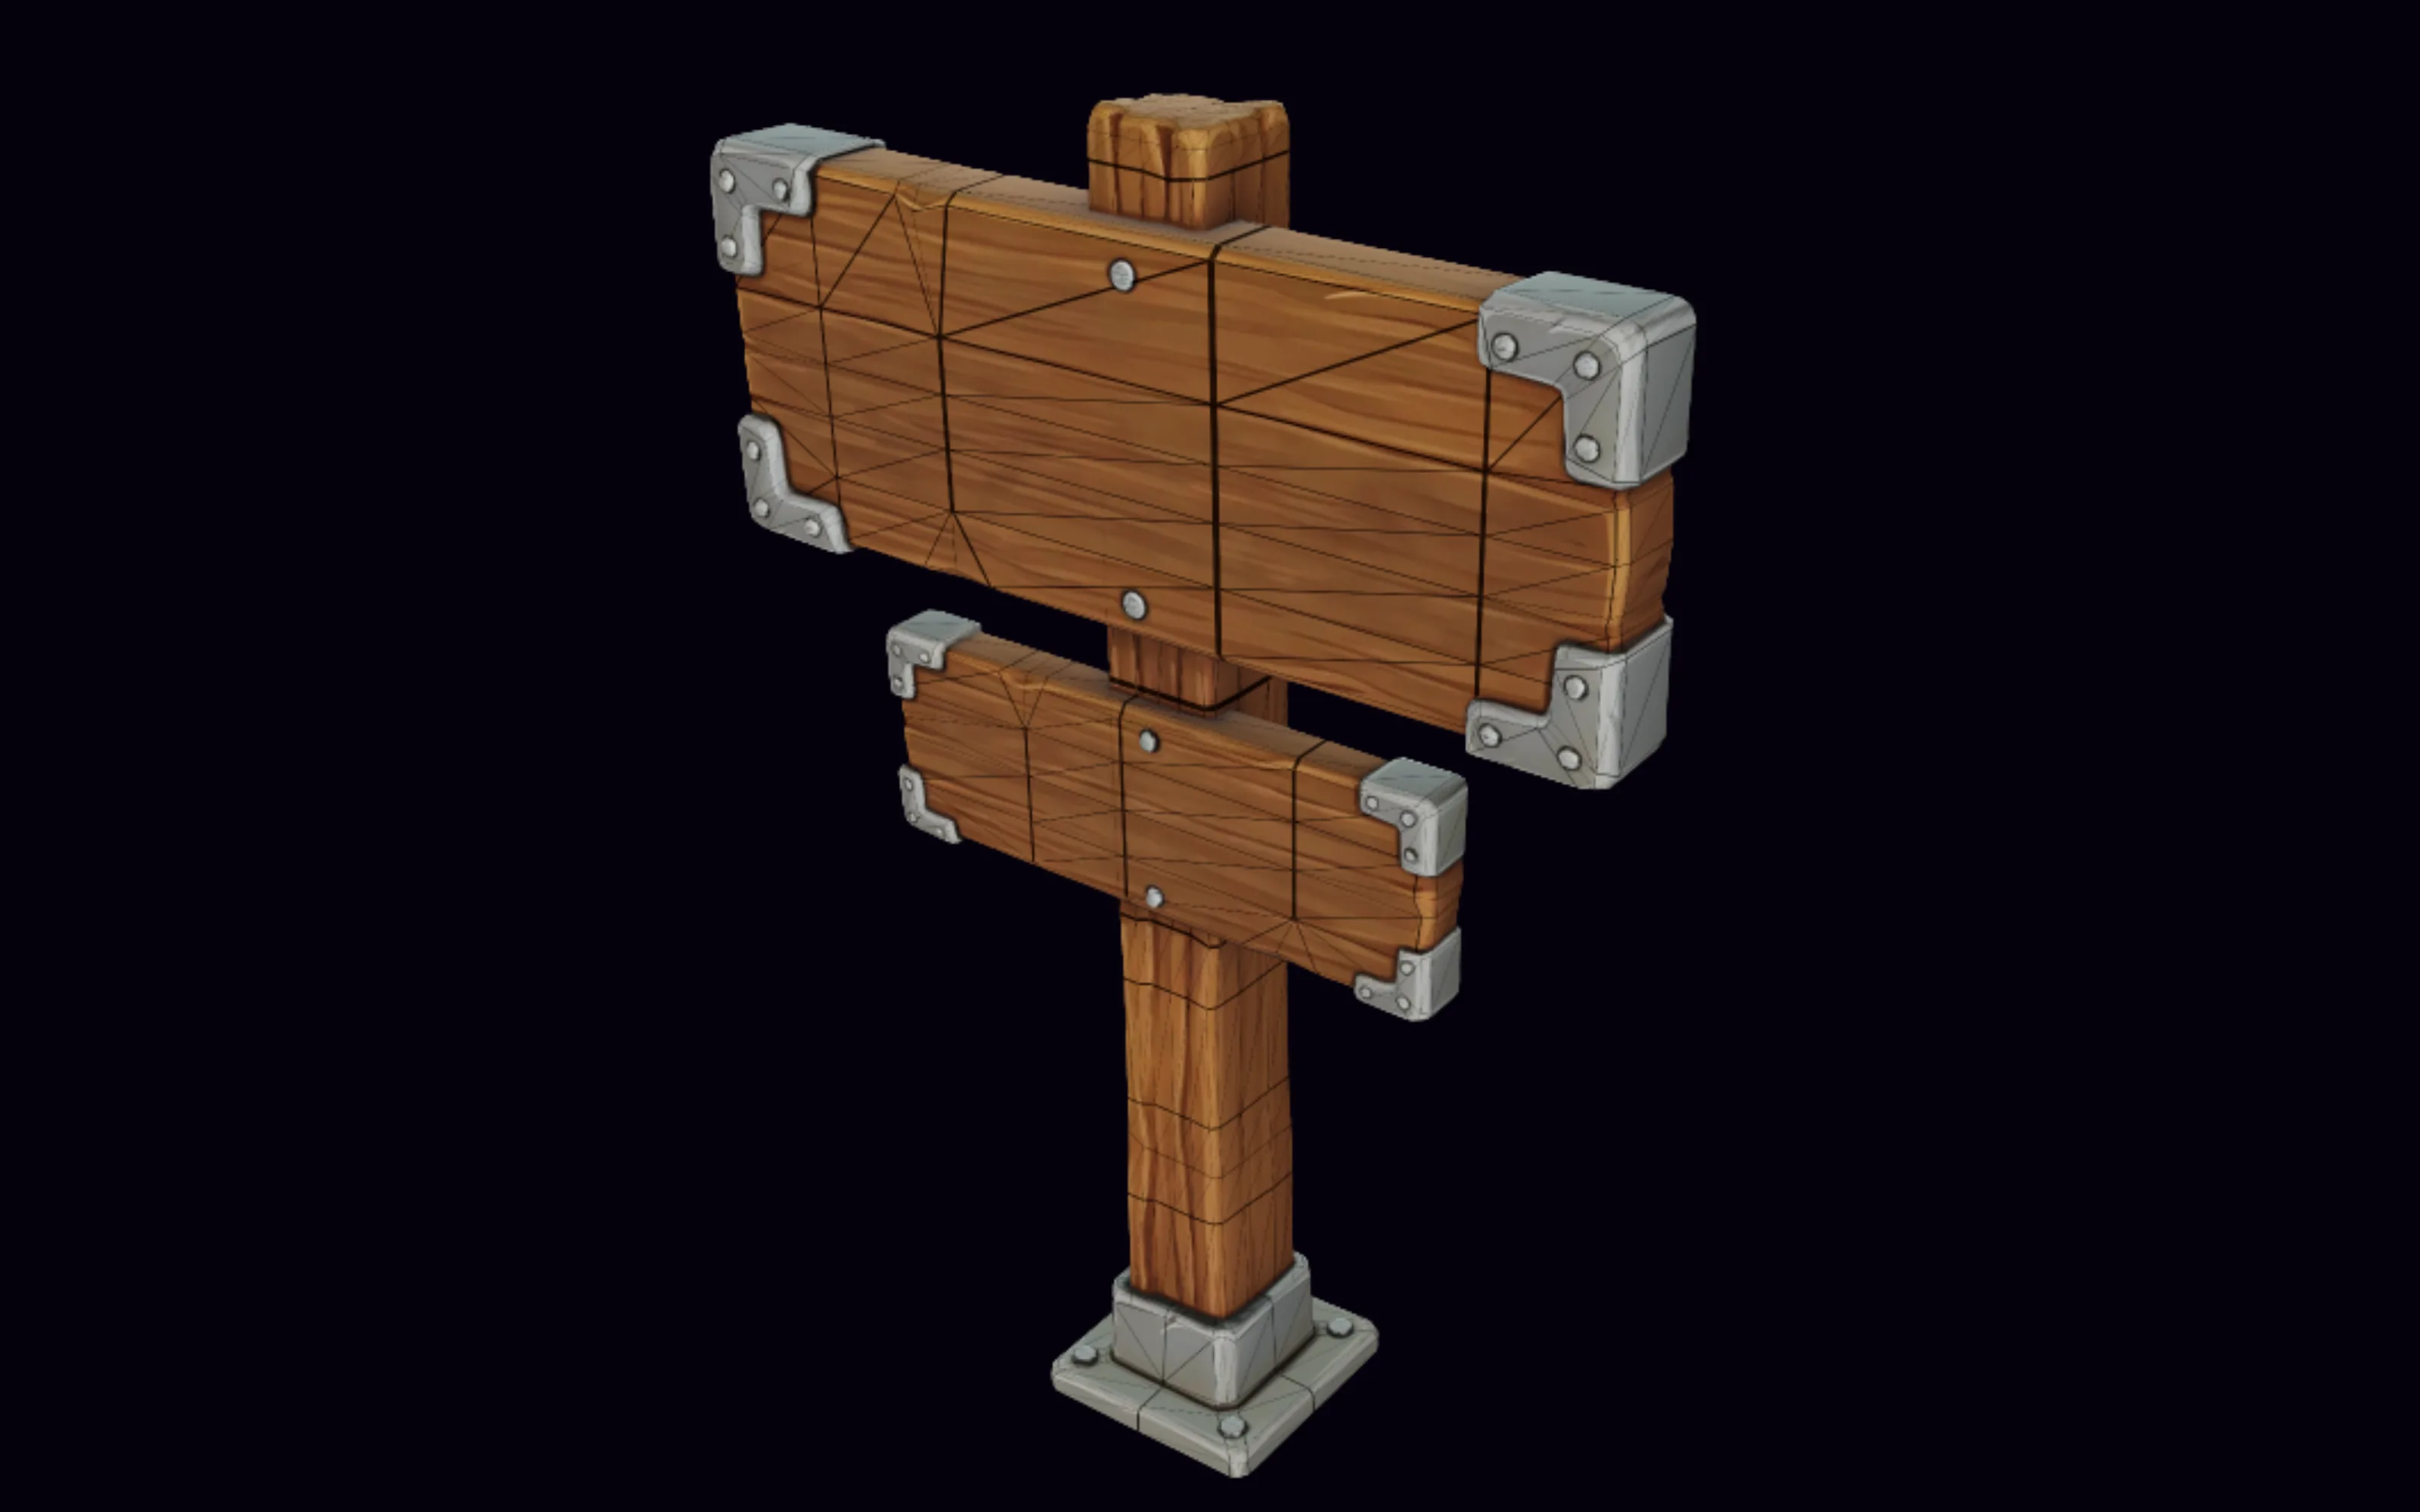
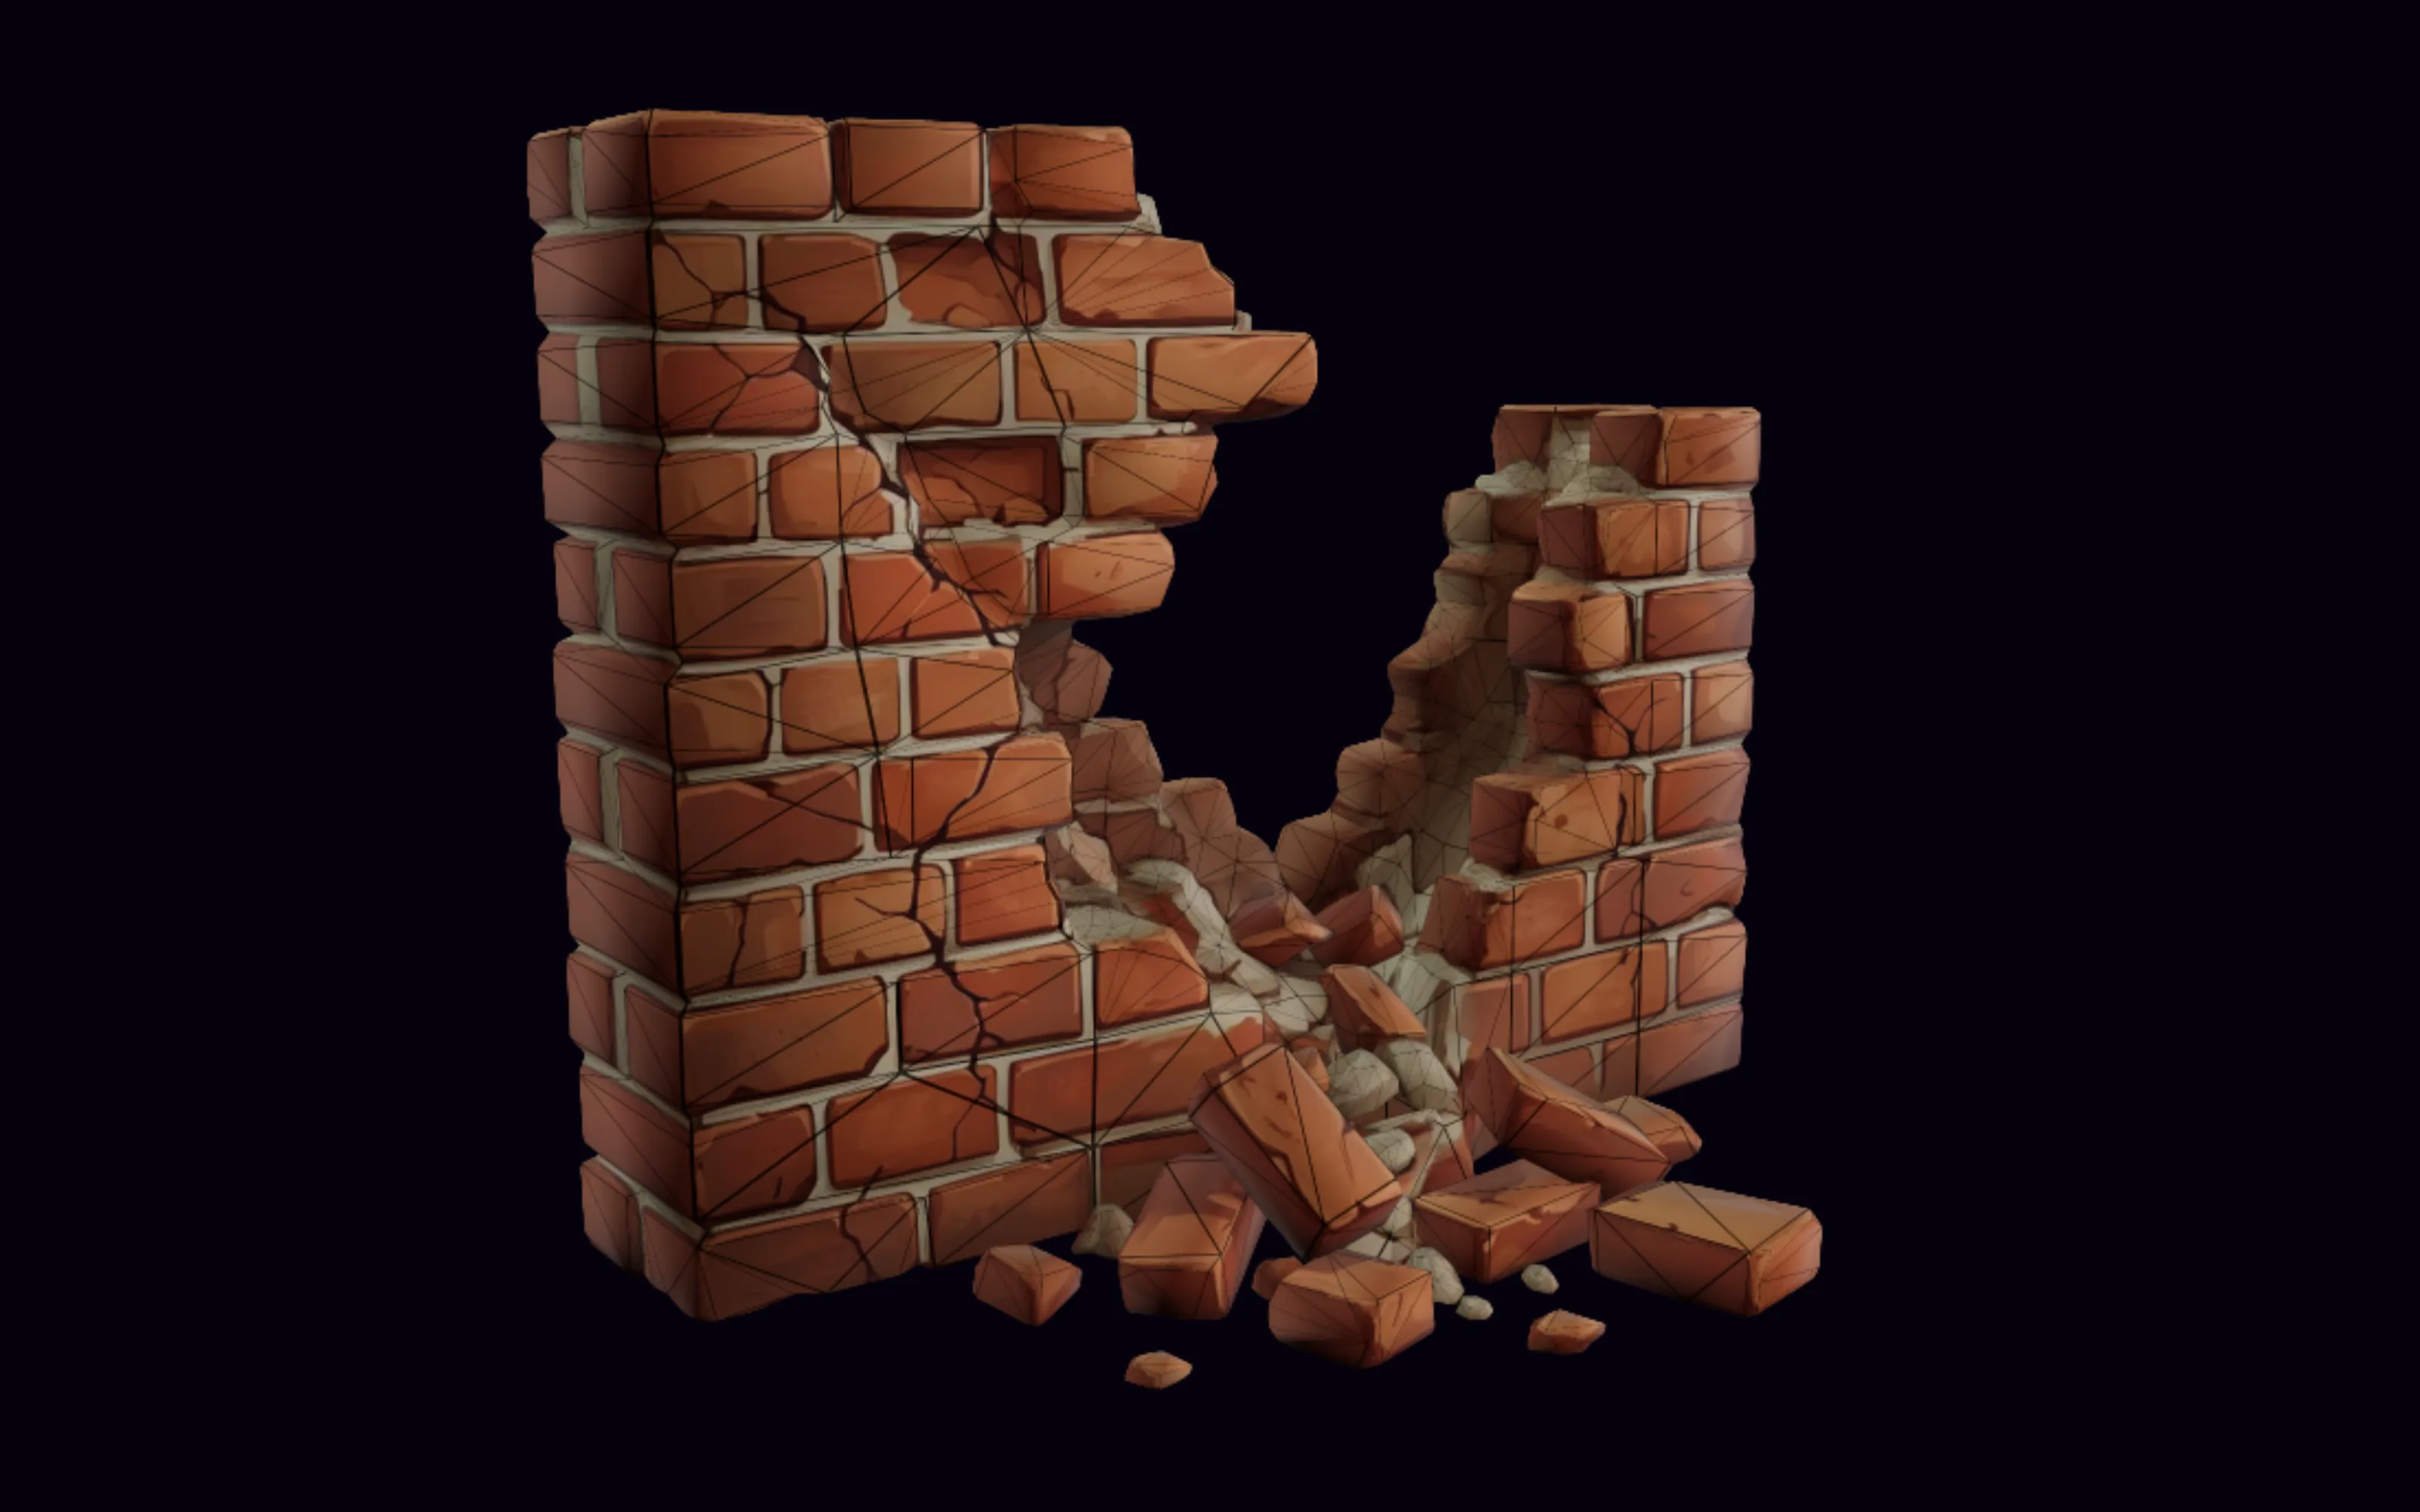
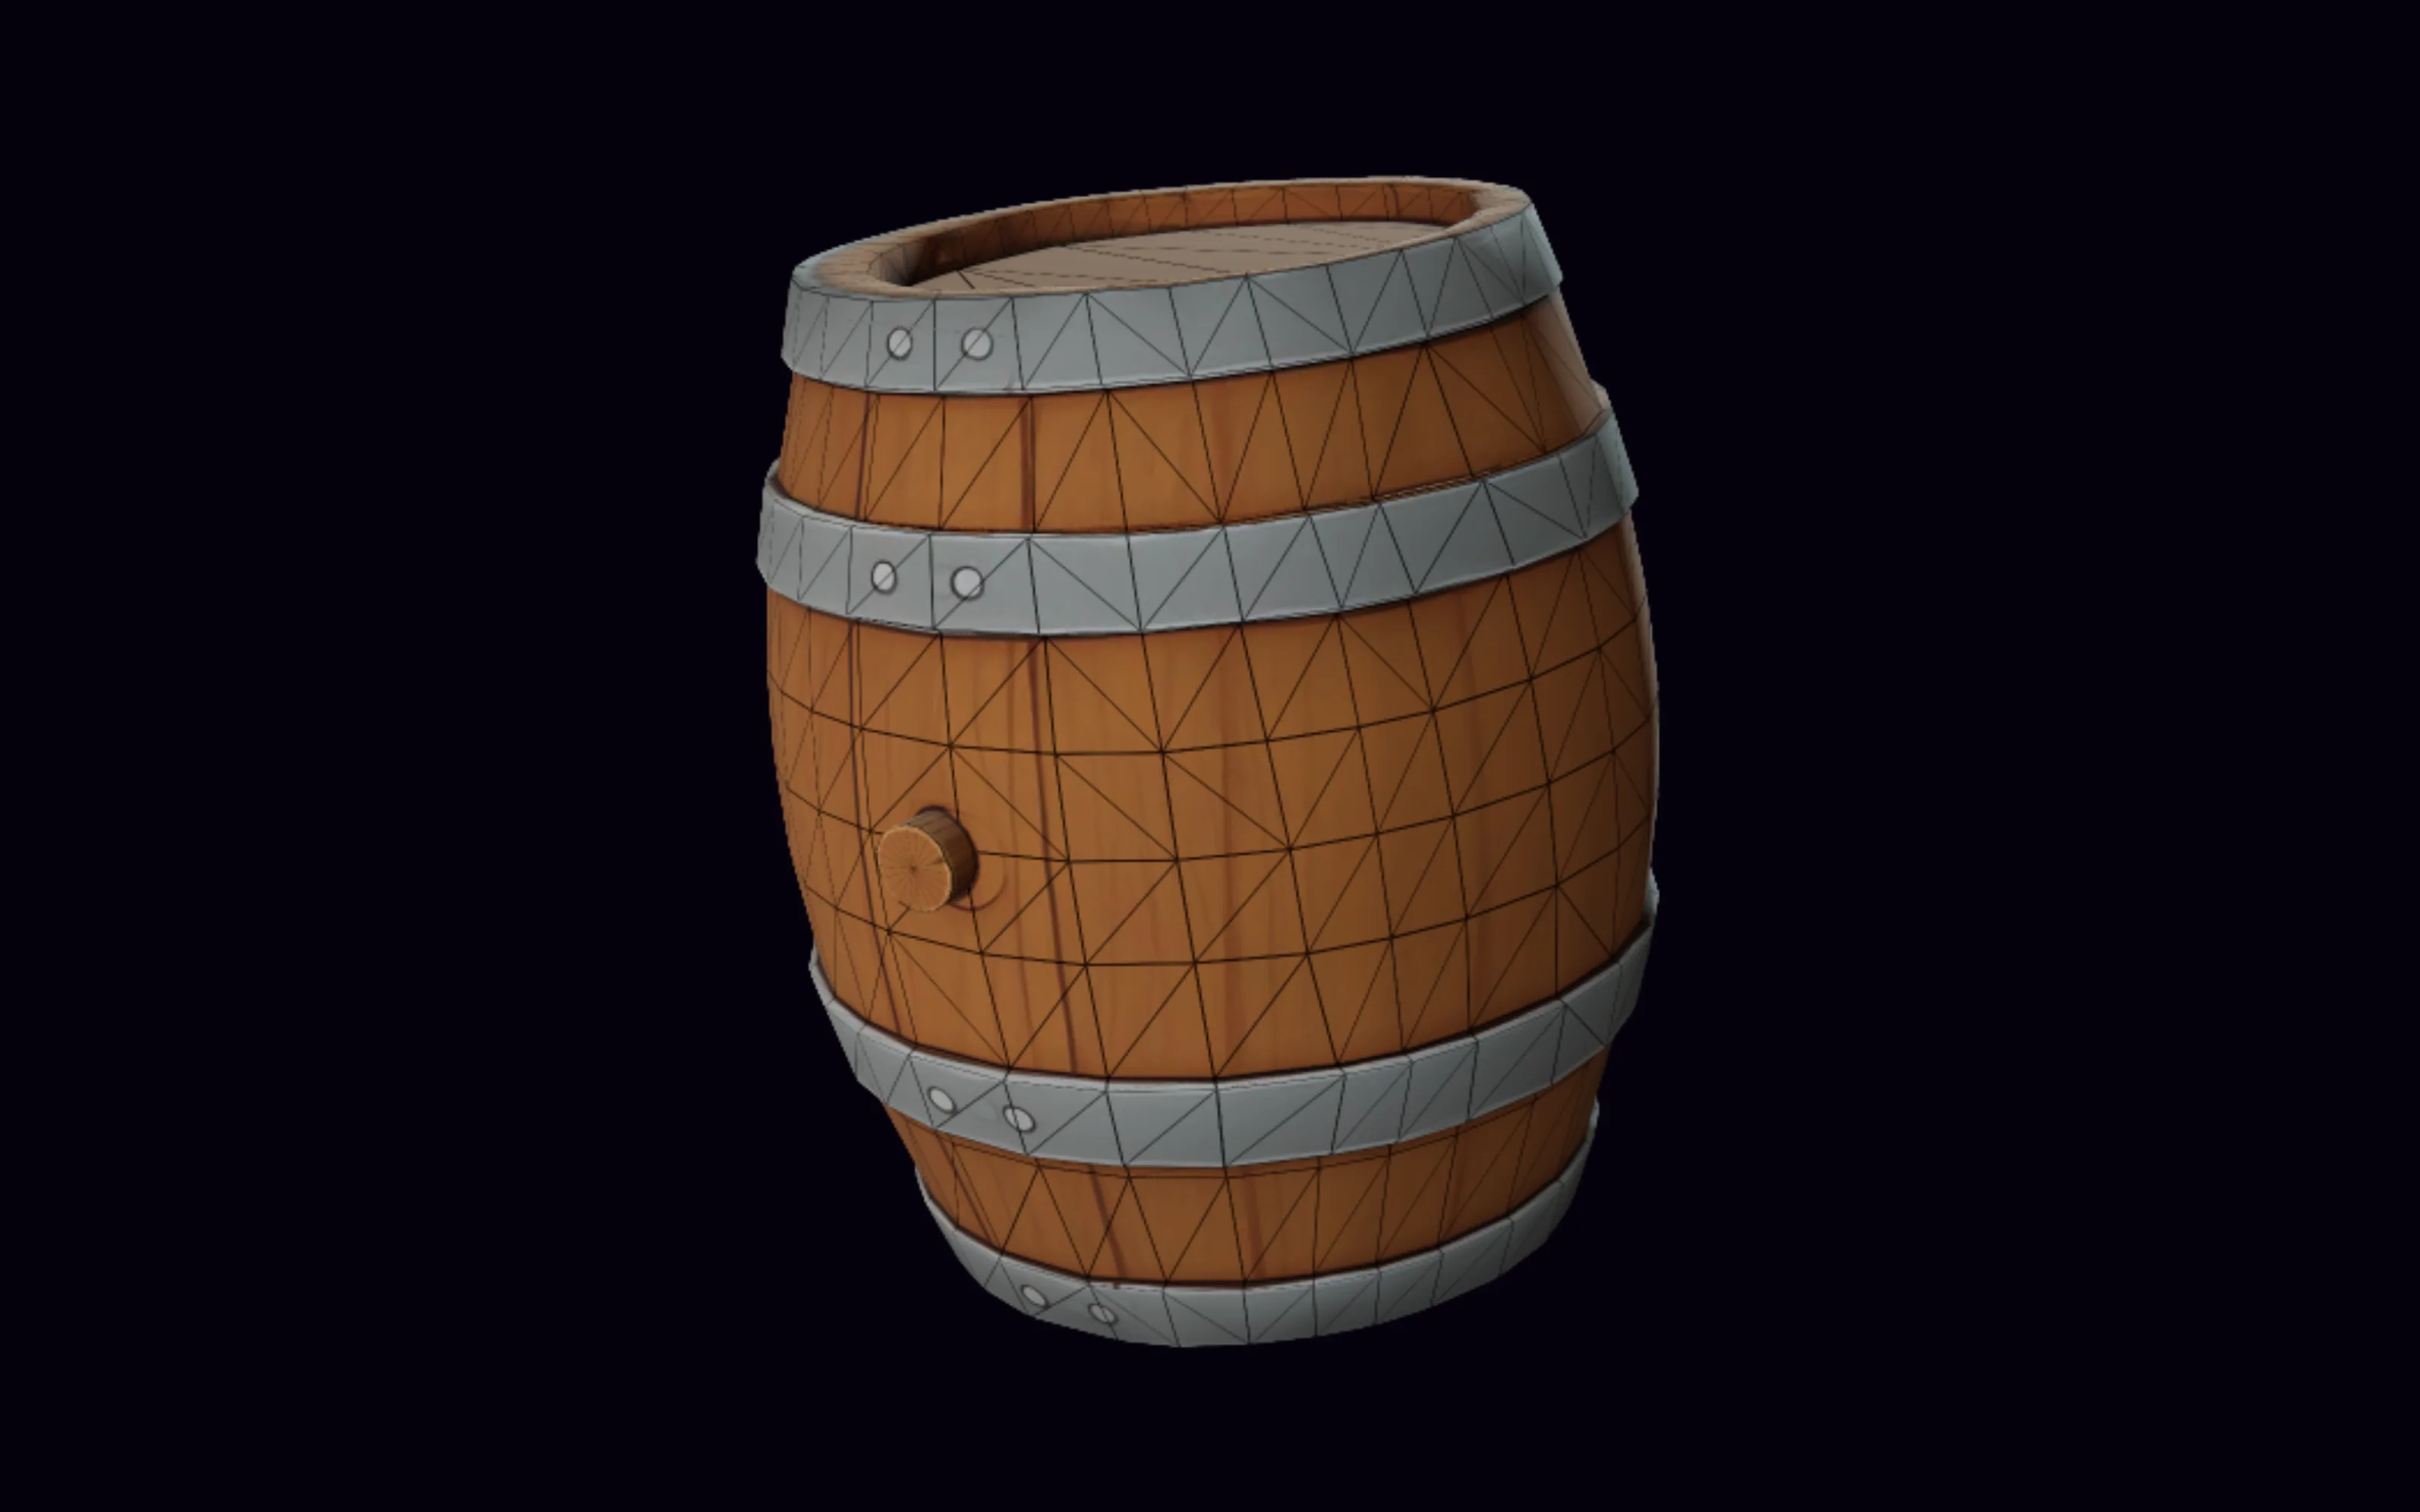
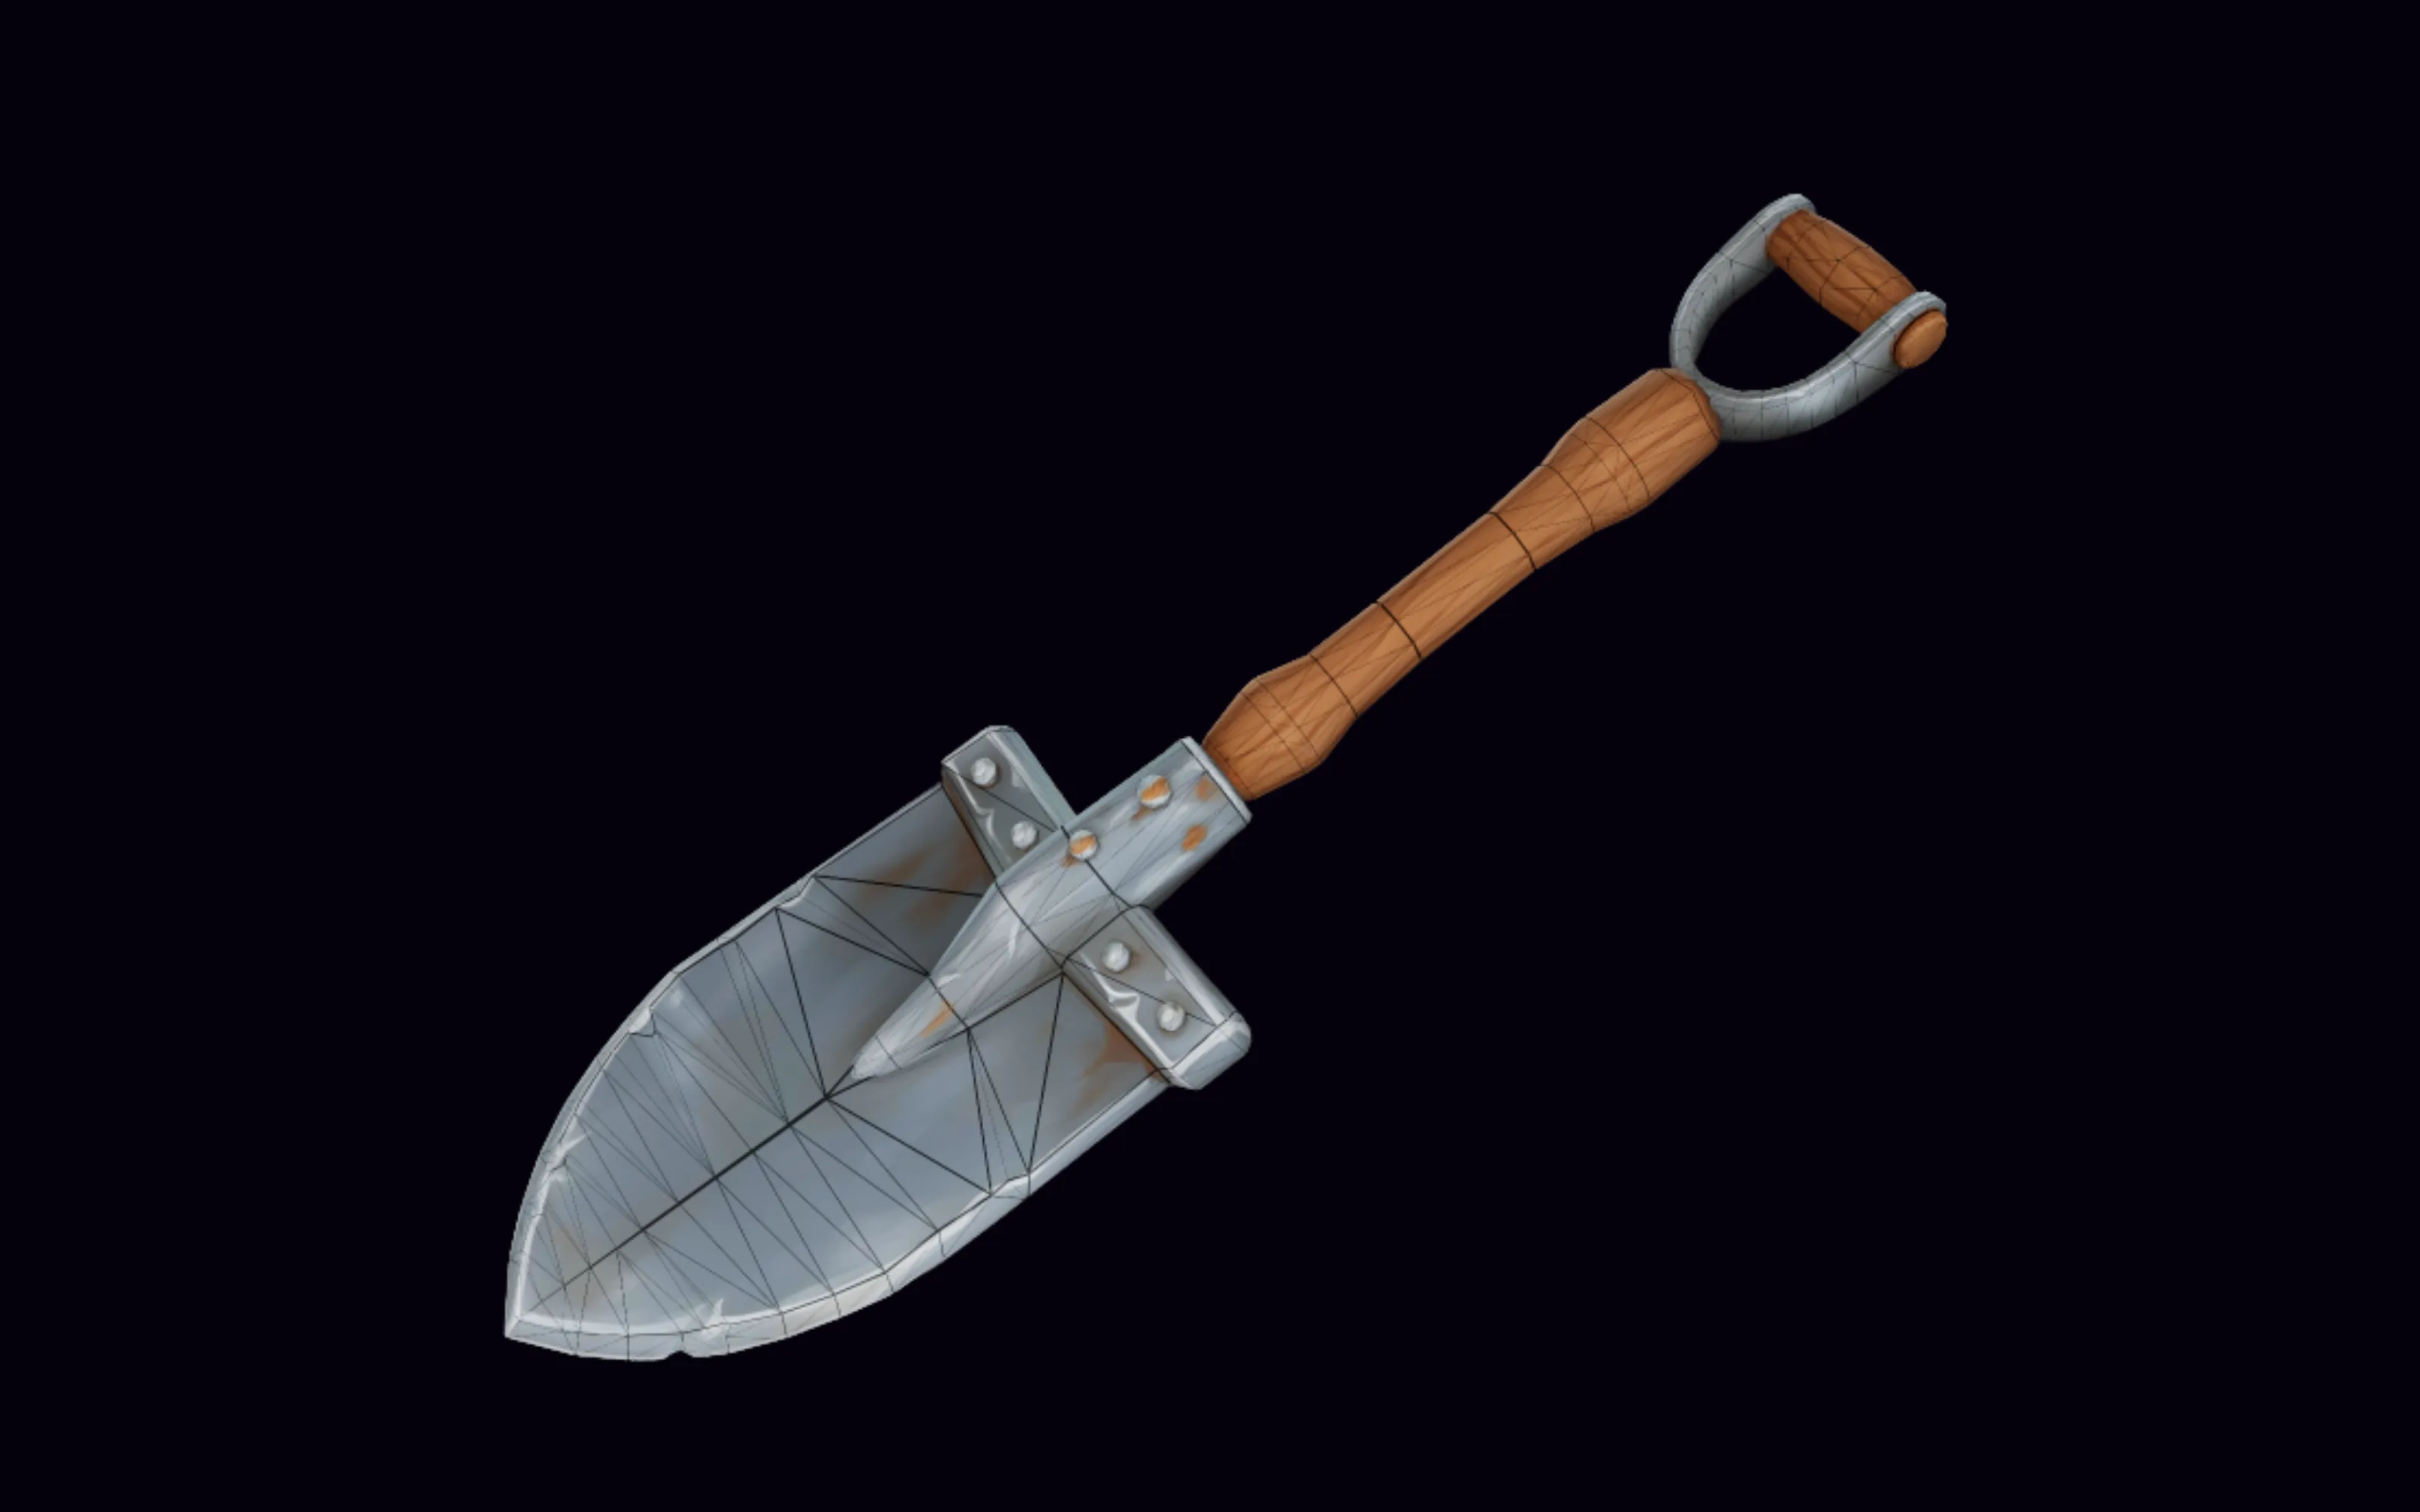
Props from this workflow
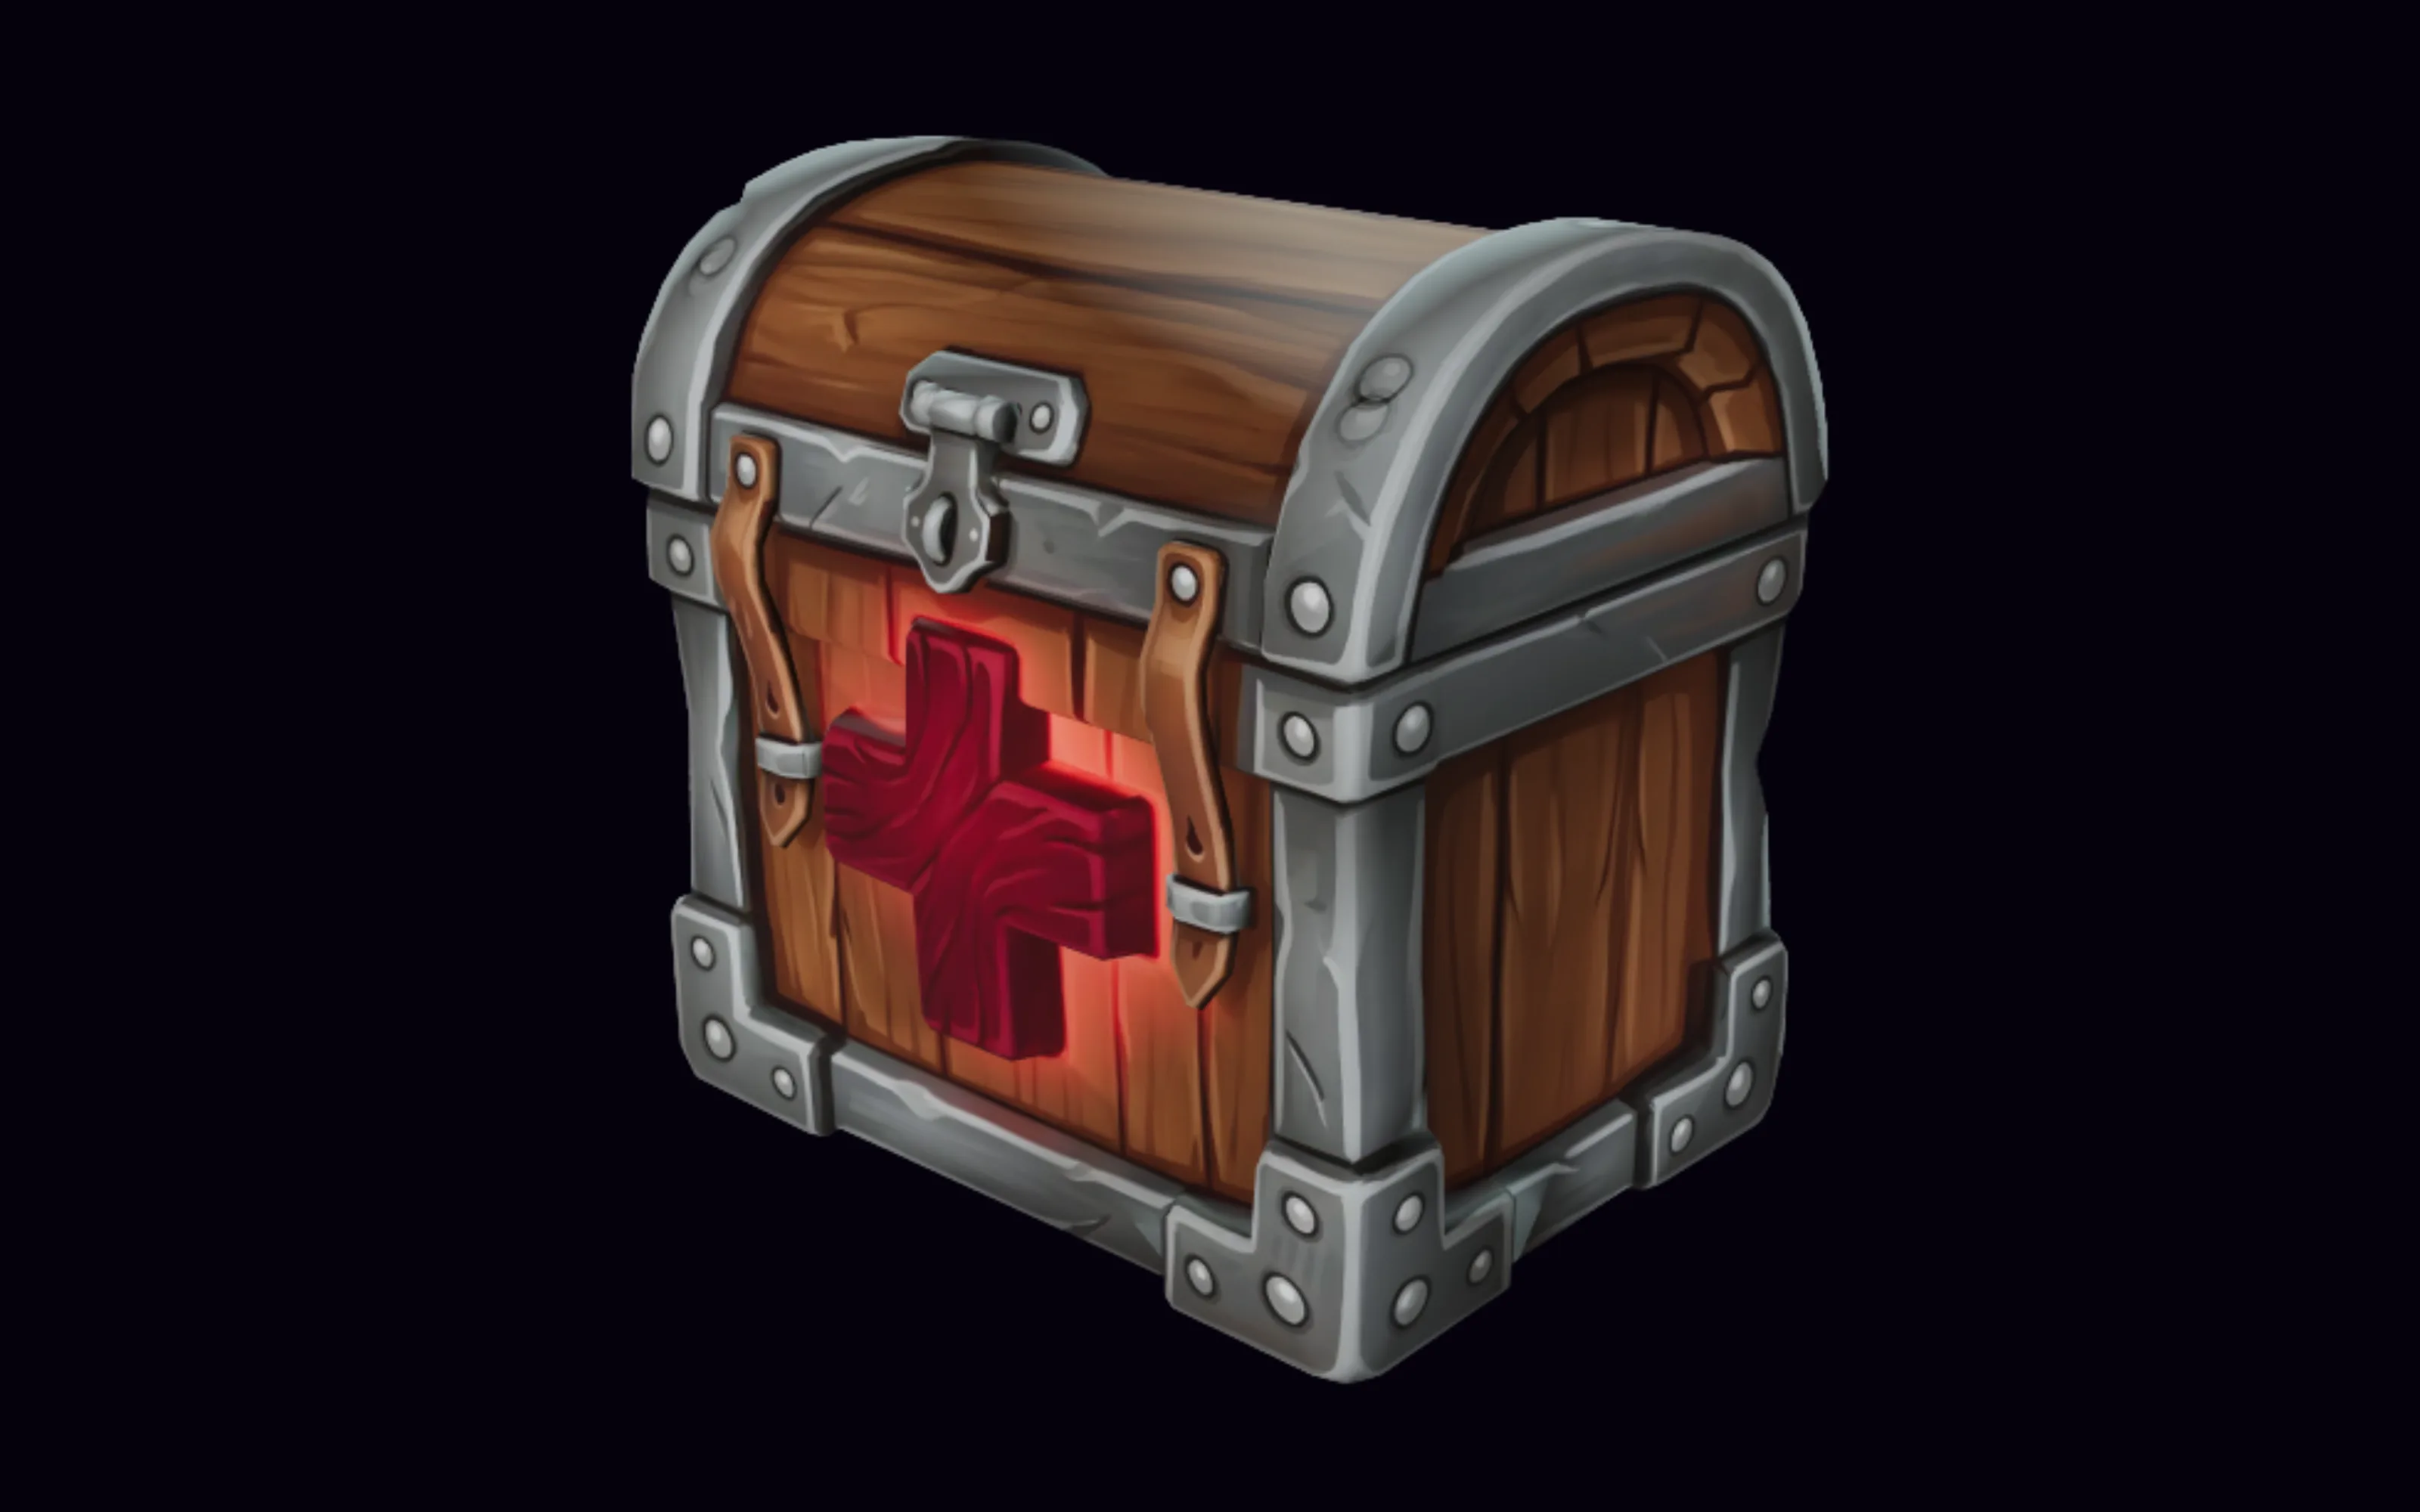
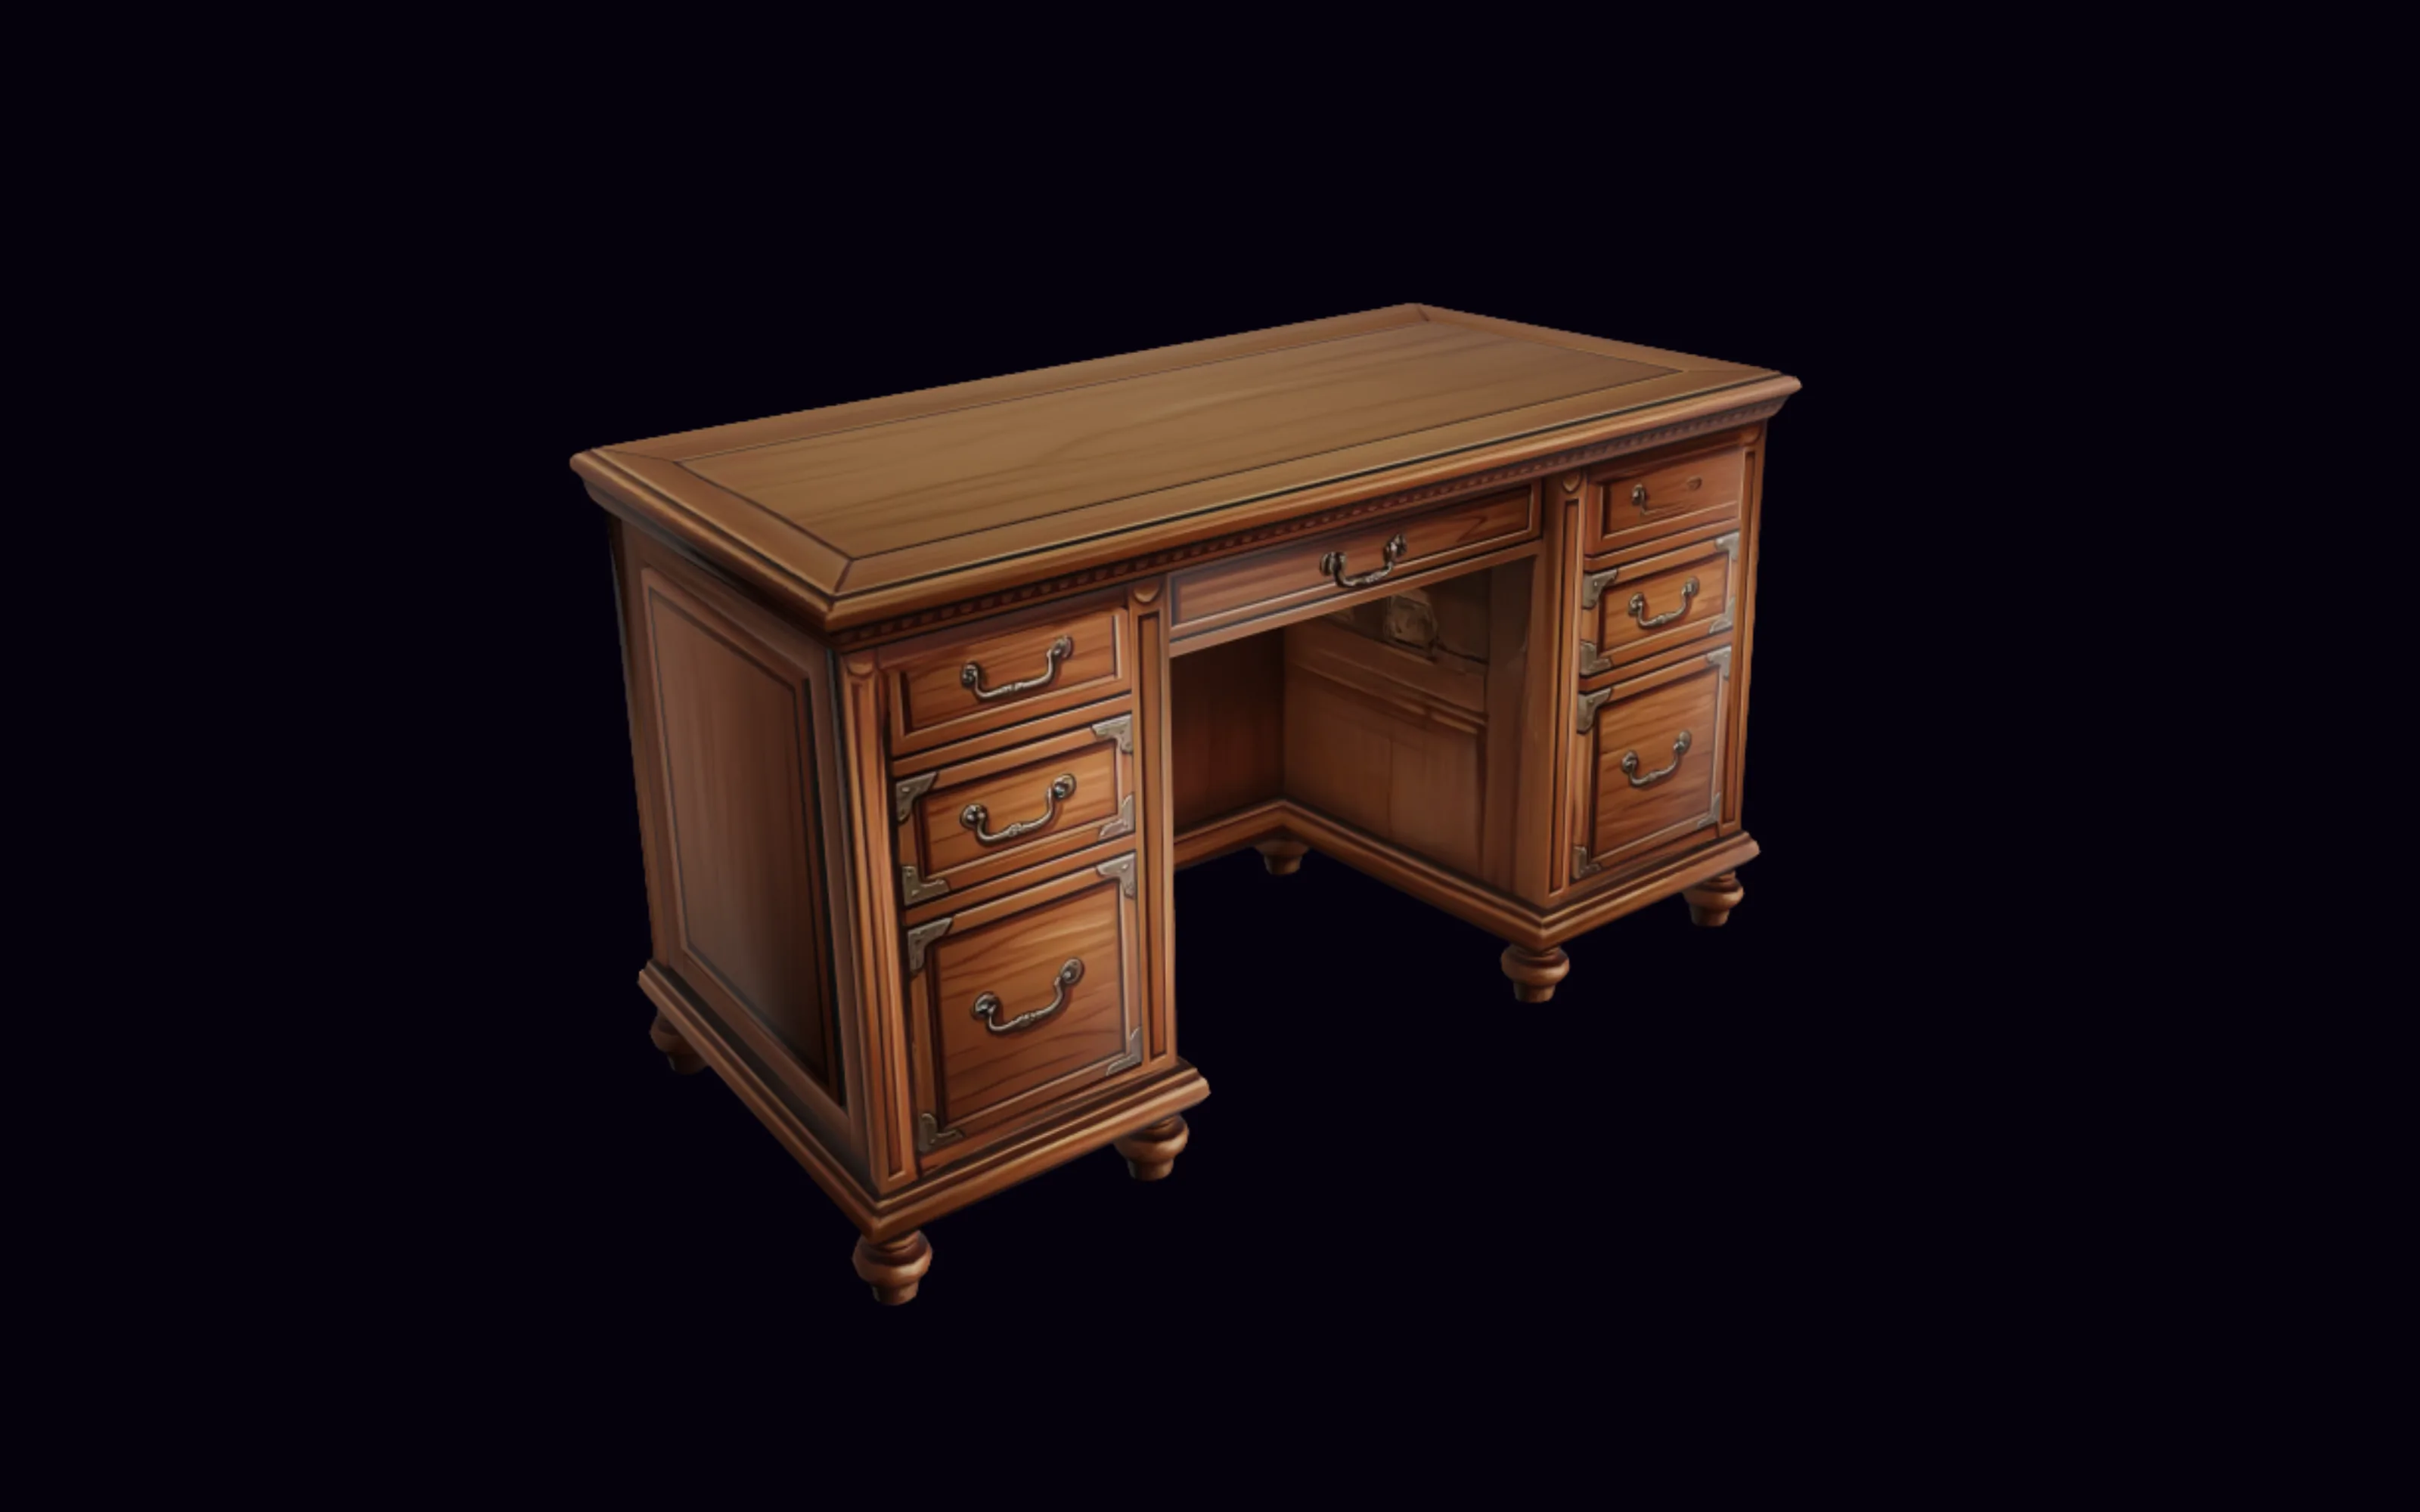
Example renders from the workflow above. Each one still needs a review against your project’s standards — polygon count, UVs, collisions, and how it reads under your own lighting.
The bottom line for props
Great props start with a great image, then the right model. Generate the reference in PicoBerry Image Generation or bring your own, then try Tripo P1 and Tripo P2 for clean, low-poly meshes. Need more detail? Generate with Tripo 3.1 and remesh with Tripo Remesh.Models change and results depend on your prompt, so treat this as a starting point to test, not a fixed ranking. The full method lives in the hub guide.
Frequently asked questions
What is the best AI 3D model for stylized props?
There isn’t a fixed best, but Tripo P1 and Tripo P2 are strong first tries for stylized props: their built-in topology features and low-poly, mesh-first process give clean, low-poly meshes. Start from a great image and test both on the same reference — Tripo P1 first, since it is the cheaper of the two, then Tripo P2 as the second opinion — and keep the cleaner read. If you need more detail, generate with Tripo 3.1 and remesh with Tripo Remesh.
Should I use a high-detail model for props?
Usually not to start. Stylized sets rarely need photoreal surface, and higher detail means denser topology and more cleanup. When a prop genuinely needs more form, generate with Tripo 3.1 and remesh with Tripo Remesh to bring the topology back to a lean polygon count.
How many props can I generate before the style drifts?
Drift comes from changing the inputs, not from volume. Keep one prompt style and one model across the set, remesh everything to a shared polygon count, and re-texture to a single palette. Group the set in a collection so you can see the whole thing side by side as it grows — a piece that has drifted is obvious next to its neighbours and cheap to regenerate early.
Do stylized props need PBR maps at all?
Often not the full set. A stylized set usually reads on base colour plus a light normal or roughness pass, and photoreal maps can actively fight the art direction. Generate with texture, then decide per prop: keep the maps your shader actually samples and drop the rest. That also keeps the memory budget down when the set runs to dozens of pieces.
Stylized props across Models
Generate the same prop prompt on a couple of models in PicoBerry, compare the results, and refine the one that fits your set.