Launch Event50% off annual plans · free Nano Banana images · Premium Templates with Max yearlySee the offer
NewSegmentation & PB Animation are liveTry it now
AI 3D model segmentation · Tripo engine
Split a 3D model into parts — then reuse the pieces you need
Want a character's backpack, sword or lantern as props of their own? Segmentation splits a model into parts at the detail level you choose and leaves the source model untouched. Pick the parts you need and save them as new assets, ready to send to Unity or Blender.
Split into parts, pick the backpack, save it as its own asset, move a part. The full walkthrough with narration is below the steps.
Built forGame propsModular kits3D printingExports toUnityBlender
How do you split a 3D model into separate parts with AI?
In PicoBerry, select the model and pick Segment — the puzzle-piece icon in the left toolbar. Choose a detail level (Simple, Balanced or Detailed) and press Split into parts. Tripo's segmentation engine returns a new asset named “… (Parts)” — the parts result — under the source, and the source stays as it was. Click a part to pick it, Ctrl(⌘)- or Shift-click to pick several, and double-click a name in the part list to rename it. Then download just the picked parts as GLB, or save them as their own asset and send that asset to Unity or Blender; part names go along as node names.
What can you do with Segmentation?
One model becomes a set of parts you can handle one at a time, while the model you started from stays as it is.
Split at the detail level you pick
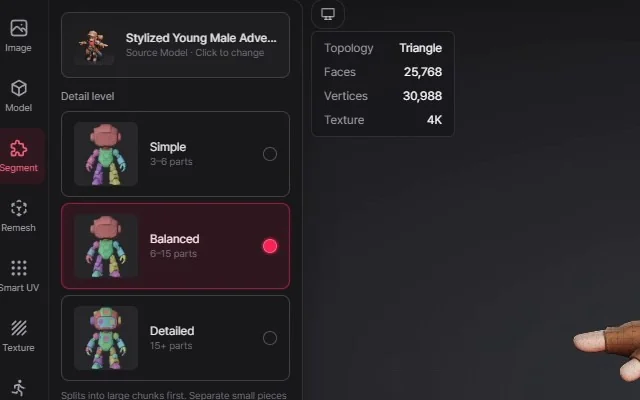
Simple gives fewer, bigger chunks, Balanced suits most models and Detailed goes down to small features. Large chunks come first and loose small pieces come out on their own, so the count depends on the model.
Pick, hide and rename parts
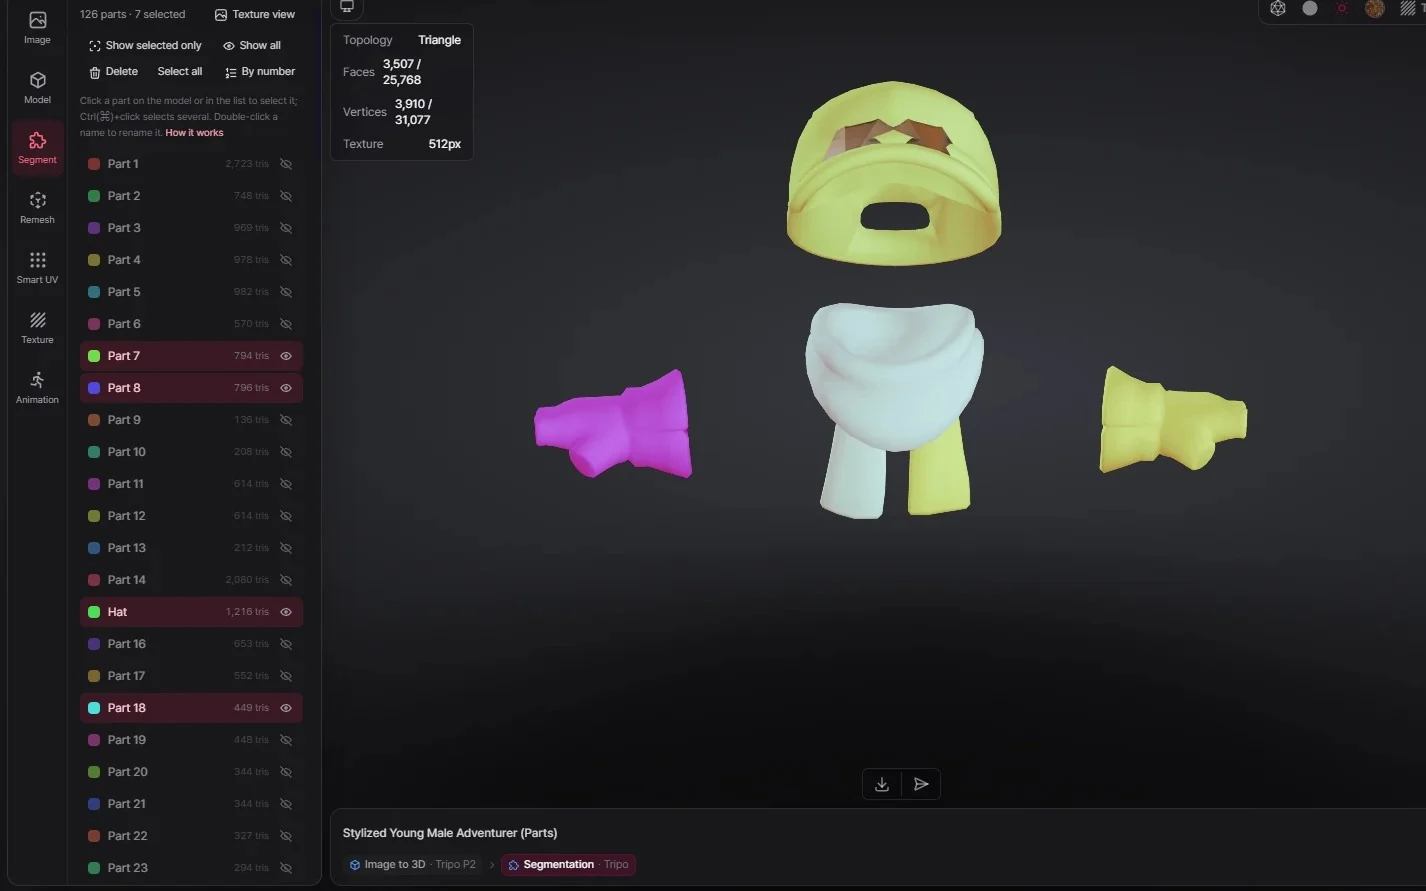
Pick parts in the viewer or in the part list and the face and vertex count of your pick shows at the top left of the viewer. Hide a part with the eye, Alt-click the eye to see one part alone, switch between Part colors and Texture view, and double-click a name to rename it.
Turn parts into their own assets
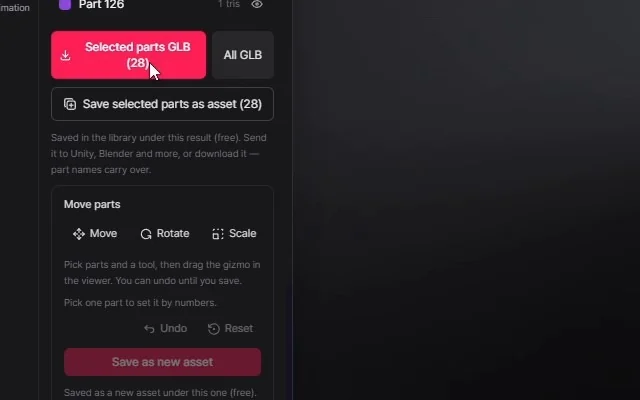
Save selected parts as asset puts just those parts into a new asset in your library, free of charge. Or download the pick, or the whole parts result, as GLB straight from the browser.
How do you split a model and reuse its parts?
Generated models, remesh, texture and UV results and 3D models you upload (paid plans) can all be split. Models with a skeleton can't.
STEP 01
Open Segmentation and set the detail level
Pick Segment in the left toolbar, check the source model card at the top of the panel, and choose Simple, Balanced or Detailed. Balanced is the default.
STEP 02
Split into parts
Press Split into parts; the expected time (1–4 min) shows just above it. You get a new asset named “… (Parts)” under the source model. Splitting uses credits — the amount shows next to the time — and a failed split refunds them.
STEP 03
Pick, name, hide or move parts
Click, or Ctrl(⌘)- and Shift-click, to pick parts. Double-click a name to rename it, use the eye to hide a part, and open Move parts to put pieces somewhere else. The list sorts by number or by size.
STEP 04
Save, download or send
Use Save selected parts as asset, download Selected parts GLB or All GLB, or send the saved asset to Unity or Blender. Part names become the node names in the file.
Full walkthrough (4:06, with narration): choosing a detail level · picking, hiding and renaming parts · saving parts as a new asset · moving parts · refining with Tripo
Refine parts works on the parts result, its moved copies and refined results — not on parts saved with Save selected parts as asset.
What else can you do with the parts?
Rearrange them, rebuild the ones a split left open, and keep their names all the way into your engine.
Move, rotate and scale parts
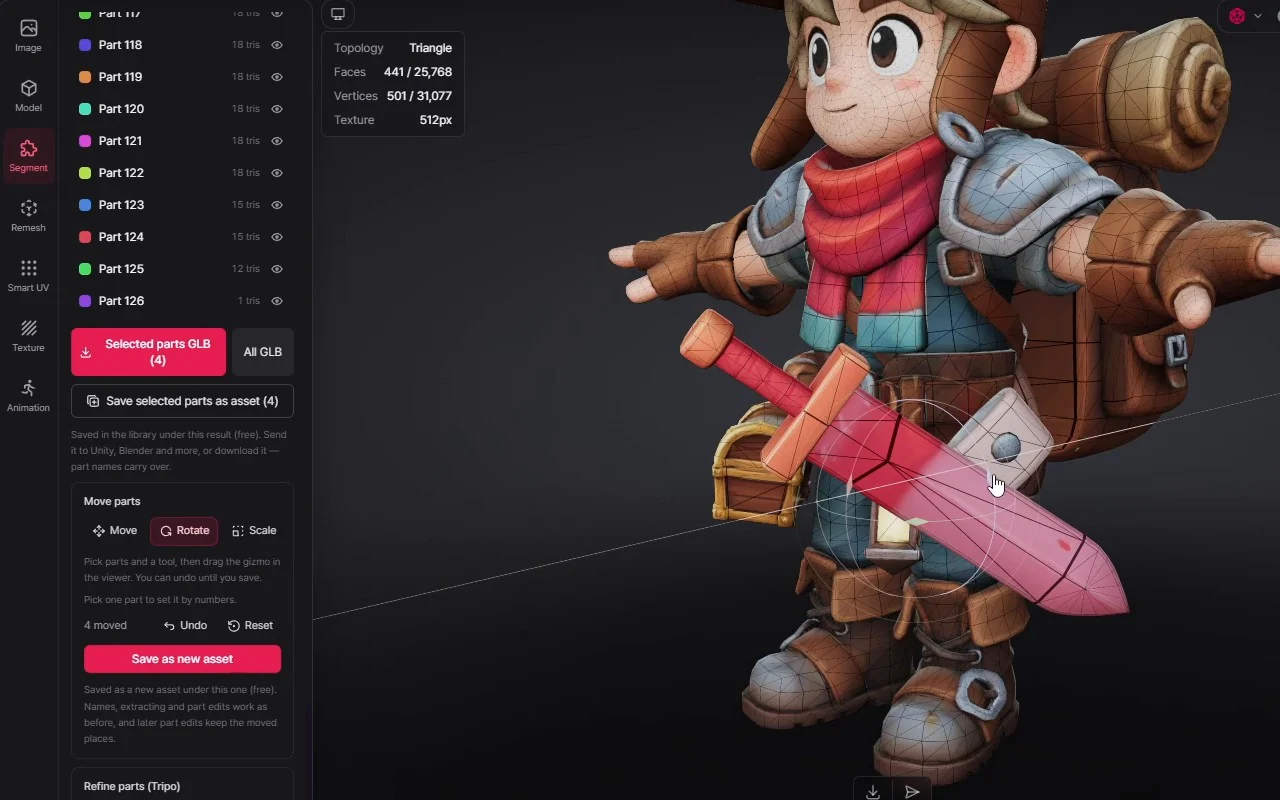
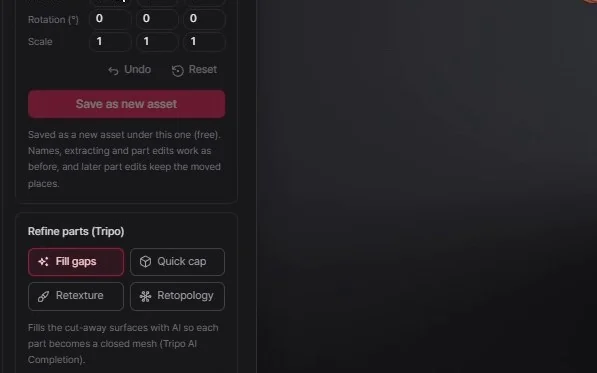
Move parts gives you a Move, Rotate and Scale gizmo, and with a single part picked you can type its position, rotation and scale. Undo and Reset work until you save; Save as new asset keeps the result as its own asset for free — you can still rename and refine its parts or save some of them with Save selected parts as asset, and later part edits keep the moved places.
Refine only the parts you pick
Refine parts (Tripo) runs one operation on the picked parts, or on all of them: Fill gaps, Quick cap, Retexture from a short prompt, or Retopology to a face target (it can land somewhat above the target). Each result is a new asset that keeps the part names.
Close cut-off parts with Fill gaps
A part cut out of a bigger model is open where it was attached. Fill gaps uses AI to fill those cut-away surfaces so the part becomes a closed mesh. Quick cap seals open holes faster, which helps with 3D printing, though on some models a cap can stick far out.
Part names carry into Unity and Blender
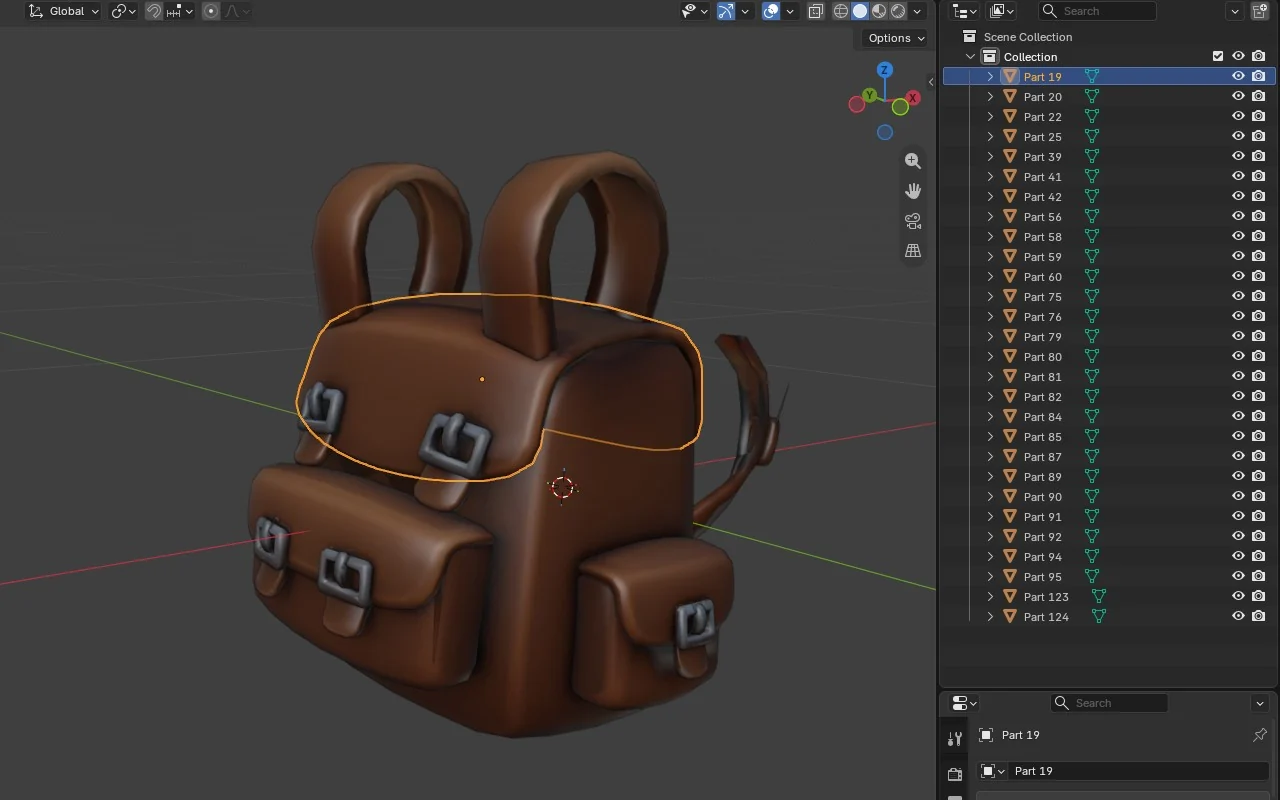
The names you give parts in PicoBerry, or the default Part 1, Part 2 and so on, become node names inside the file. The parts arrive in the Unity Hierarchy or the Blender Outliner under those names, whether you download the file or send it.
What does a split model look like?
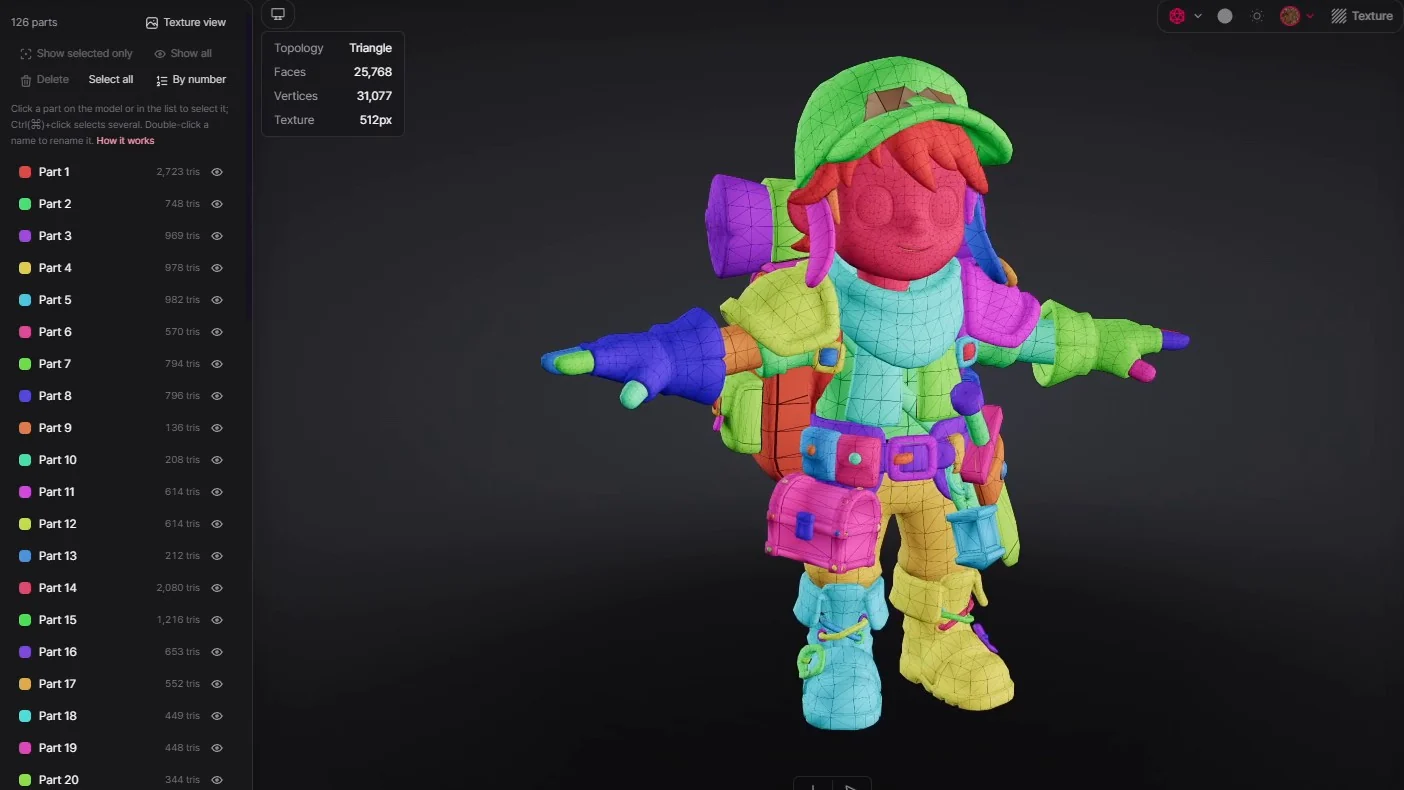
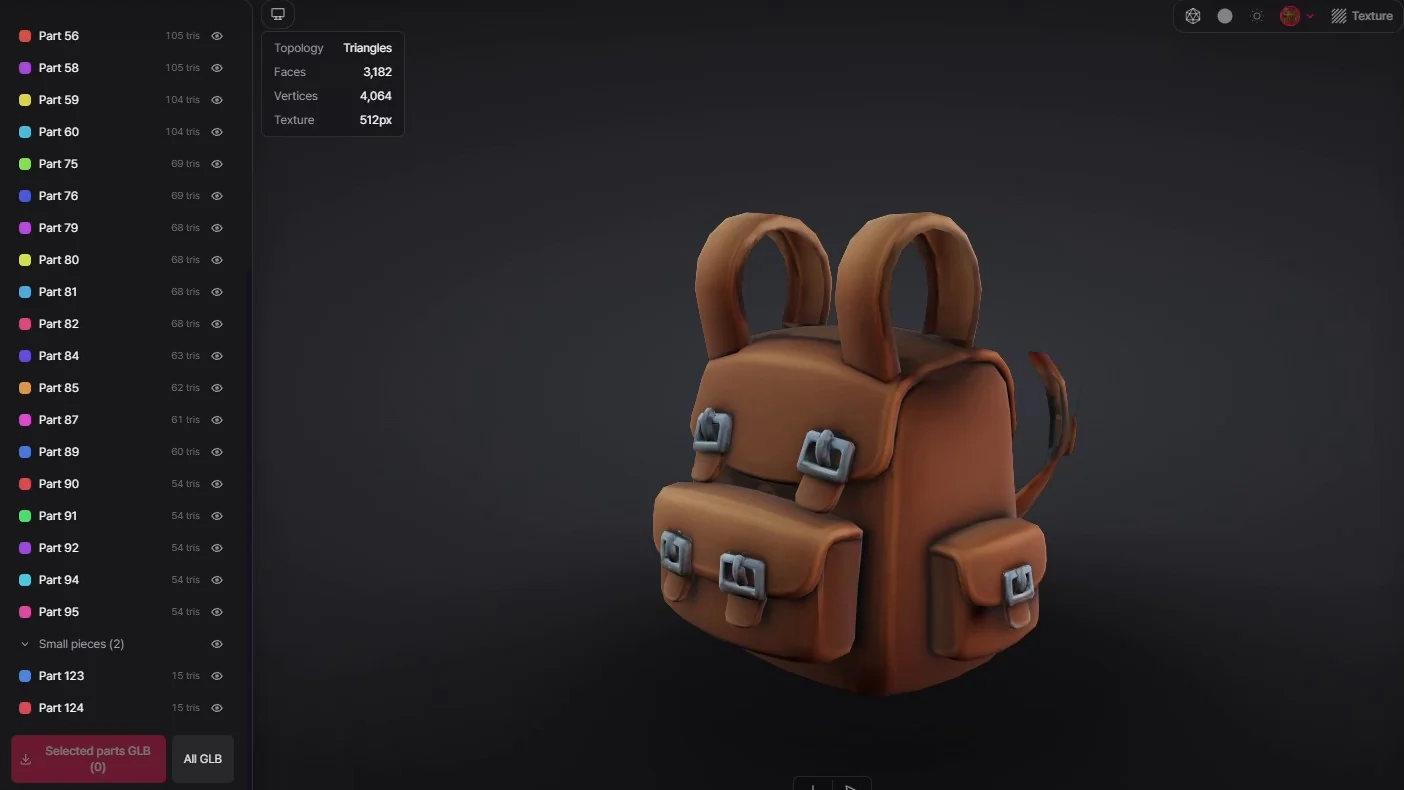
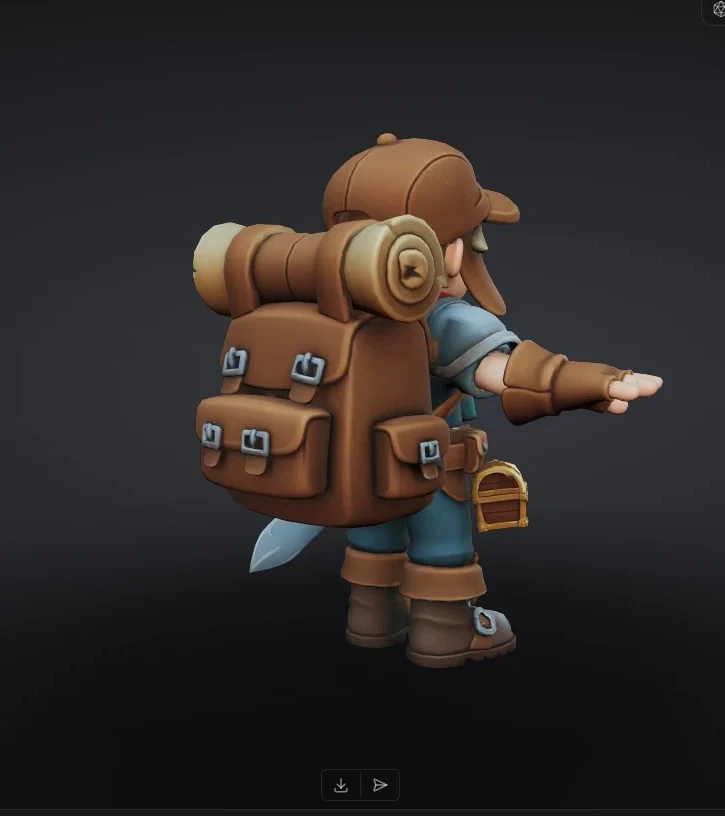
The character from the video split at Balanced, and one accessory pulled out as an asset of its own.
126 parts at Balanced
The full character in Part colors, with the part list beside it. Small loose pieces come out as parts of their own.
One accessory, its own asset
An accessory saved with Save selected parts as asset, shown in Texture view. Its two tiniest parts sit in the Small pieces group at the end of the part list — pieces under 0.5% of the model's faces, folded until you open the group — and the group's eye hides them in the viewer.
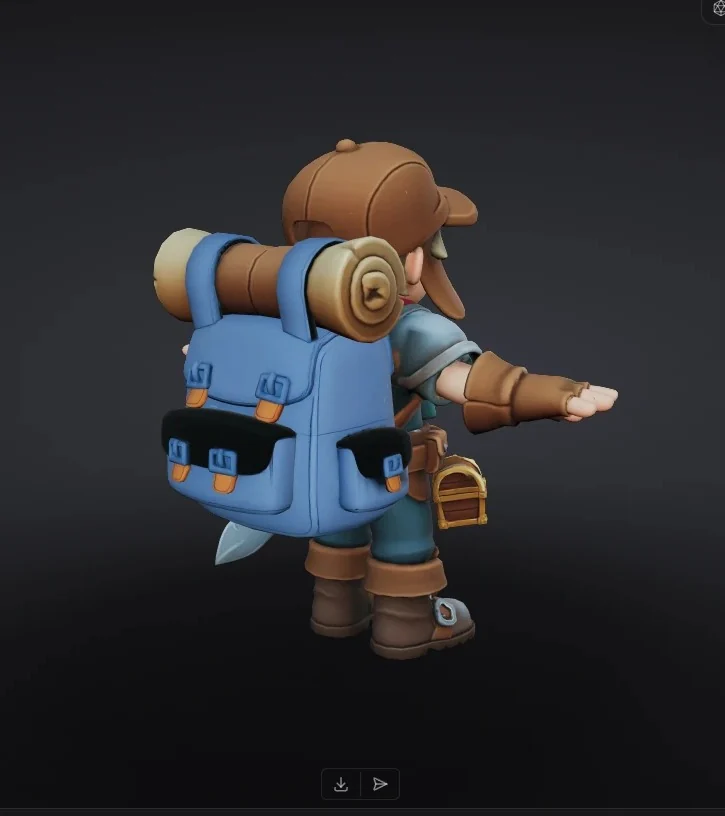
Retexture on picked parts
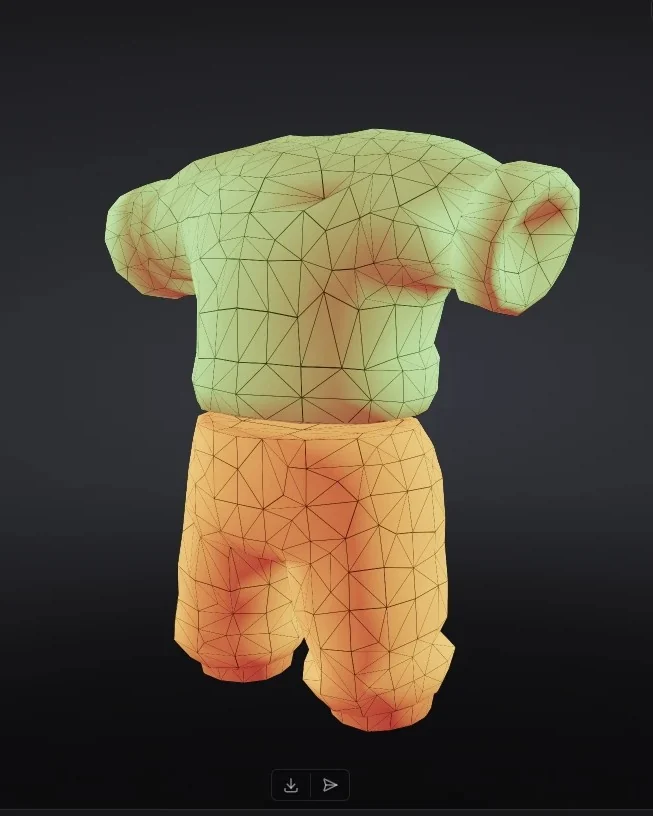
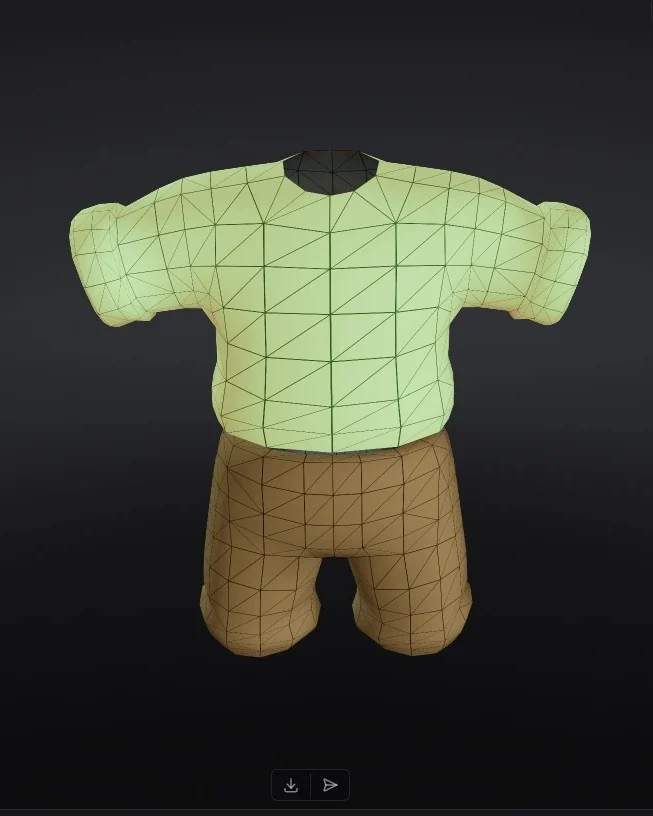
The same parts before and after Retexture: the shape stays and only the texture changes.
Where does Segmentation fit — and what should you check?
It pays off when one model holds pieces you want to use separately. Three things to know before you count on a split.
Best fit
Characters with lots of accessories, props you want to reuse in other scenes, modular kit pieces, and models you're getting ready for 3D printing.
Part counts vary
The detail cards' hints (3–6, 6–15 and 15+ parts) are a guide, not a promise: at Balanced, our test robot gave 35 parts and the character in the video 126. Our test counts are in the table below.
Split before rigging, refine before saving parts out
Split before you rig — a model with a skeleton can't be split. Refine before you save parts out with Save selected parts as asset, and run Fill gaps or Quick cap before any other refine — they don't run on a refined result.
Part counts in our tests
Detail level
Panel hint
Test robot
Test helmet
Simple
3–6 parts
22
—
Balanced
6–15 parts
35
64
Detailed
15+ parts
44
—
The character in the video came out at 126 parts at Balanced. Counts depend on the model, not on a fixed number per level.
Frequently asked questions
What is Segmentation in PicoBerry?
Segmentation is PicoBerry's AI mesh segmentation tool: it splits one 3D model into parts you can pick one by one — a head, an arm, a backpack — using Tripo's segmentation engine. After the split you can rename, hide, move, refine or delete parts, and save the ones you want as new assets.
Which detail level should I pick in PicoBerry Segmentation?
Start with Balanced, the default in PicoBerry Segmentation. Simple gives fewer, bigger chunks and Detailed goes down to small features. The panel's hints — 3–6, 6–15 and 15+ parts — are only a guide: in our tests one robot came out as 22, 35 and 44 parts at Simple, Balanced and Detailed, and a helmet gave 64 at Balanced.
Does splitting change the original model?
No. The split makes a new asset named “… (Parts)” under the source model, and the model you split stays as it was. Moving, refining and saving parts create new assets as well. Deleting parts changes only that parts result, and it can't be undone.
Which models can I split into parts in PicoBerry?
Generated models, remesh, texture and UV results, and 3D models you upload (paid plans). Only a Tripo generation goes straight in; models from other engines, remesh, texture and UV results and uploads are sent to Tripo as a file — up to 100 MB, not animated — and the result is put back at the source model's size and position. Models with a rig (skeleton) can't be split.
Can I keep only some parts as their own asset?
Yes. Pick the parts and press Save selected parts as asset. It's free, the new asset is saved in your library under the parts result, and you can send it to Unity, Blender and more or download it with the part names intact. Selected parts GLB downloads the same pick straight from the browser.
Do part names carry into Unity or Blender?
Yes. Part names become node names inside the file, whether you download it or send it to Blender or Unity — so rename parts (double-click a name in the part list) before you export.
What can I do with the parts after splitting a model in PicoBerry?
You can move, rotate and scale picked parts for free, refine them with Tripo — Fill gaps, Quick cap, Retexture or Retopology — and delete the ones you don't need. Deleting can't be undone, and at least one part has to remain.
Can I refine parts after extracting them into their own asset?
No. Parts you extract with Save selected parts as asset can't be refined — a Tripo limit — so refine on the parts result first, then extract the parts you want. A moved copy (Move parts → Save as new asset) refines just like the result it was moved from, and a refined result can be retextured or retopologized again; Fill gaps and Quick cap need a result that hasn't been refined yet.
How is Segmentation different from Parts Breakdown?
Segmentation splits a 3D model you already have. Parts Breakdown works earlier, on a 2D image: it lays a design out as an exploded parts board that Image to 3D can read. Reach for Parts Breakdown at the concept-image stage, and for Segmentation once the model exists.
Should I split a character before or after rigging it?
Before. A model with a skeleton can't be split, so split it and sort out the accessories first, then rig — for example with PB Animation, whose panel suggests the same order for characters with armour, a skirt or a cape.